

Email Loop Management Tool
In Deepser there is an integrated tool that allows you to mitigate and block email loops, blocking the receipt of emails from email addresses that have sent a large (configurable) number of emails in a defined time interval.
EMAIL LOOP MANAGEMENT TOOL ENABLING GUIDE
To enable the Loop email management tool, you will need to go to the System-> Tools -> Email->Mailbox menu
Once here we will have to go to the configuration of the email input boxes, if it is necessary to configure the tool for multiple email boxes it will be necessary to follow this guide for each entry box.
You will now need to click on the edit button of the form template in the upper left part of the page:
At this point we will have to go to configure a new tab “Email Loop Configuration”, the name can be configured if necessary.
To configure the new tab, you will need to right-click on the tab item and click “New Tab”.
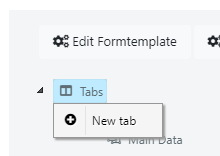
Now you will need to click on the Newly created “New Tab” entry:
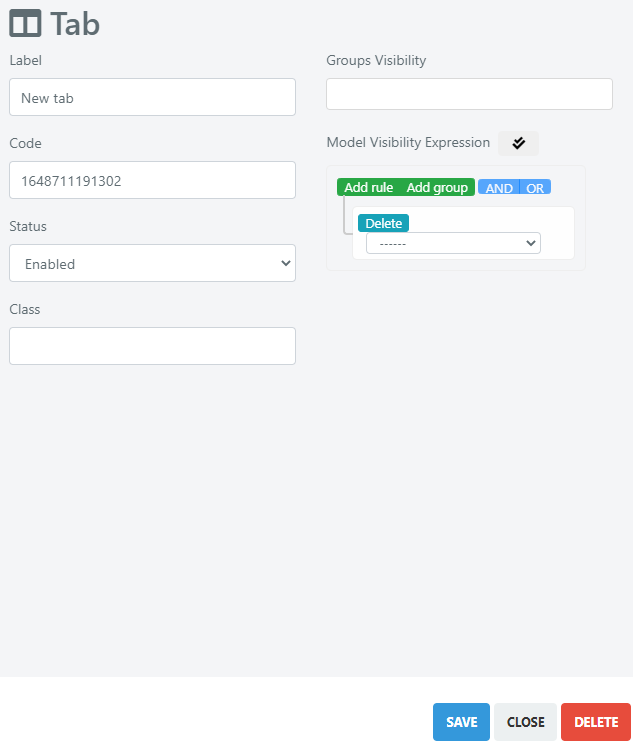
Here we are going to change the “Label” field with the name we want to give to this new tab, in our case Email Loop Configuration
Now we will have to click the “SAVE” button to save to the configuration.
At this point we will have to go to configure a new Fieldset “Email Loop Settings”, the name can be configured if necessary.
To configure the new tab, you will need to right-click on the tab item and click “New Fieldset”.
To rename the fieldset you will need to click on the new fieldset just created, at this point you can rename the fieldset by changing the head present in the campo at the top center of the page:
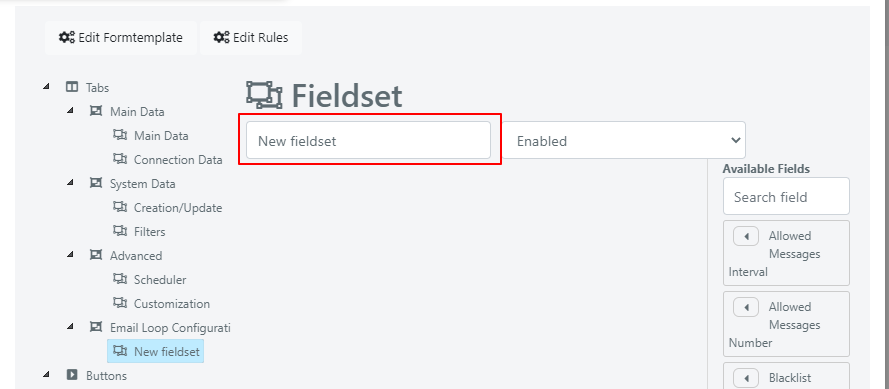
In our case we will rename it to “Email Loop Settings”.
At this point we must enter the following fields in this fieldset:
- Allowed Messages Interval
- Allowed Messages Number
- Lock Duration
- Whitelist Expression
- Blacklist
- Message Logs
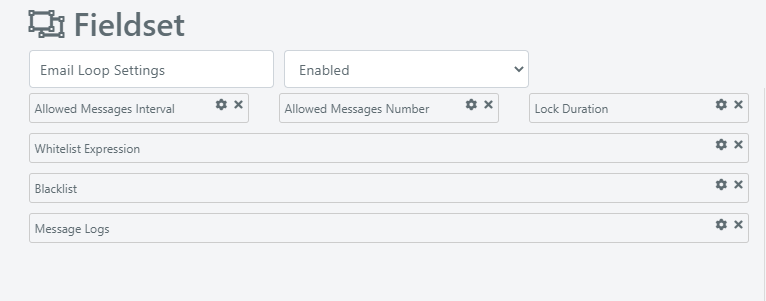
Once done it will be possible to change the width of the fields through their settings in order to make it easier to fill them in and consult, the final result will have to look like this:
Finally, we will have to go and click the “SAVE” button to save the changes to the form template.
EXPLANATION FIELDS EMAIL LOOP MANAGEMENT TOOL
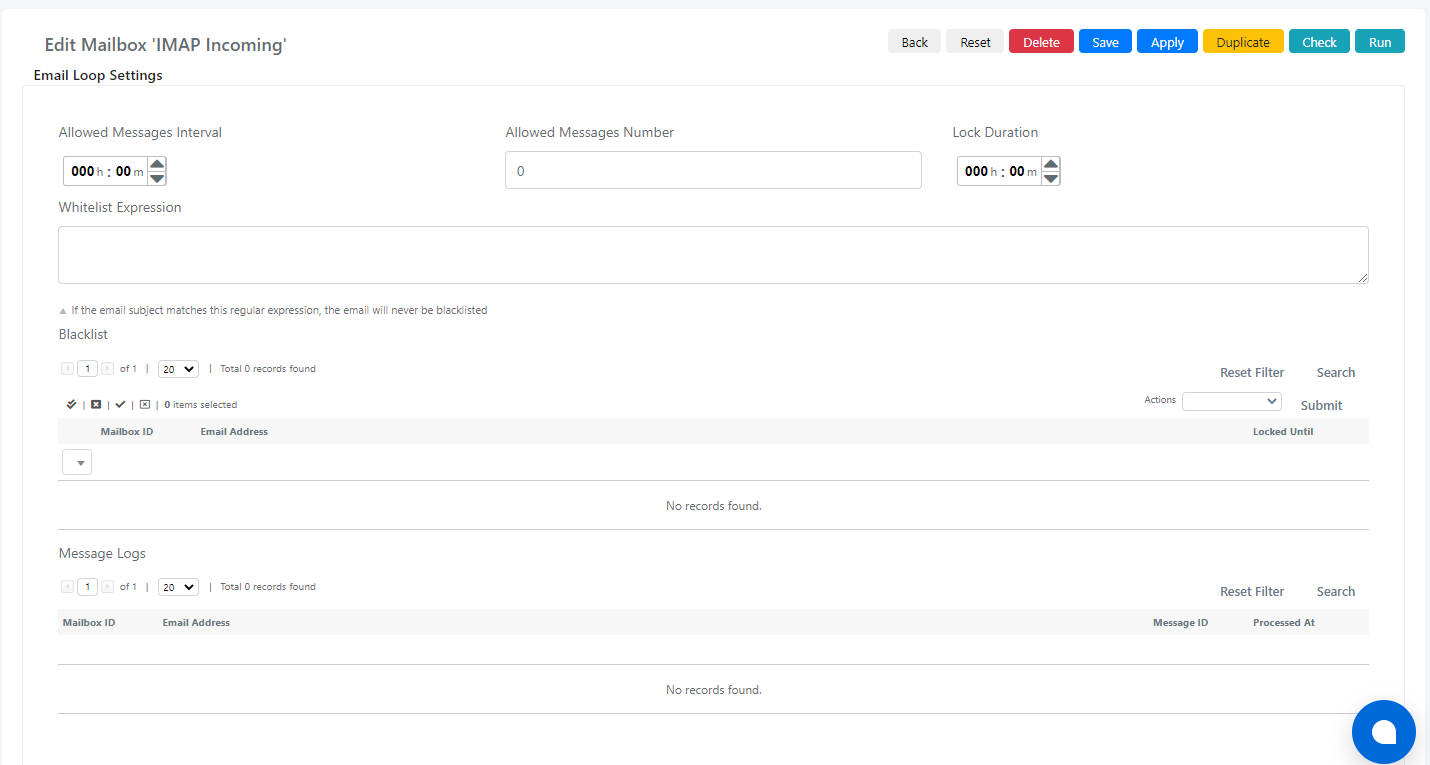
After configuring the form as described in the previous step we will have in the “Email Loop Configuration” tab a structure similar to this:
Below is the list of fields with their description:
| Field | Description | Notes |
| Allowed Messages Interval | The time interval in which the number of messages received from an email address will be evaluated | |
| Allowed Messages Number | Number of messages allowed per email address in the time interval defined in the “Allowed Messages Interval” field | |
| Lock Duration | The duration of the block on receiving messages if an email loop is detected. | |
| Whitelist Expression | this field is a regular expression (regex) which will instruct the system to exclude all email addresses that match this regular expression | |
| Blacklist | Here you will see the list of blocked email addresses and until they are blocked | |
| Message Logs | Here you will see the list of blocked email messages |
EXAMPLE EMAIL LOOP MANAGEMENT TOOL CONFIGURATION
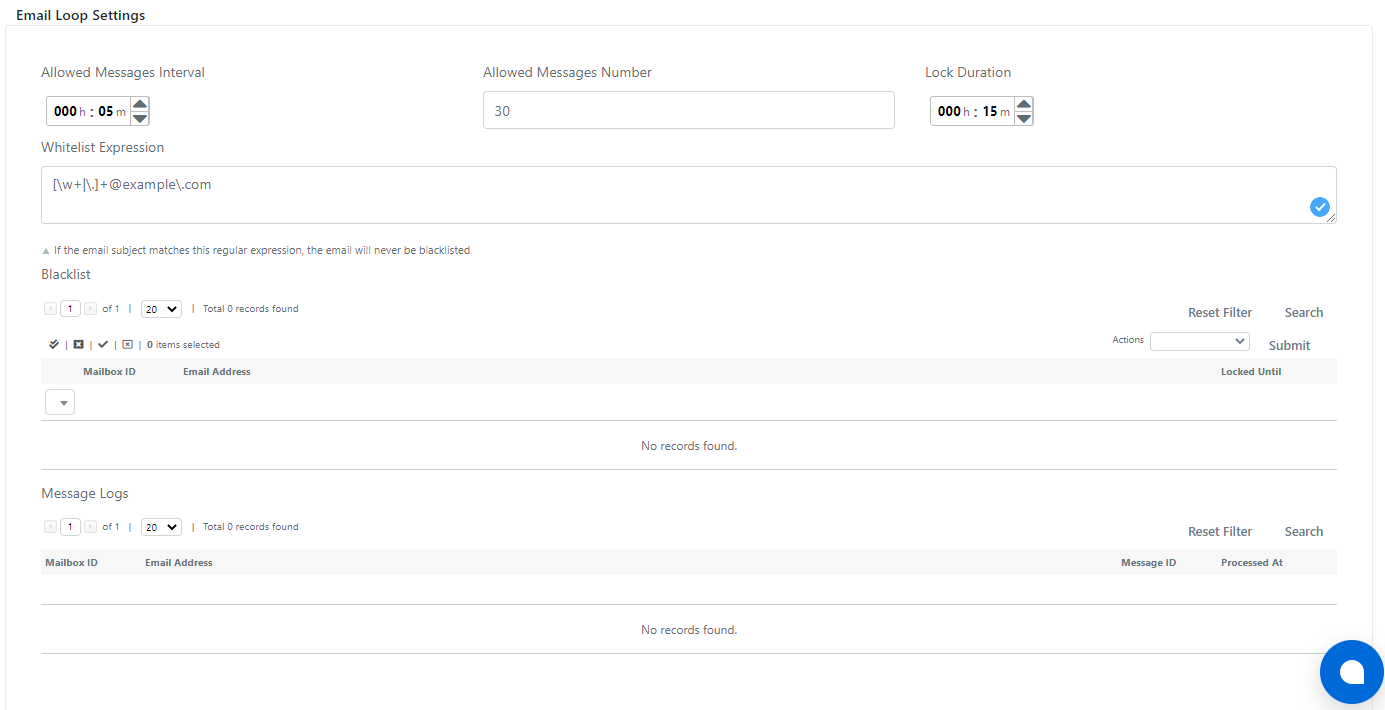
Suppose you want to configure the email management tool to block all email addresses that send more than 30 messages in 5, minutes for 15 minutes but you want to exclude from this rule all addresses that belong to the domain example.com eg. test@example.com
To do this you will need to configure the fields as follows:
- Allowed Messages Interval set to 5 minutes
- Allowed Messages Number set to 30
- Lock Duration set to 15 minutes
- Expression whitelist set to:
[\w+|\.] +@example\.comBelow is an image of the final result:
At this point you will need to click on “Save” or “Apply” to save to the configuration
