Configure Multi-Factor Authentication (MFA)
Multi-factor authentication (MFA) is a security system that requires multiple forms of verification to authenticate a user's identity and grant access. Instead of relying solely on a password, MFA typically combines something you know (like a password) with something you have (such as a smartphone or email address for receiving a code). This guide covers how to configure both email-based and app-based MFA in Deepser.
Create an MFA Configuration
To access the Multi-Factor Configuration, follow these steps:
-
Go to System > Tools > Multi Factor > Configuration.
-
Click the Add Configuration button at the top right of the screen.

- Fill in the fields described below:
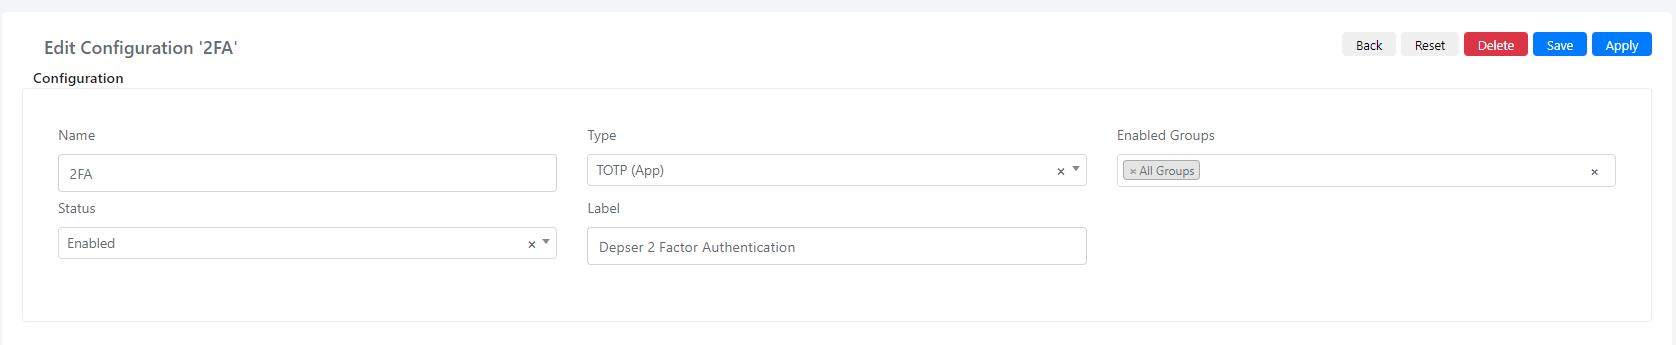
| Field Name | Description |
|---|---|
| Name | Name of the configuration |
| Type | Type of the Multi-Factor Authentication: TOTP (App) or Email |
| Enable Groups | Groups that will be able to use Multi-Factor Authentication |
| Label | Configuration label that will appear in the app |
| Status | Whether the configuration is enabled or disabled |
Enable both types of Multi-Factor Authentication to handle unforeseen events, such as a phone being out of charge or inability to access email.
Enable Email MFA
To enable Email MFA, choose the type Email in the Multi-Factor Configuration.
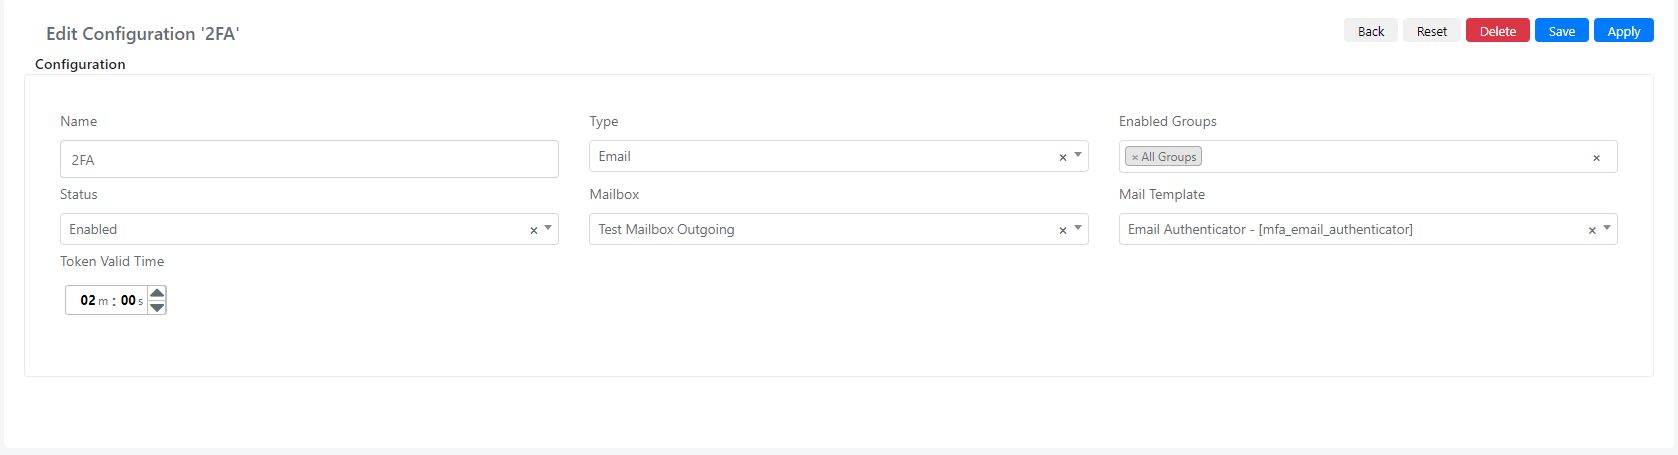
| Field Name | Description |
|---|---|
| Name | Name of the configuration |
| Type | Type of the Multi-Factor Authentication: TOTP (App) or Email |
| Enable Groups | Groups that will be able to use Multi-Factor Authentication |
| Status | Whether the configuration is enabled or disabled |
| Mailbox | The configured mailbox used to send the code via email |
| Mail Template | The email template for the verification code message |
| Token Valid Time | How long the received code remains valid |
After you complete all fields, the code will be sent to the account email address whenever you try to log in.
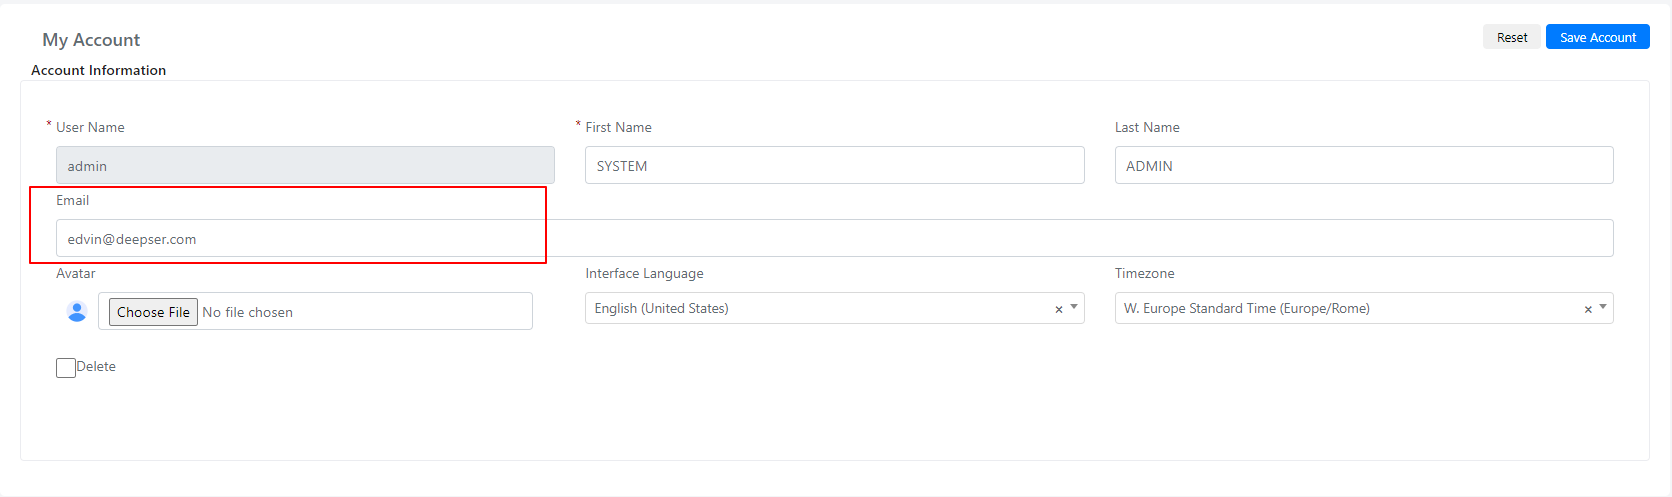
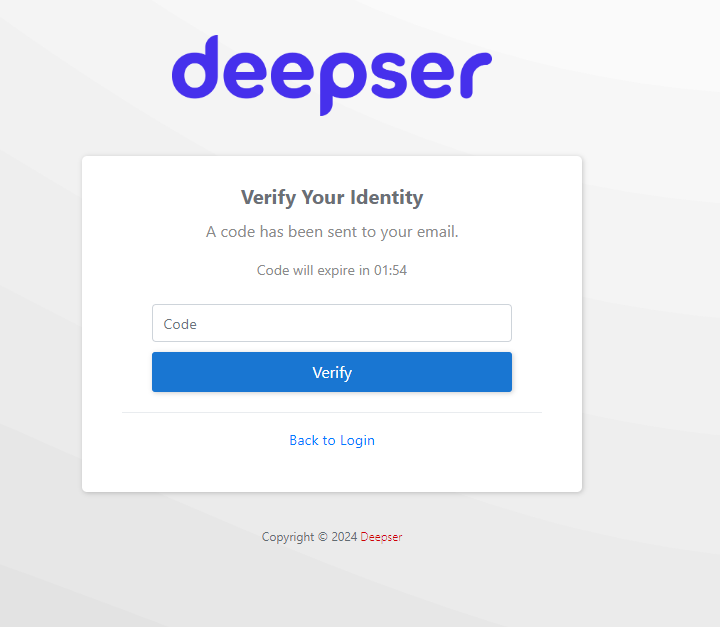
Now every time you log in, you must enter the MFA code received via email.
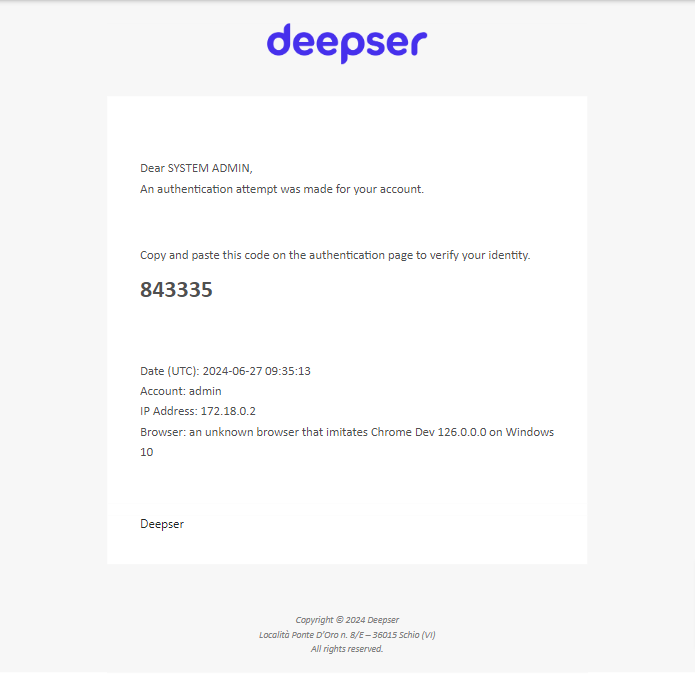
Depending on your email template configuration, this is how the email will appear:
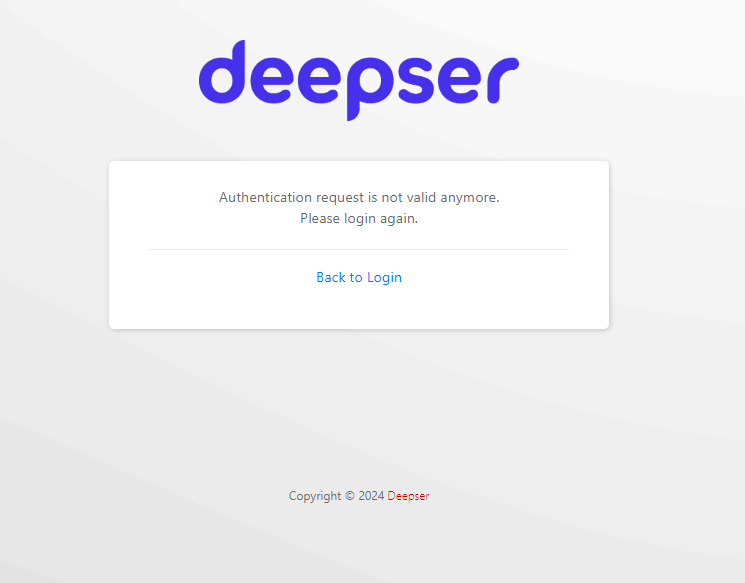
If you fail to enter the code within the configured Token Valid Time, a notification screen will appear.
Useful guides: Out-going mailbox , Email Templates , OAuth Client for Email Integration
Enable App MFA
To activate App MFA in Deepser, follow these steps:
- Go to your account settings.

- Go to the Security tab.
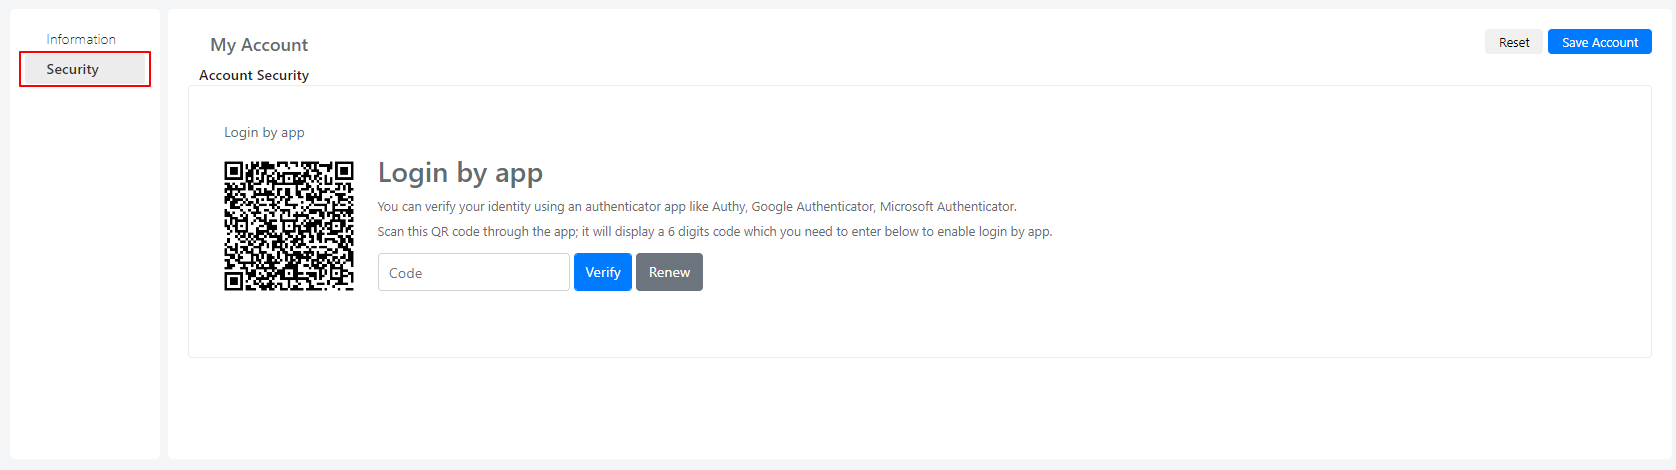
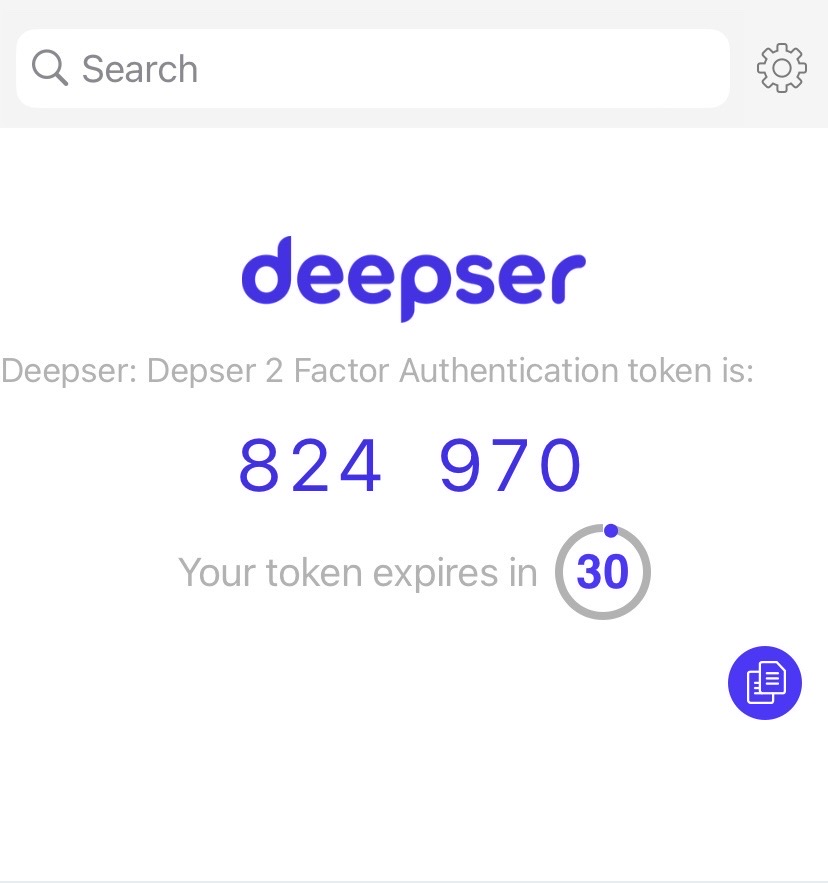
- Scan the QR code using an authenticator app such as Authy, Google Authenticator, or Microsoft Authenticator. The app will display a 6-digit code.
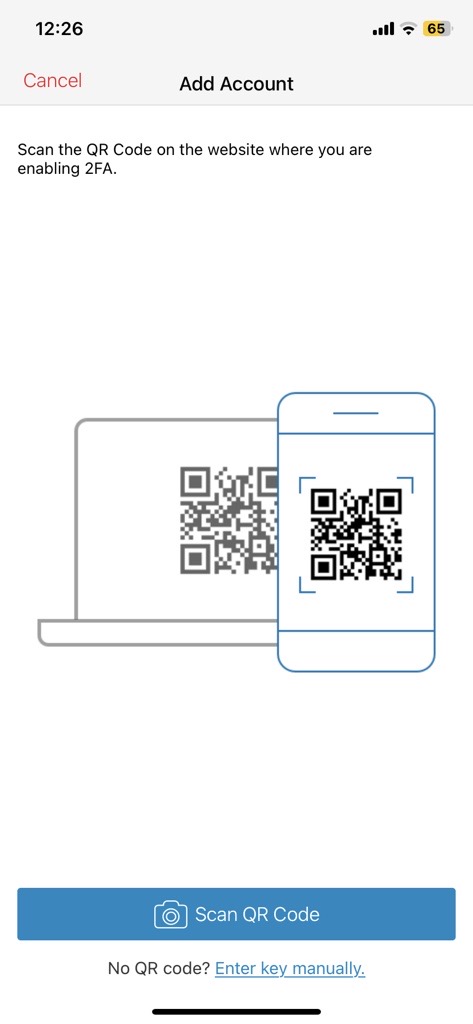
- After scanning, you can see the configuration settings you defined earlier. You can change these settings from Deepser or through the app at any time.
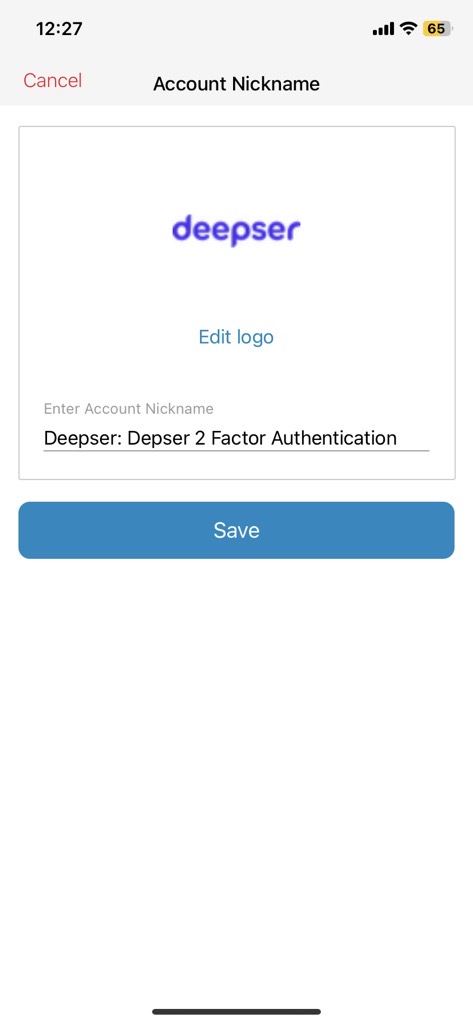
- Enter the 6-digit code from the app into the Account Security field.
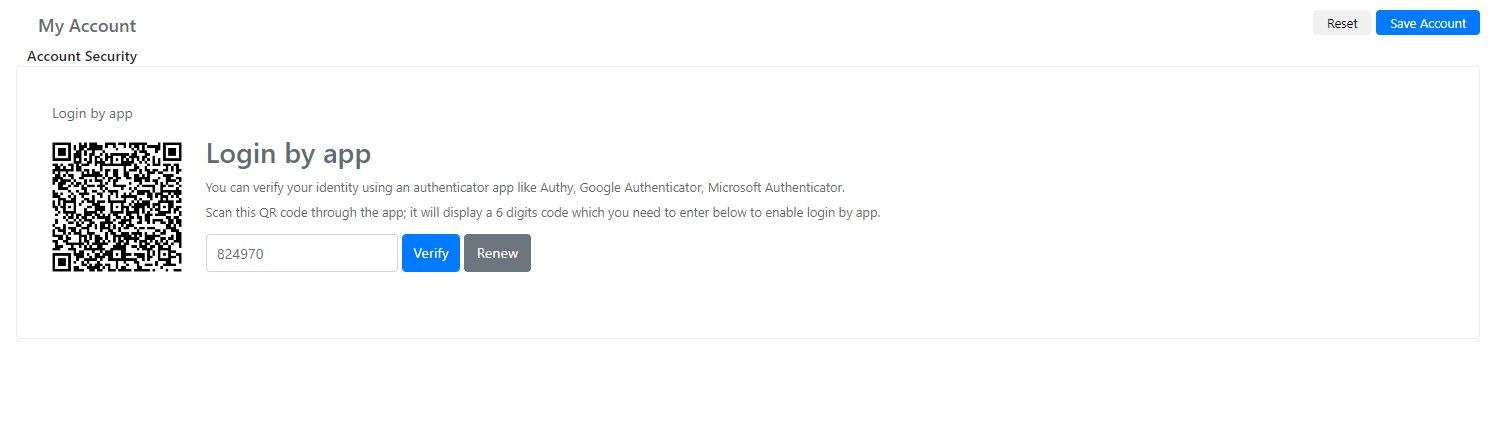
- Click Verify. The following confirmation screen will appear:
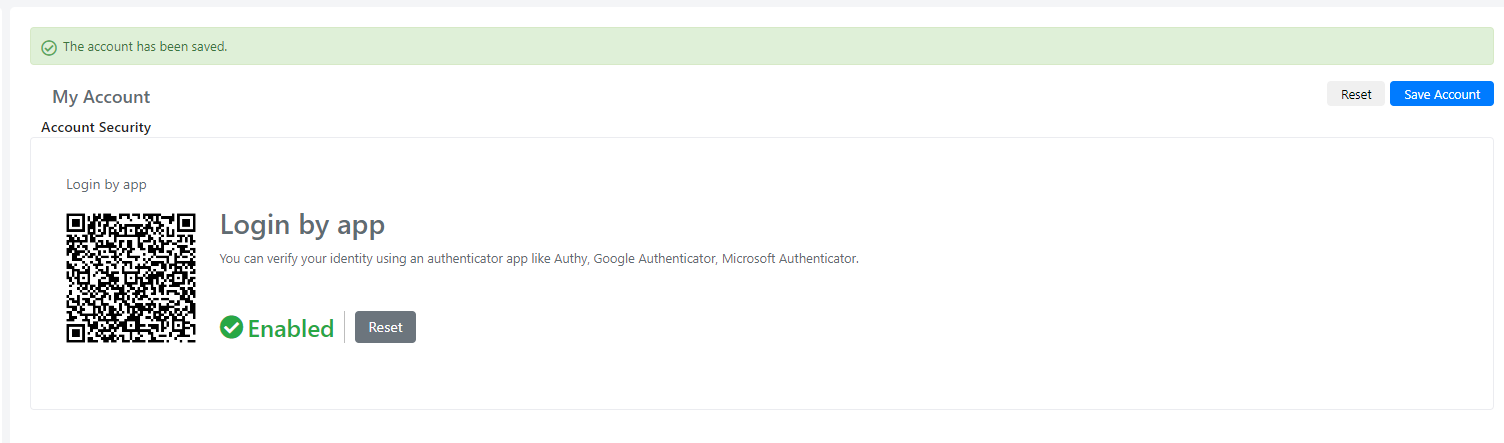
Now every time you log in, you must enter the MFA code from the authentication app.
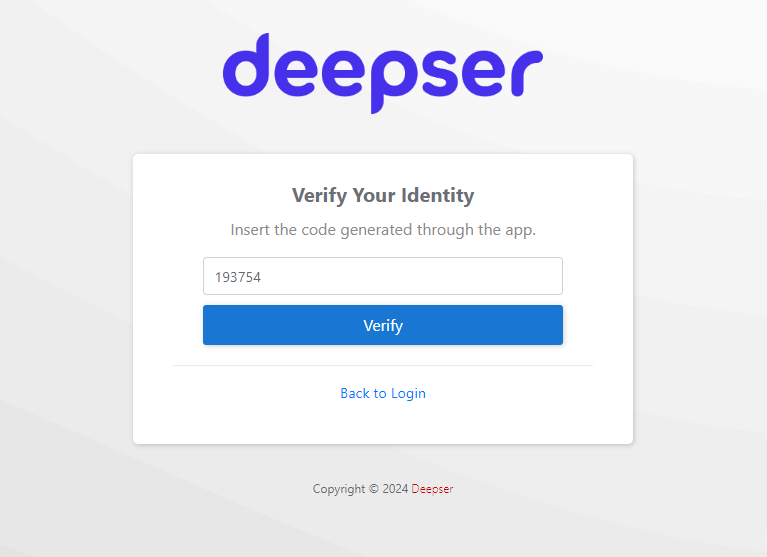
Each verification code generated for Deepser's MFA remains valid for 30 seconds, after which a new code is automatically generated.
Authentication Request
Each login request is stored in Deepser. You can view it by going to System > Tools > Multi Factor > Authentication Request.
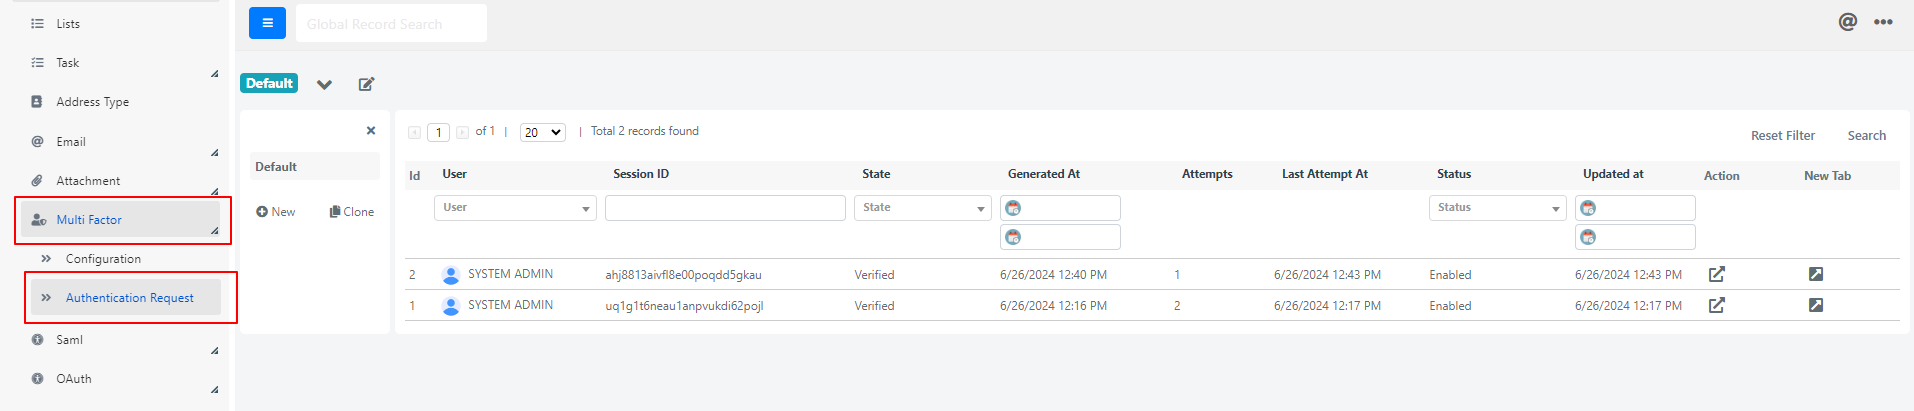
| Field Name | Description |
|---|---|
| User | The user that requested to log in |
| Session ID | Unique ID for each login session |
| State | Shows whether the login was verified or not |
| Generated At | The date and time the request was generated |
| Attempts | How many times it took for the user to enter the correct authentication code |
| Last Attempt At | Date and time of the user's last login attempt |
| Last User Agent | Web browser or application most recently used to access Deepser |
| Last IP Address | Numerical label of the most recent device network used to access Deepser |
| Status | Whether the session is enabled or disabled |