Create and Manage Roles
Roles are a key component of visibility management in Deepser. They allow you to control which modules are accessible to specific user accounts (e.g., Password, CRM) and determine whether users can access the Deepser Backend or only the User Portal. This guide explains how to create a new role and assign resources to it.
Create a Role
To create a role in Deepser, follow these steps:
-
Go to System > Permissions > Roles.
-
Click Add New Role.
-
Set the Role Name field to define the name for the new role.
-
In the Type field, define the type for this role by completing the "Type" dropdown.
-
Move to the Roles Resources tab, where you can define which resources will be visible to users assigned this role. Set the "Resource Access" field to Custom and select the resources you want to expose.
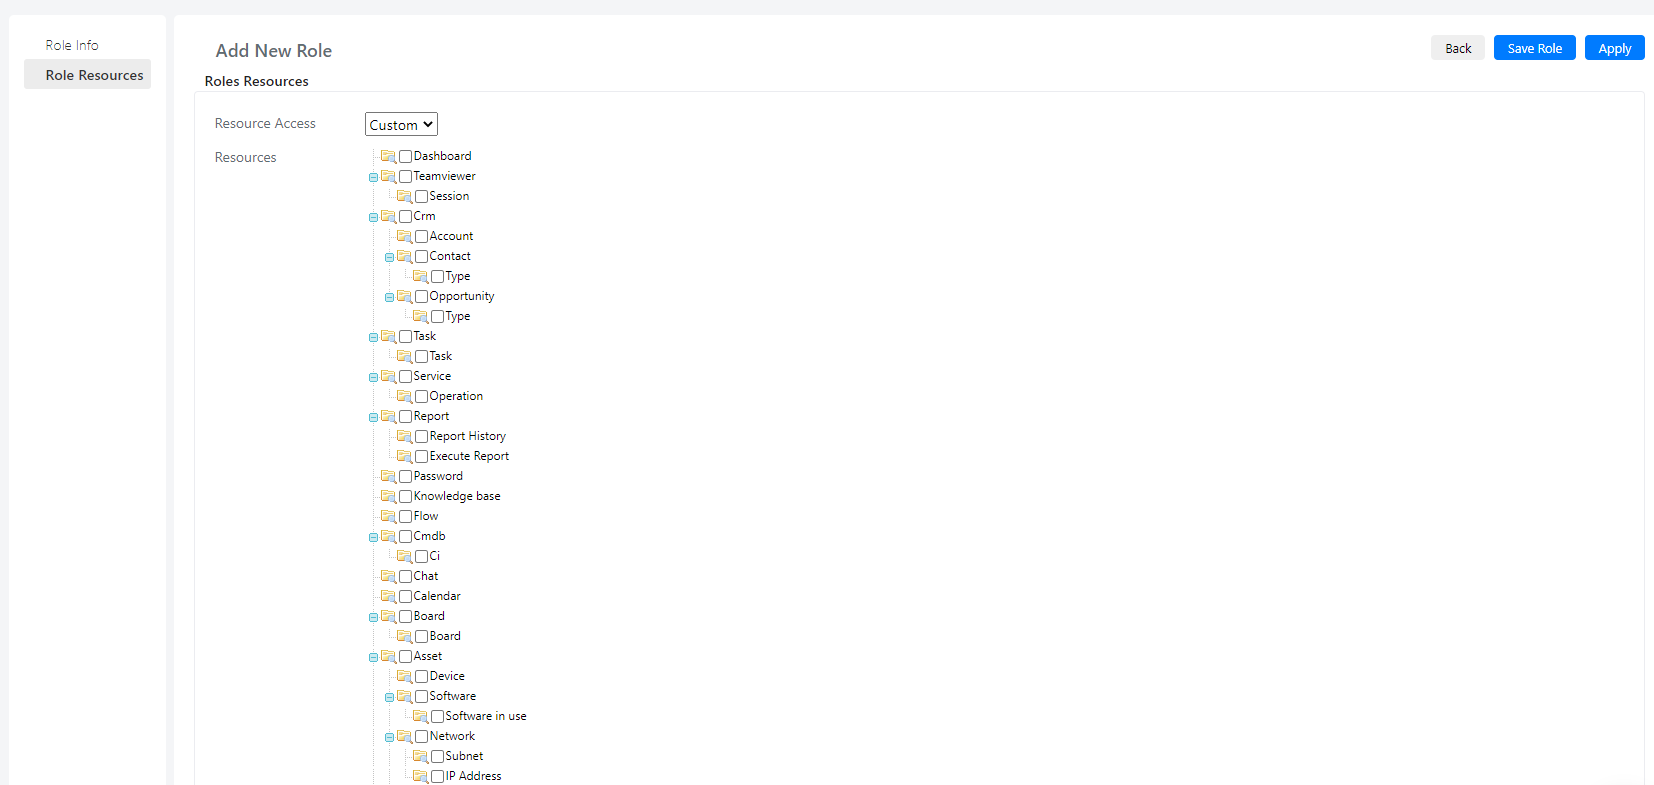
If you want the role to have no visibility limitations, select All from the dropdown instead of Custom. This removes all visibility restrictions on the role, but does not affect the visibility configured for groups.
- Click Apply or Save to confirm.
View Users Assigned to a Role
Once the role has been created, a third tab appears in the list: Role Users.
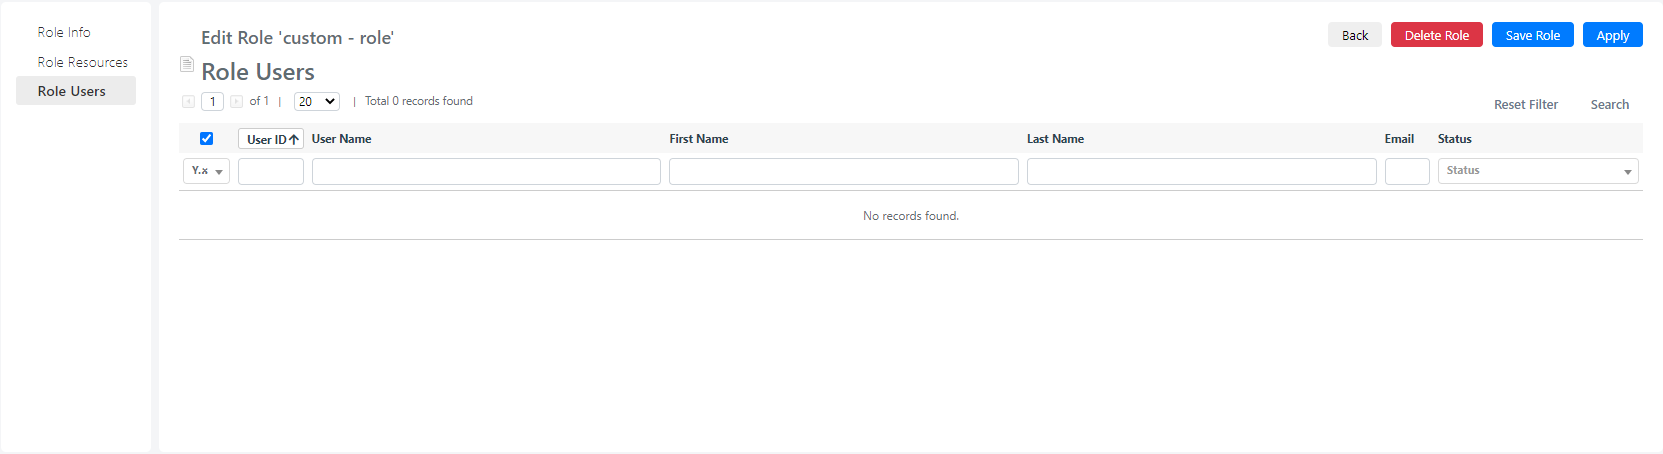
Use this tab to get a quick overview of all users who have been assigned that role.