Integrate Google Calendar with Deepser
This guide explains how to connect Google Calendar to Deepser as an external calendar source. You will create an OAuth client in Deepser, configure a Google Cloud project with the appropriate credentials, and link the two platforms for calendar synchronization.
Create an OAuth Client in Deepser
- In the Deepser Backend, navigate to System > Tools > OAuth > Client.
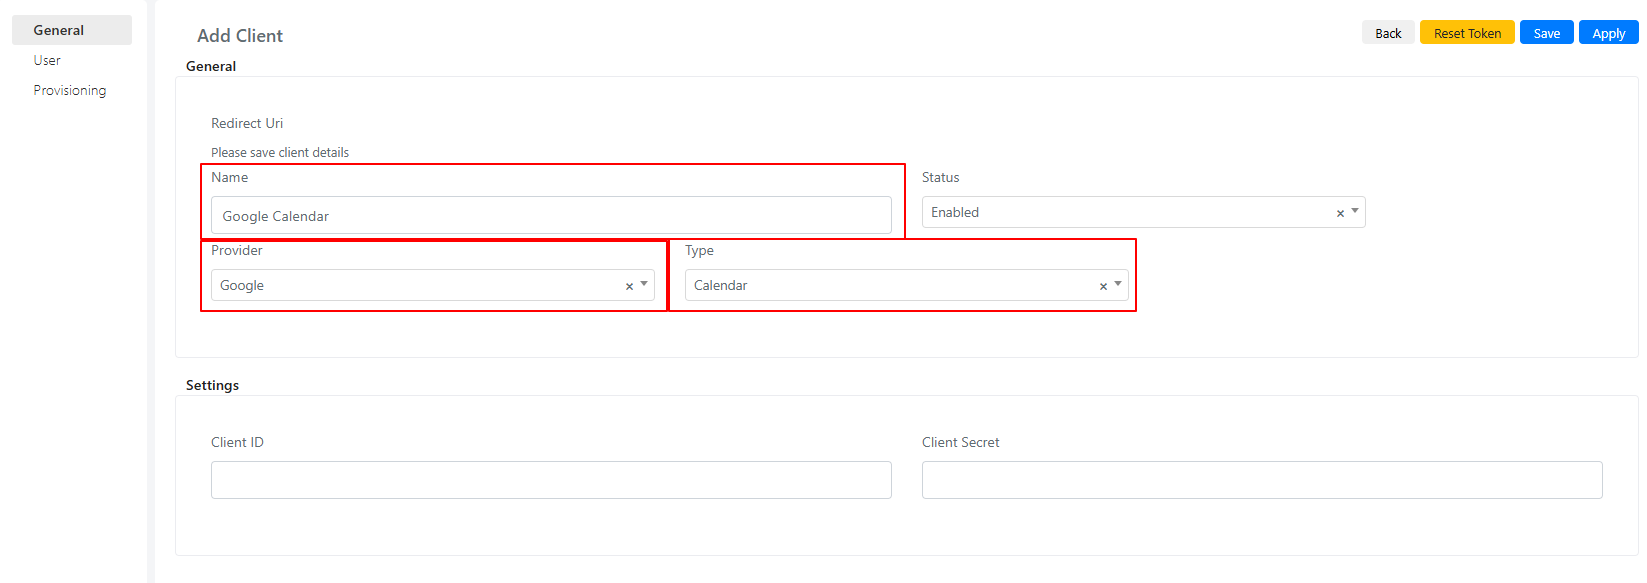
- Add a new Client. Enter a name, set the type as Calendar, set the provider as Google, and save.
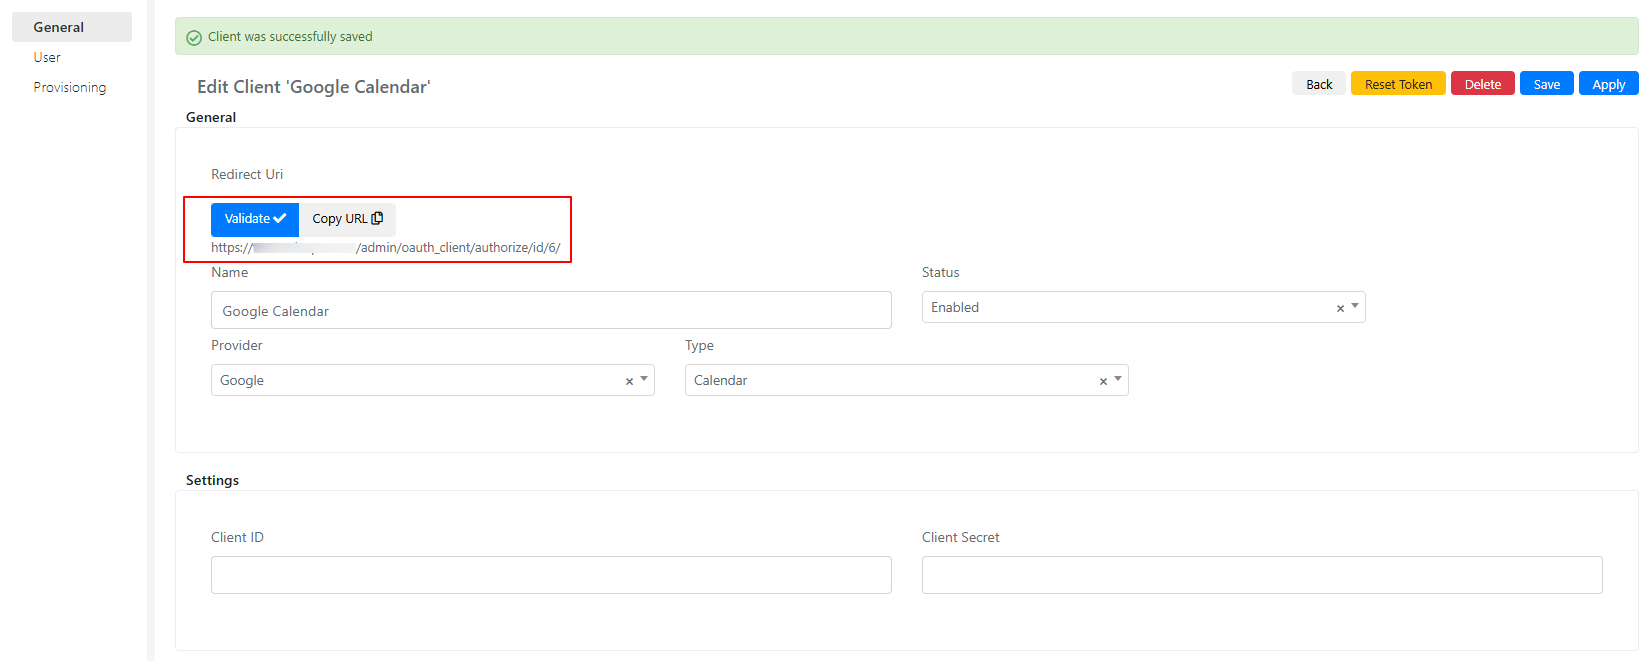
After saving, copy the generated Redirect URI.
Create a Google Cloud Project
Go to the Google Cloud Platform and log in. Click on the menu at the top where all the projects are listed.
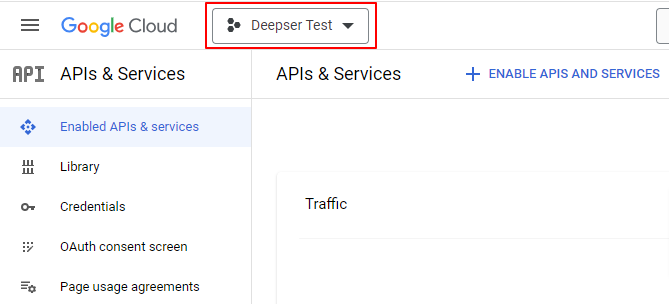
A window will open where you can create a new project using the New Project button. Give your new project a name and click the Create button.

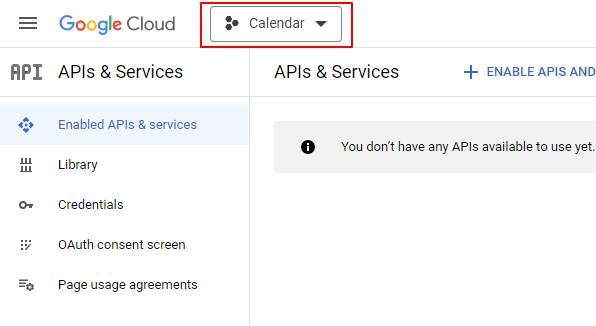
To open the newly created project, repeat the process above: click on the menu that groups all the projects and click on the name of the newly created project to start the configuration.
Configure OAuth Consent Screen
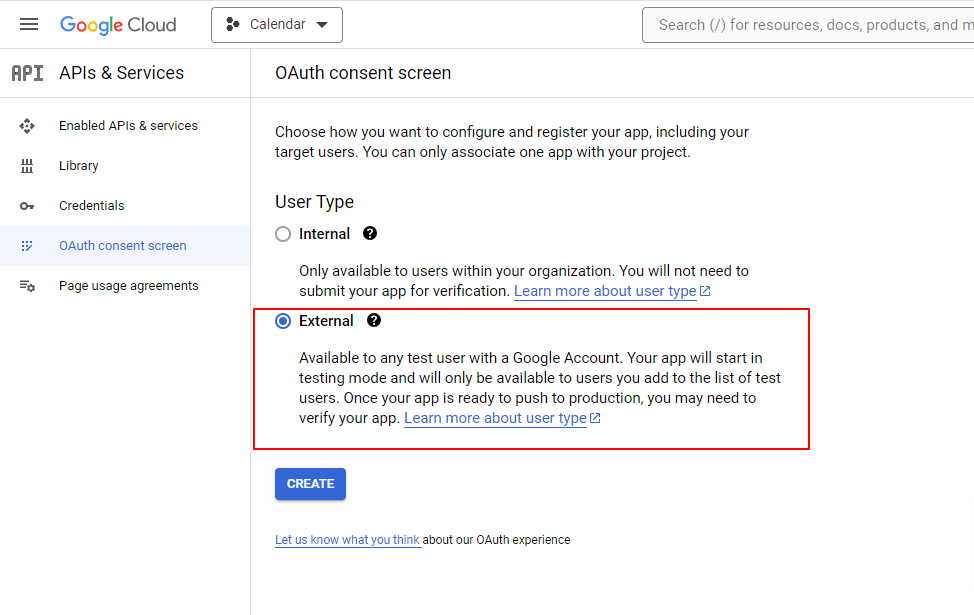
Once you have entered the project, click on the OAuth Consent Screen section in the menu on the left. In User Type, select External and proceed by clicking Create.
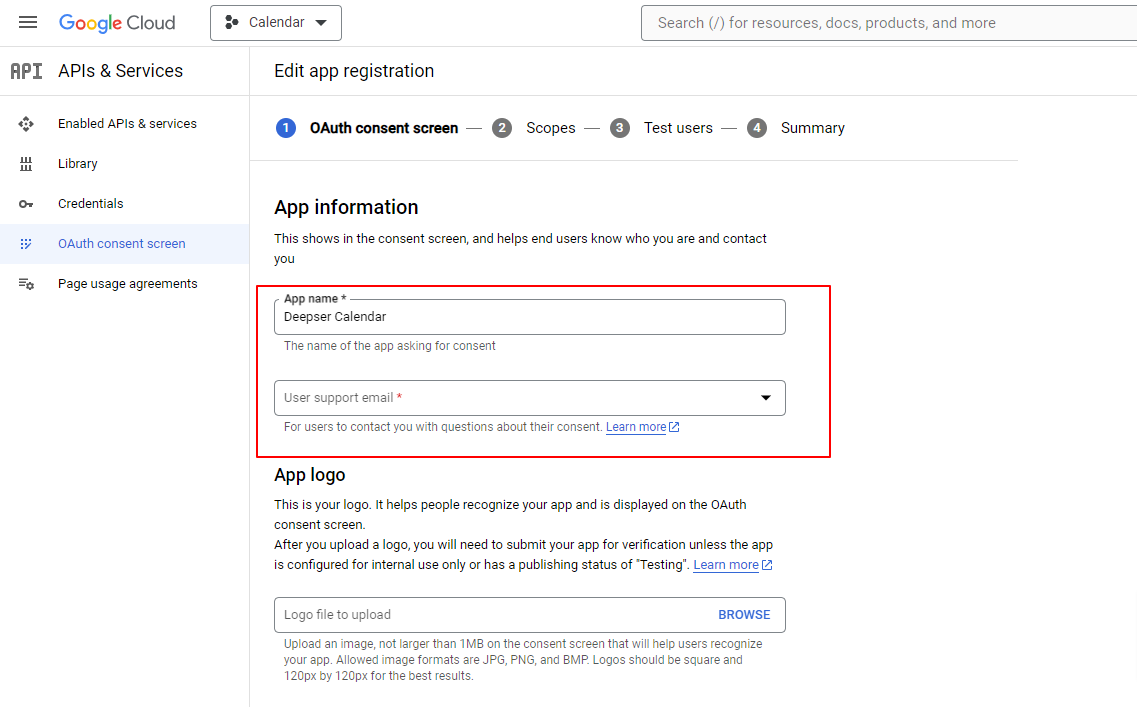
Give the application a name, enter the email used for access in User Support Email and in Developer Contact Information. Proceed to Save & Continue.
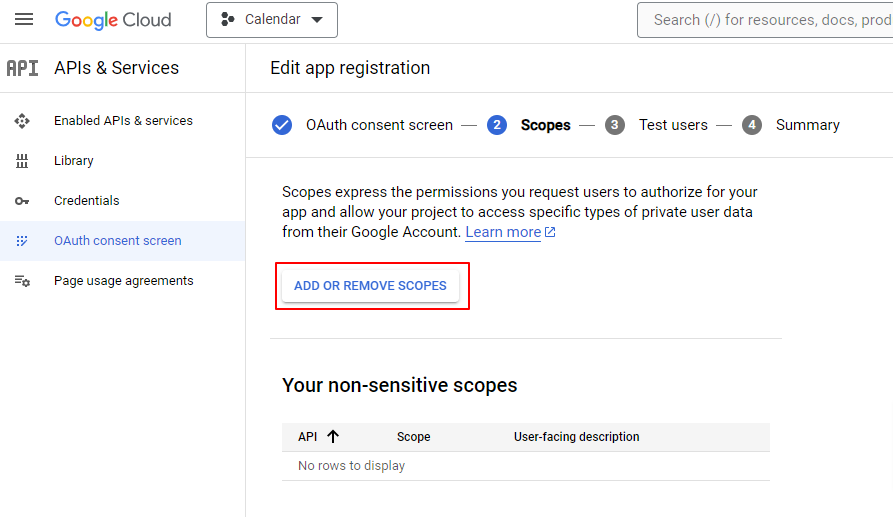
Under Scopes, press the Add or Remove Scopes button.
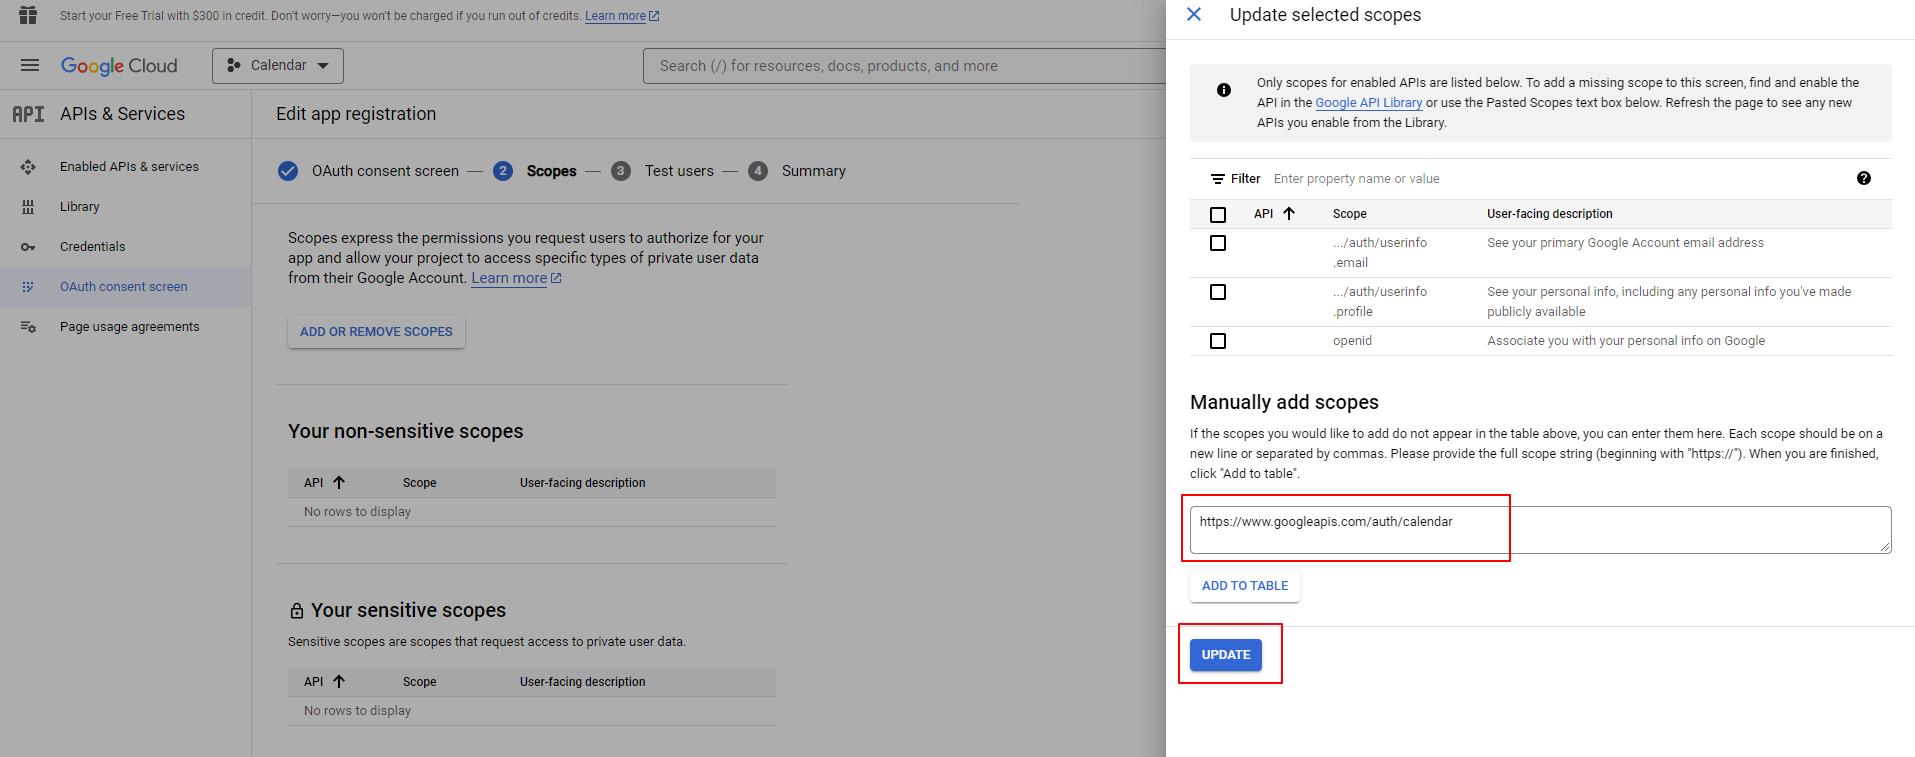
In the form below the paragraph Add Manually, copy and paste the following address: https://www.googleapis.com/auth/calendar. Then click Add to Table, and click Update. Click Save and Continue to proceed.
In the Trial Users section, click on Add User and enter the email address with which you logged in to the platform.
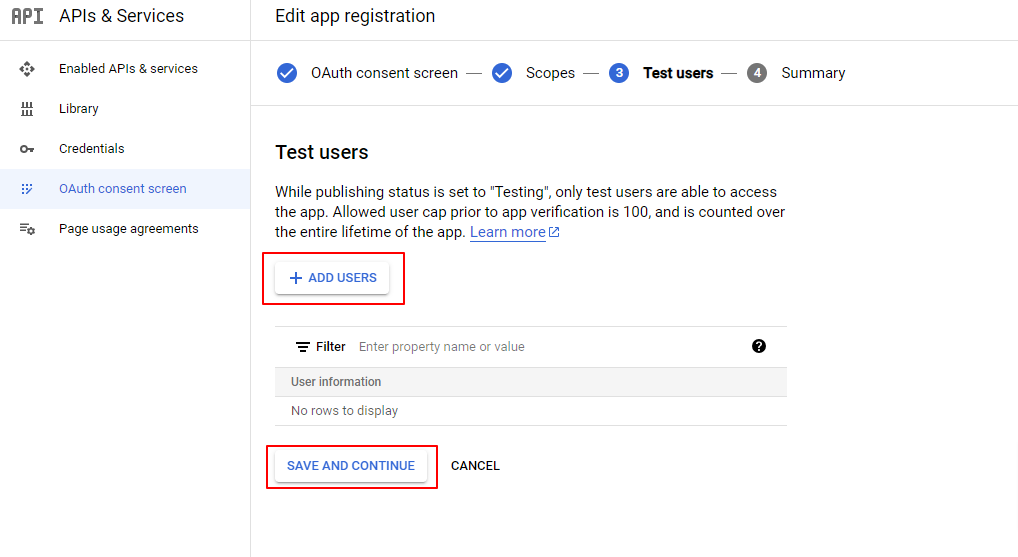
Under Summary, click Save & Continue.
Create Credentials
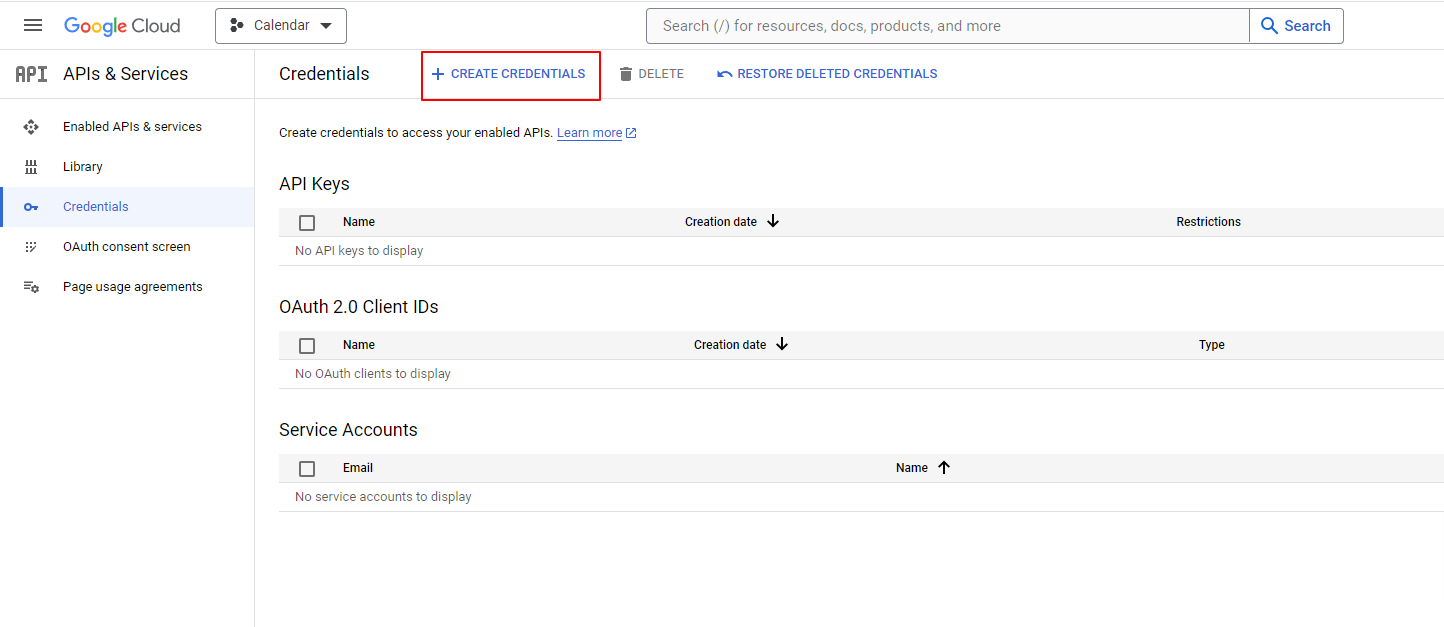
Go to the Credentials section in the menu on the left and create a new OAuth Client ID through the Create Credentials button.
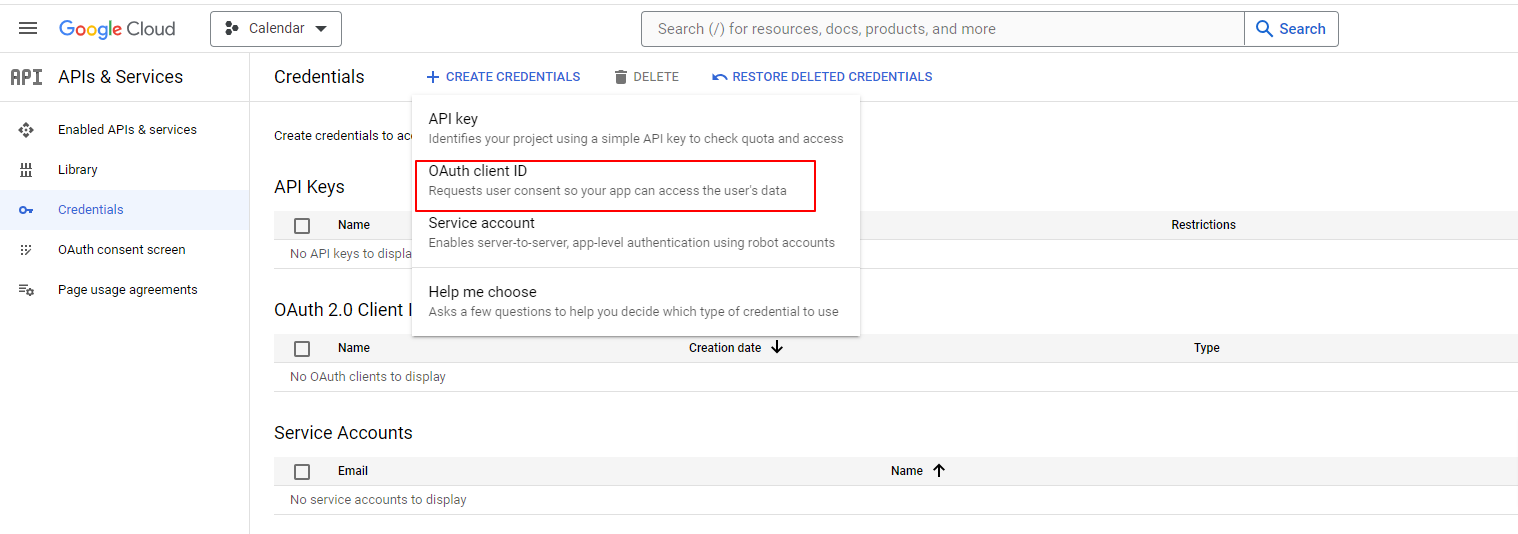
In the drop-down menu, select OAuth Client ID.
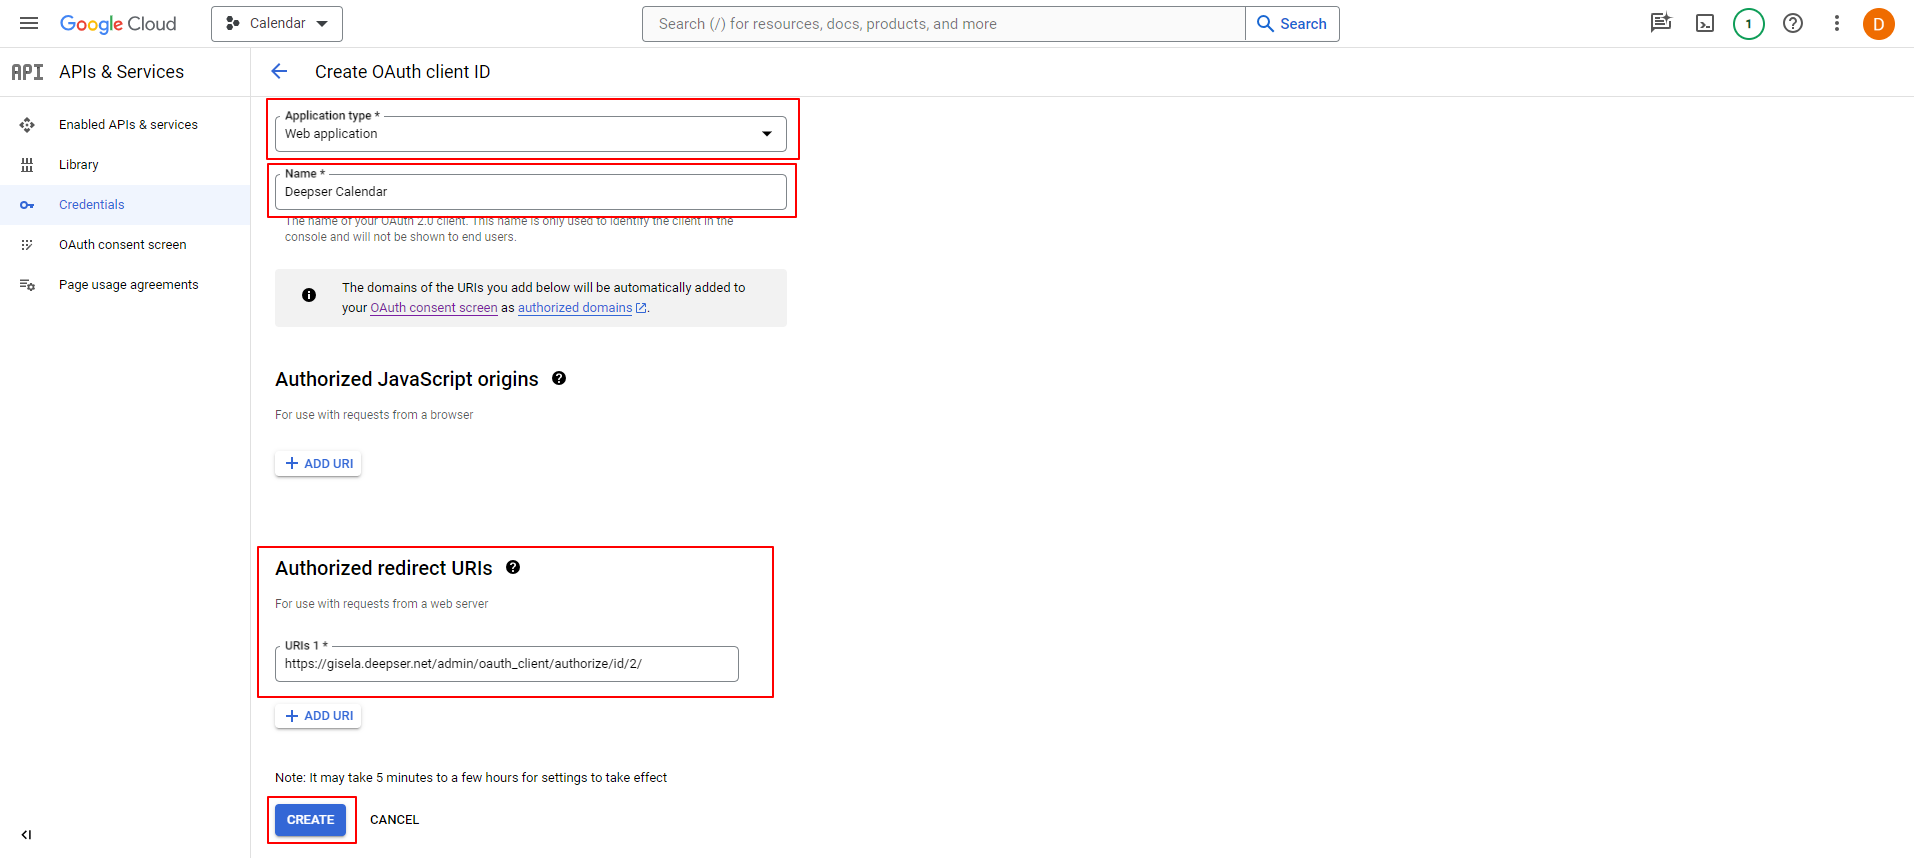
Select the application type Web Application, give it a name, and under Authorized Redirect URIs, paste the URI that you previously generated and copied. Finally, click Create.
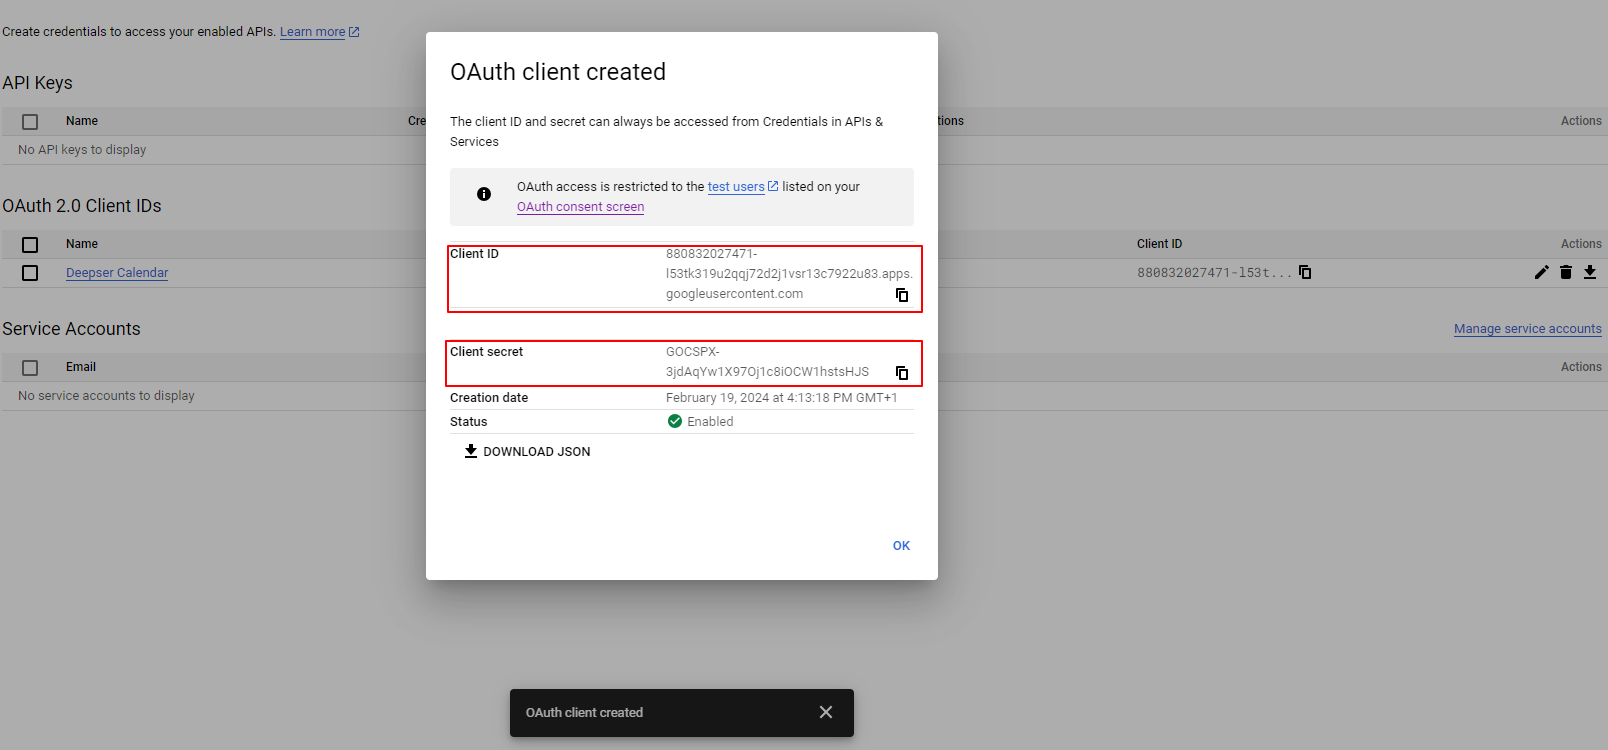
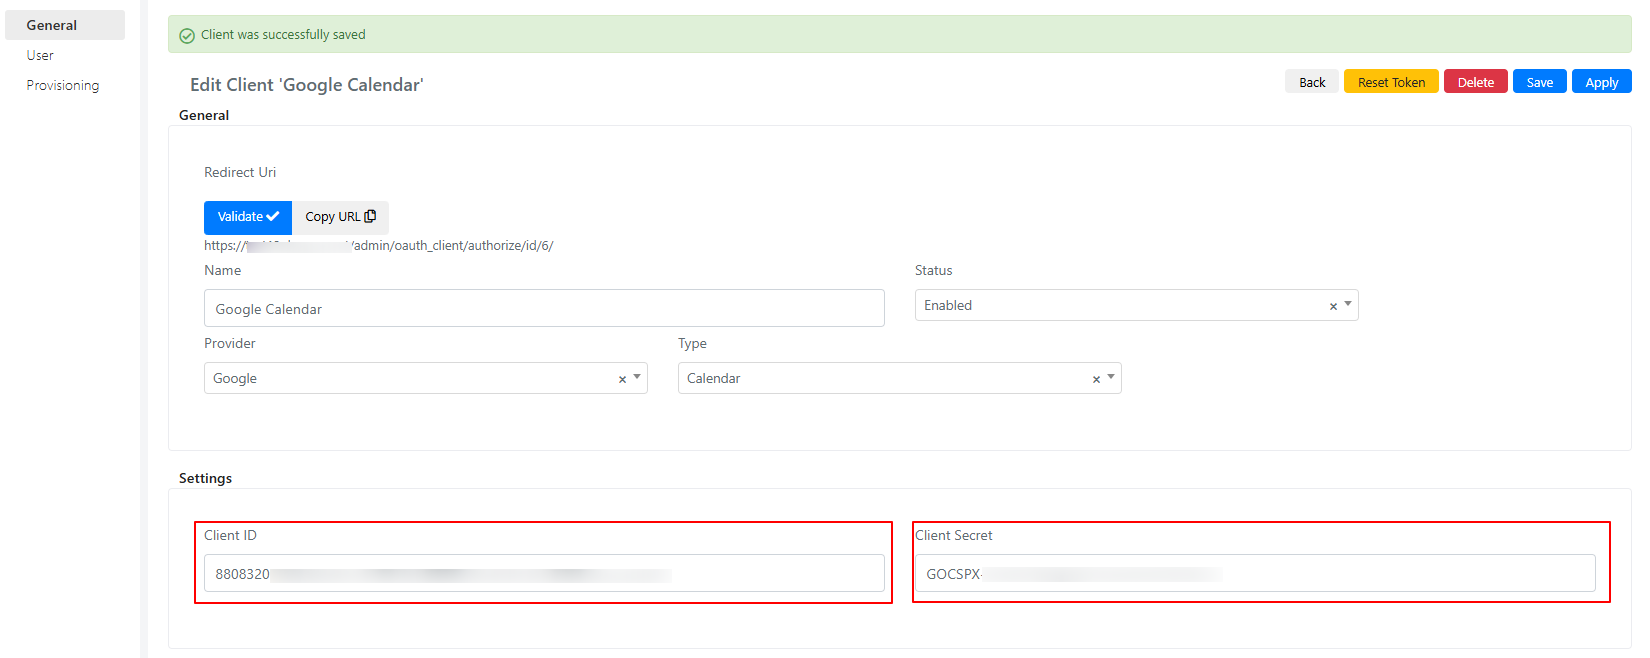
The Client ID and Client Secret will be generated. Copy them and enter them into the respective fields of the OAuth Client you previously configured in Deepser.
Complete Deepser Configuration
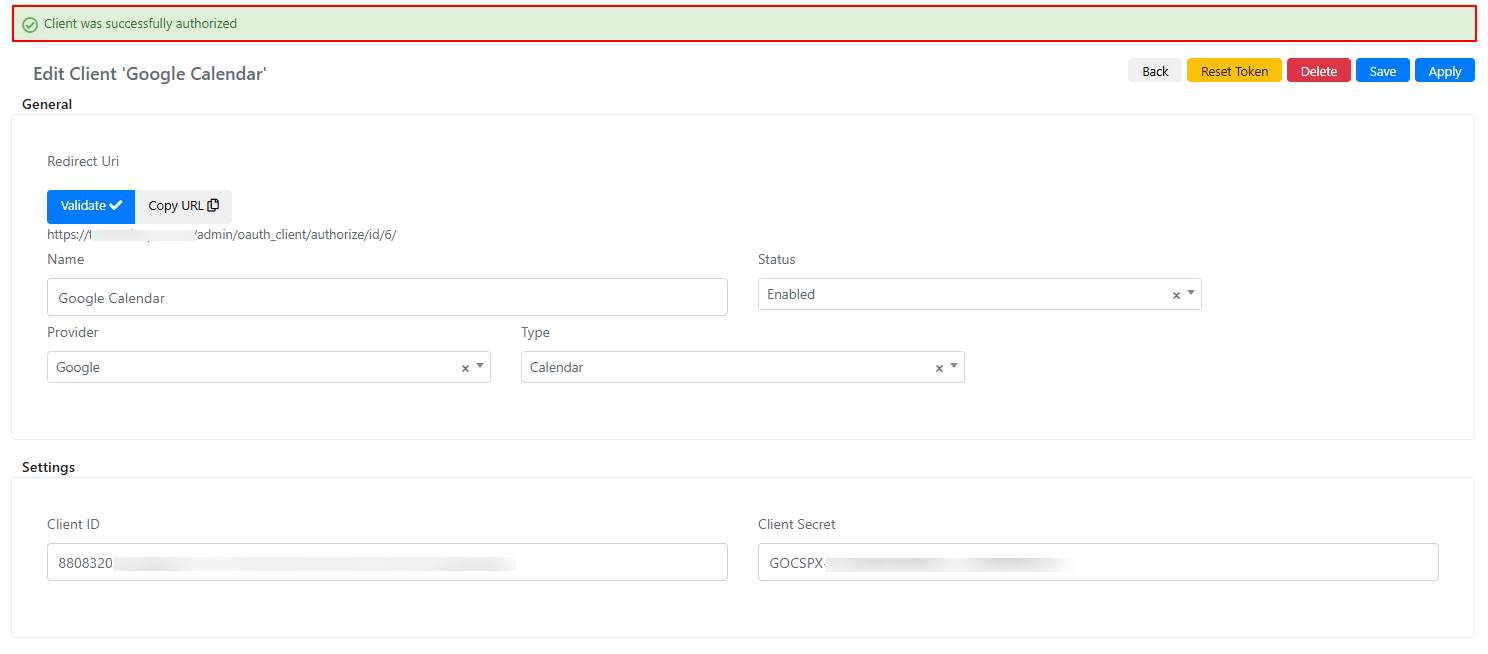
After saving, proceed with the Client Validation by clicking on the Validate button.
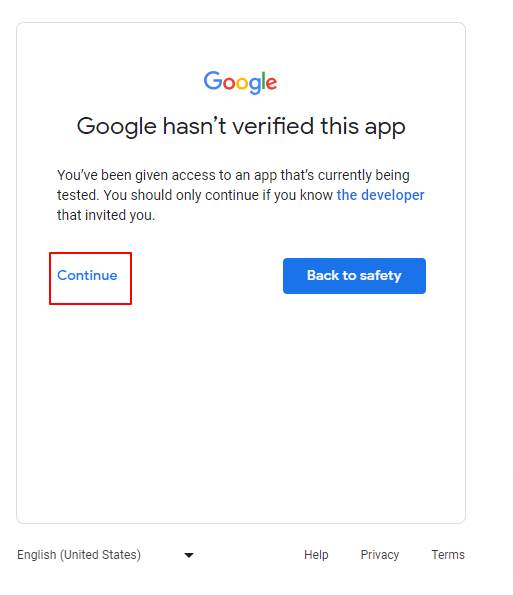
Then log in and click Continue.
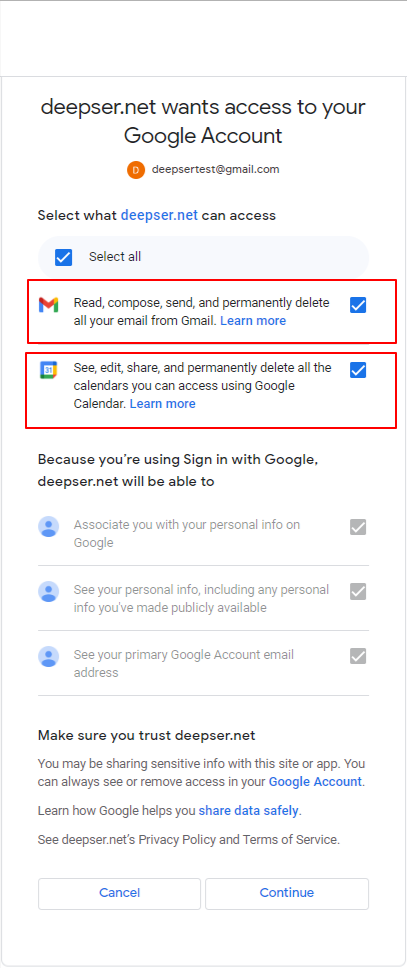
Tick the boxes regarding the read/write permission of Google calendars and click Continue.
If all the steps have been completed correctly, the Client will be validated and active.
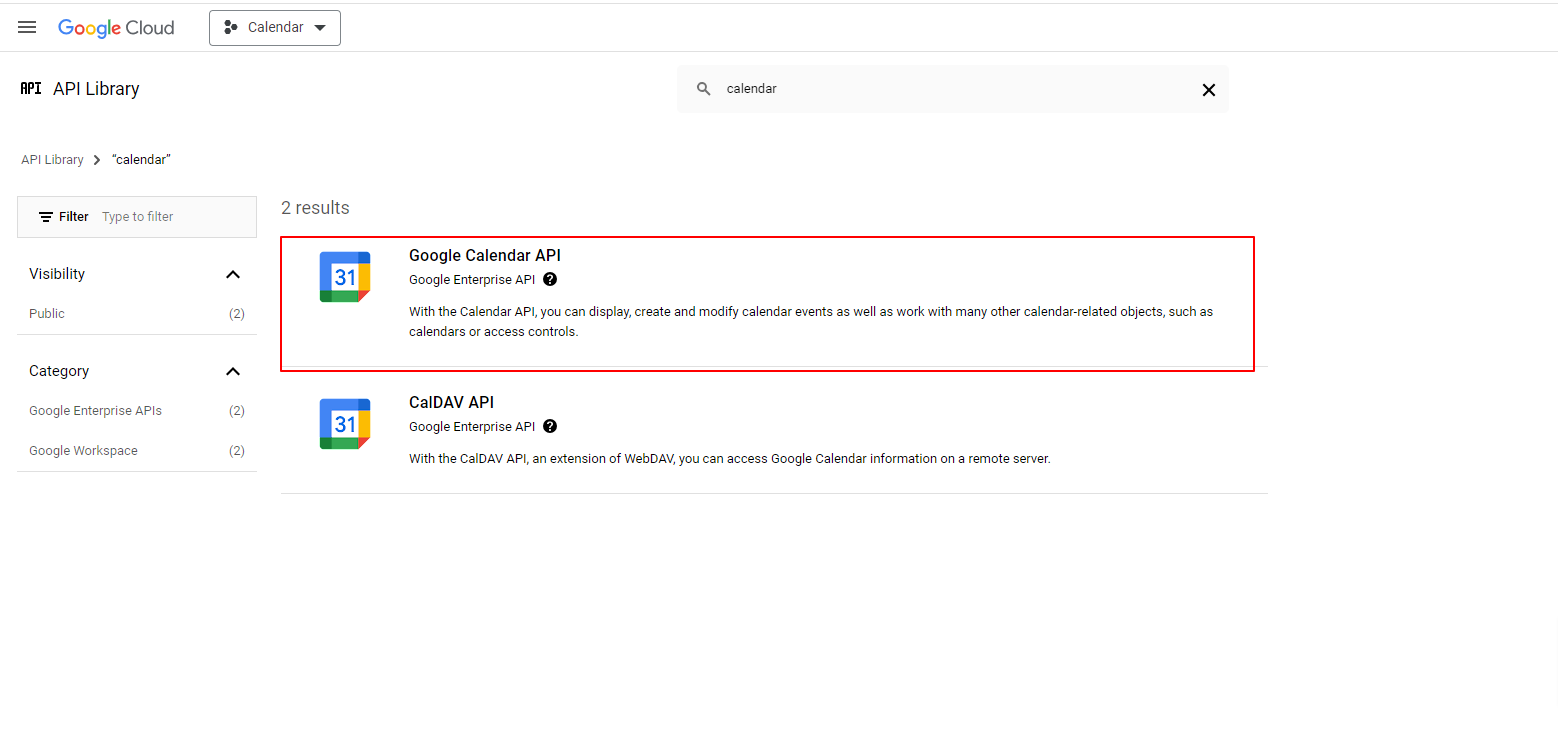
On the Google platform, go to Library. Then search for Calendar.
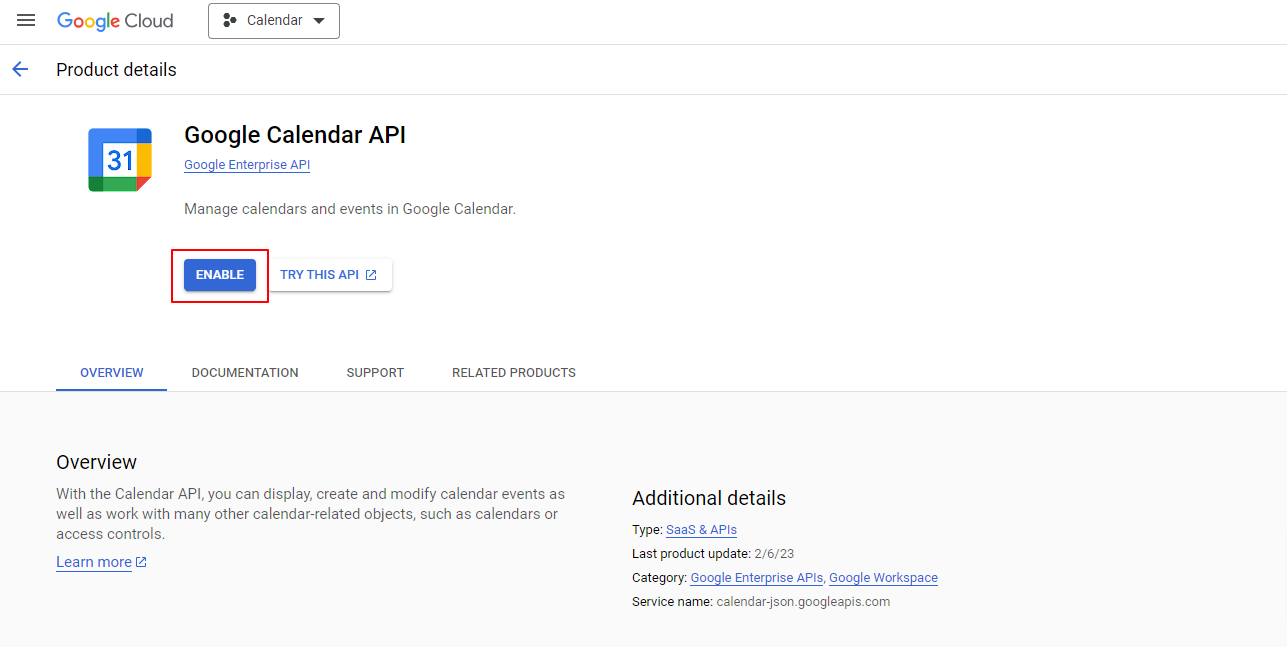
Enable Google Calendar.
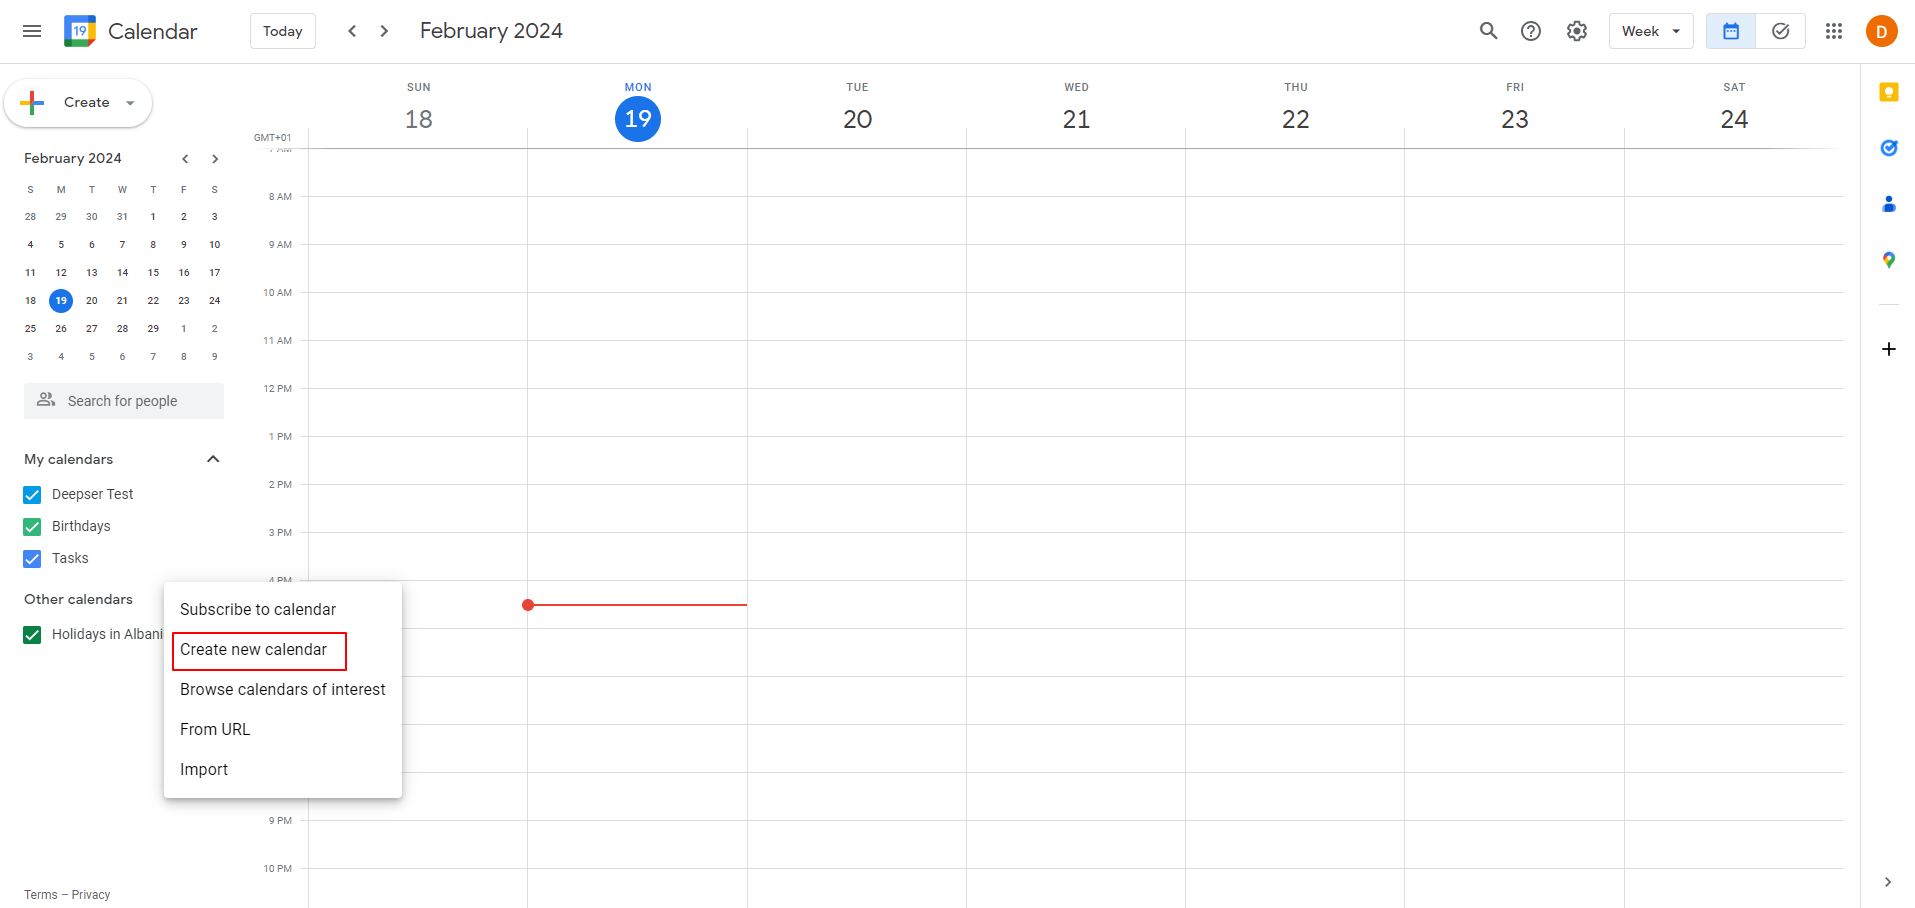
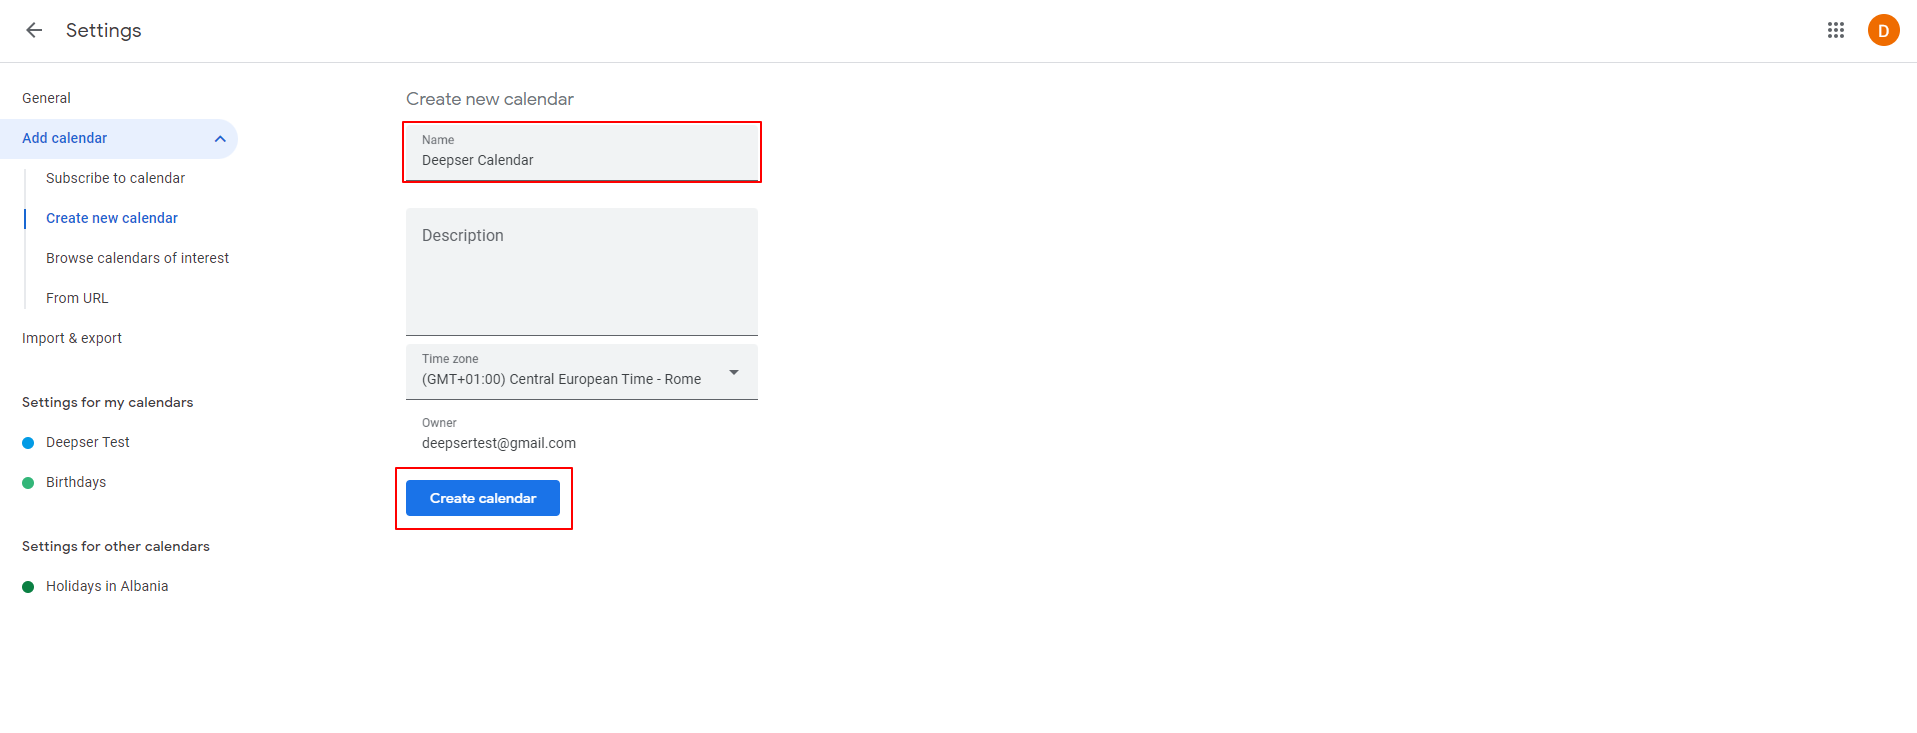
Go to Google Calendar and create a new calendar to share with Deepser, or you can use the calendars already present by default.
To create a new calendar, click on the + button next to the Other calendars label.
Give the calendar a name, a description (if any), and the desired time zone. Save with Create Calendar.
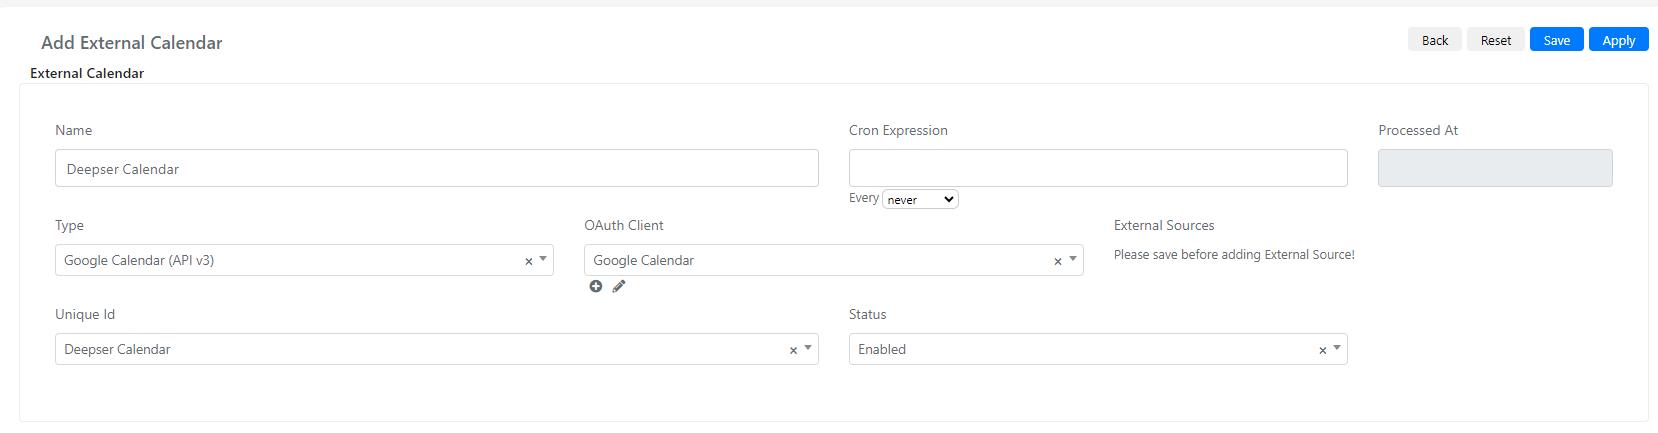
In the Deepser Backend, go to System > Calendars > External > Calendar and add a new calendar.
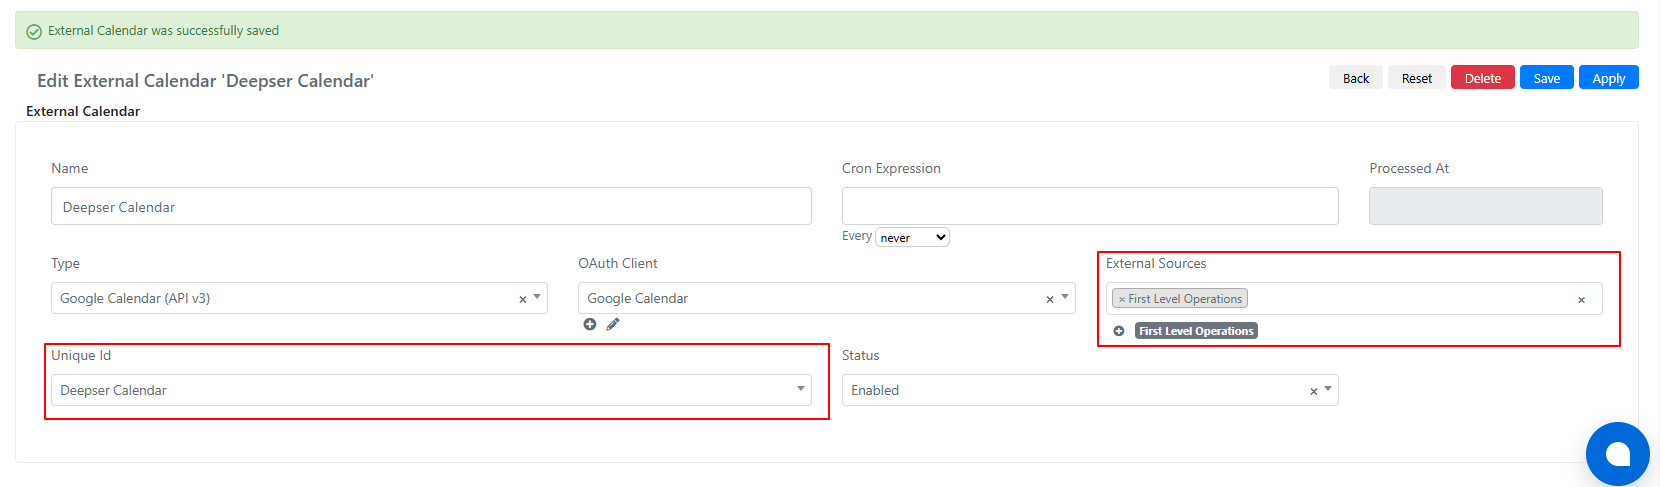
Give the calendar a name, set the Type to Google Calendar, in OAuth Client select the Client you previously created, and in Unique Id select the desired calendar.
Related Articles
- External Calendar Configuration -- General external calendar setup
- Integrate Outlook Calendar with Deepser -- Outlook Calendar integration
- Calendar Usage -- Access configured calendars