Configure the CMDB Grid
You can customize the CMDB grid in the User Portal to control which columns and data are visible to your end users. This guide covers both basic grid layout configuration and advanced scripted filtering.
Basic Grid Configuration
- Go to System > Portal > CI and click the pencil button at the top left. The following screen will open:
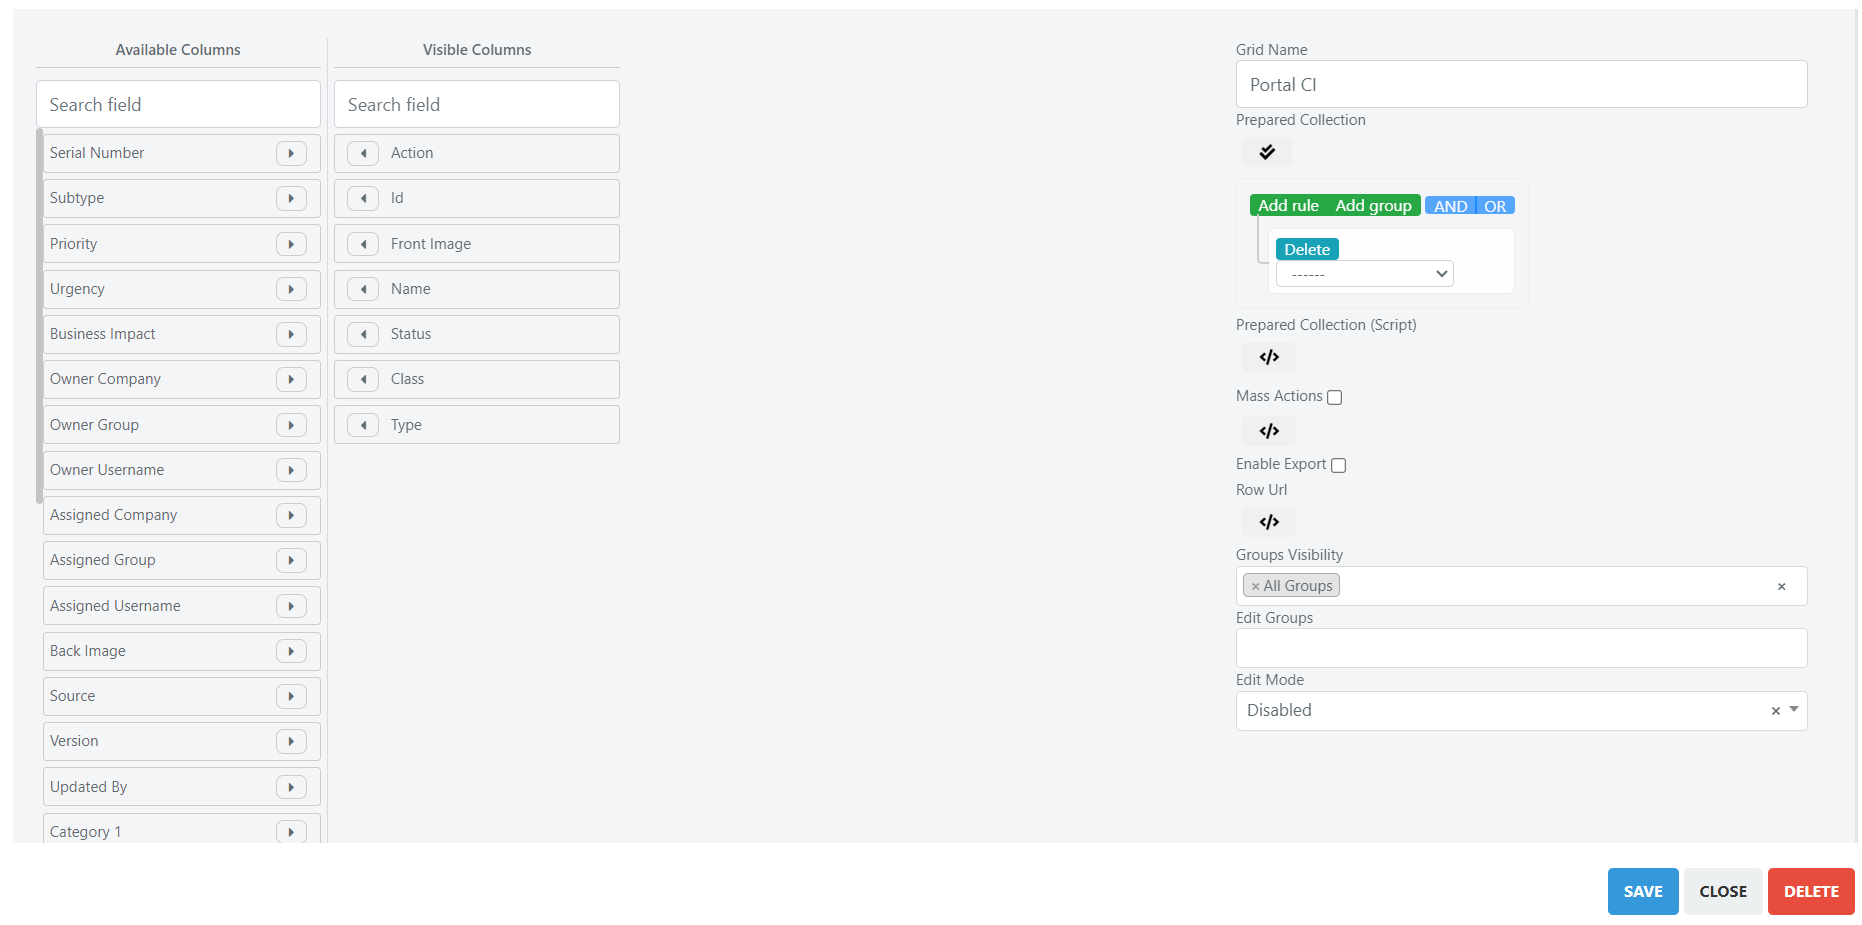
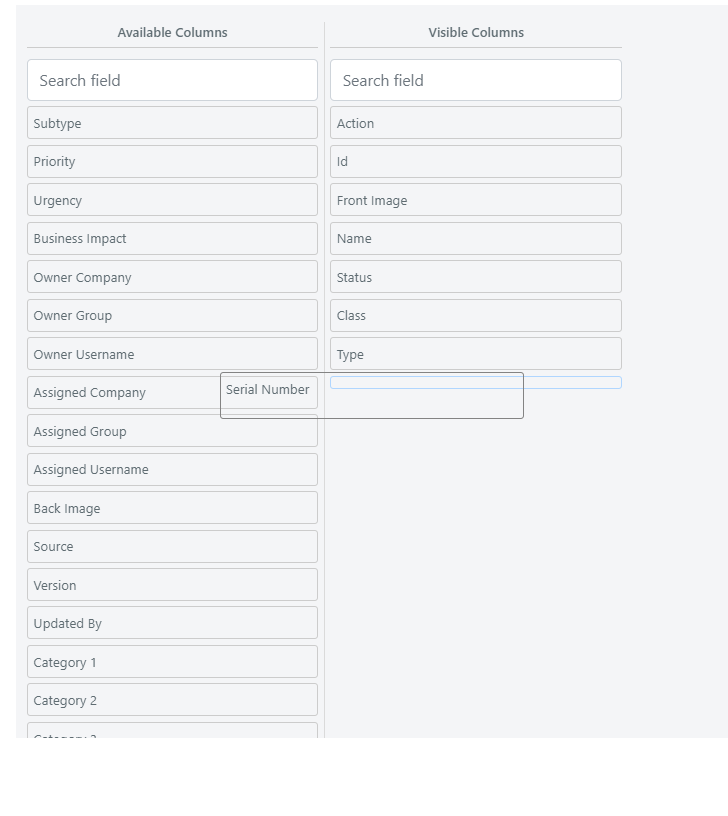
- Add new fields to the grid by dragging them from the Available Columns list to the Visible Columns list, as shown in the image below.
- Optionally, modify which CIs are visible by configuring the query builder. In the example below, only CIs belonging to the "Locations" class are displayed.

- Click Save to apply your changes.
These configurations apply to all end users. For more granular control, use the advanced configuration options described below.
Advanced Configuration
Deepser allows you to define custom scripts that specify advanced conditions for the collection of CIs displayed in the User Portal. This gives you fine-grained control over which CIs are visible to specific users.
Example 1: Filter by Hardcoded Usernames
In this example, certain end users see all CMDB categories, while all other users only see CIs belonging to Class 1 (Location).
- Go to System > Portal > CI and click the pencil-shaped button. The following screen will open:
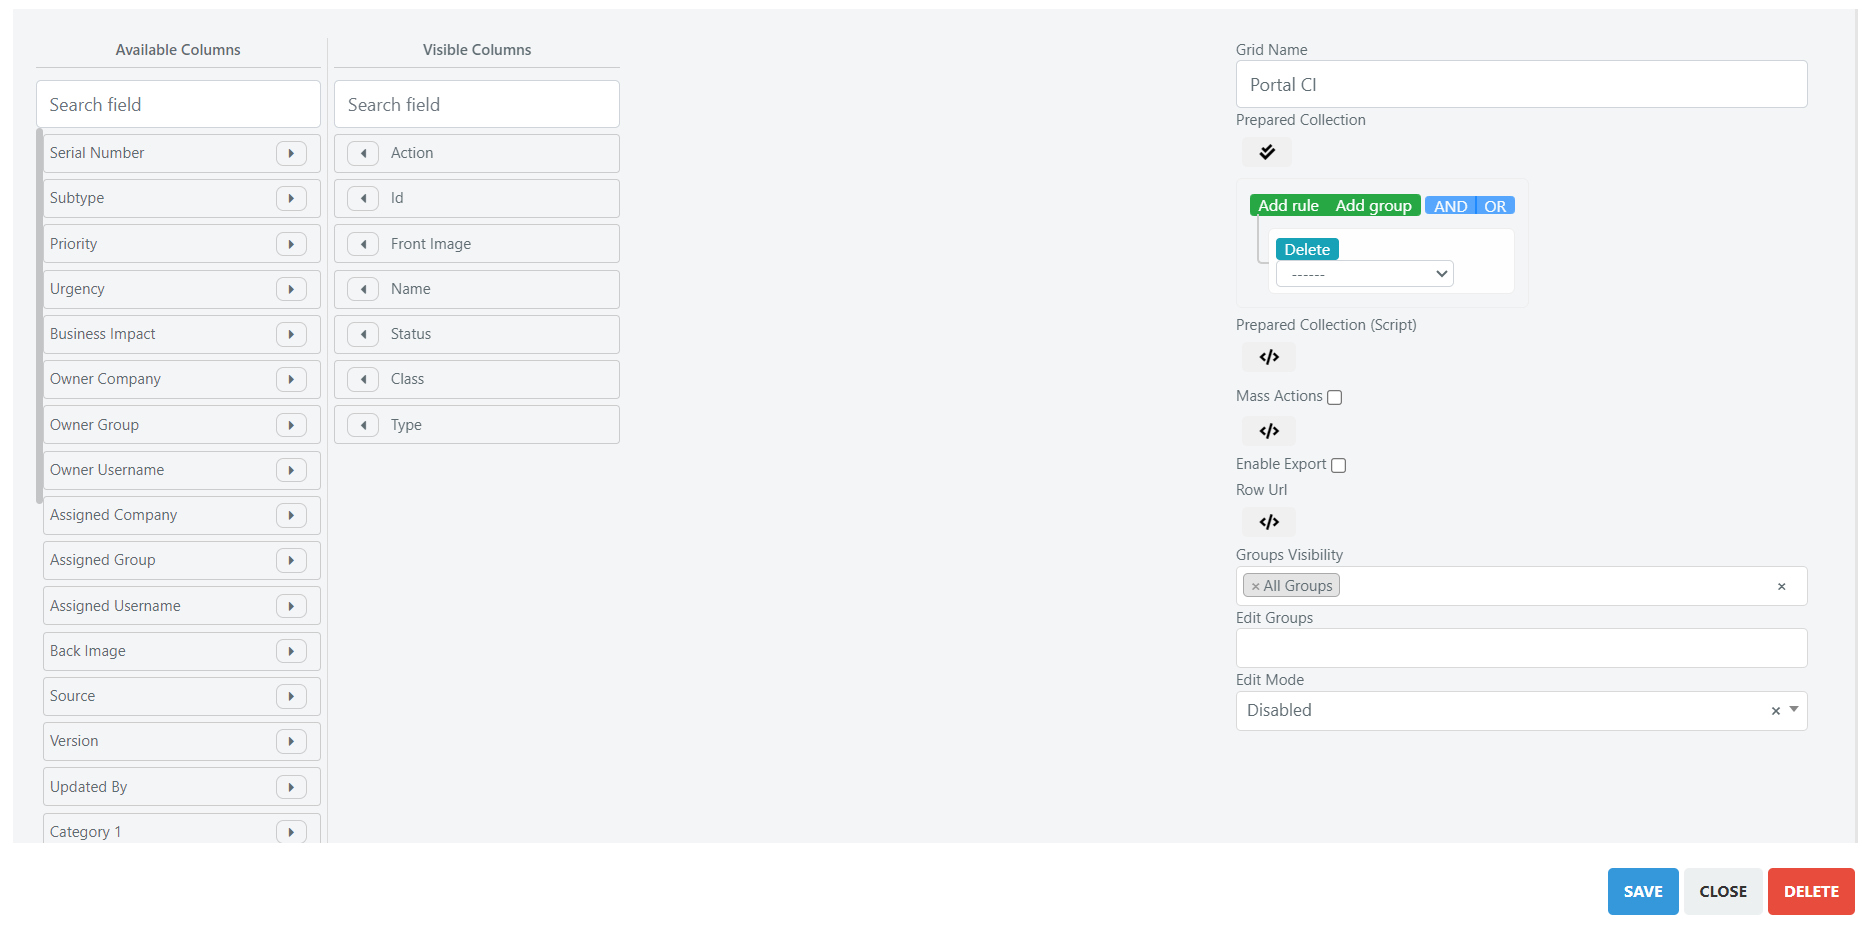
- In the Prepared Collection Script section, insert the following code:
					//Array of technicians, who can see all the cis
$technicians = ['deepser_tec','mario.rossi'];

//if the current user is not in the technicians array he or she colud only see cis with class_id 1
if((!is_null($technicians) && is_array($technicians)) && (!(in_array(Deep::helper('deep_admin')->getCurrentUser()->getUsername(),$technicians)))){
     $this->getCollection()->addFieldToFilter('class_id', [ "eq" => 1 ]);
}
- Click Save to apply the changes.
The $technicians array must contain the actual usernames, not the display names.
Example 2: Filter by Custom User Field
This example achieves the same result as Example 1, but instead of hardcoding usernames, you create a custom checkbox field on the user profile. This makes it easier to manage which users can view all CIs.
Create the Custom Field
- Go to System > Custom Fields and navigate to the User model.
- In the Fields section, click the Add Field button. The following screen will open:
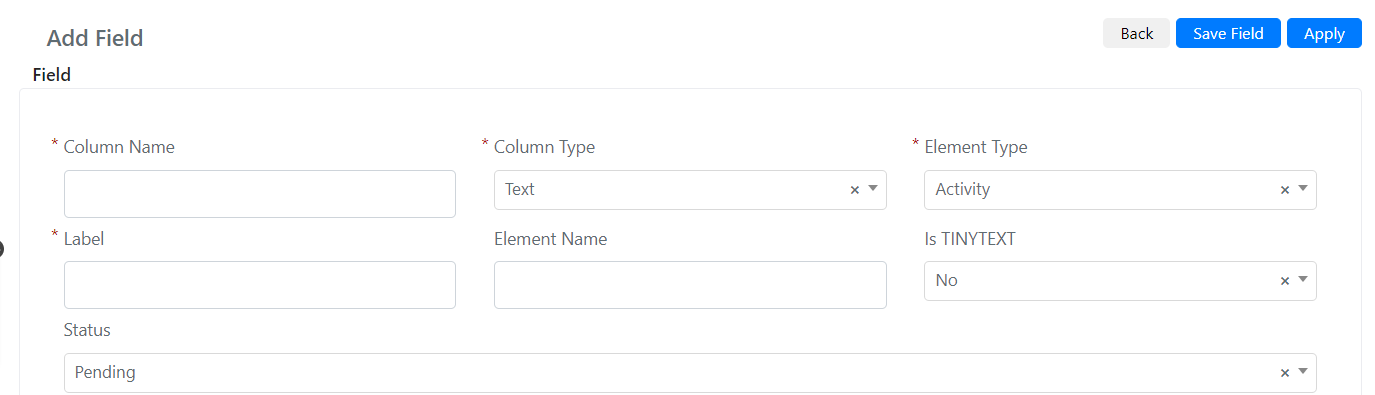
- Configure the field as follows:
- Set the Code field to
is_cmdb_technician. - Set the Label field to "Is Operator".
- Set Column Type to "Integer".
- Set Element Type to "Checkbox".
- In the Extra tab, set Render as Toggle to "Yes".
- Set the Code field to
- Click Save to store the custom field.
After creating the custom field, add it to the users' template form and enable it for the users who should see all CIs.
Apply the Filter Script
- Go to System > Portal > CI and click the pencil-shaped button. The following screen will open:
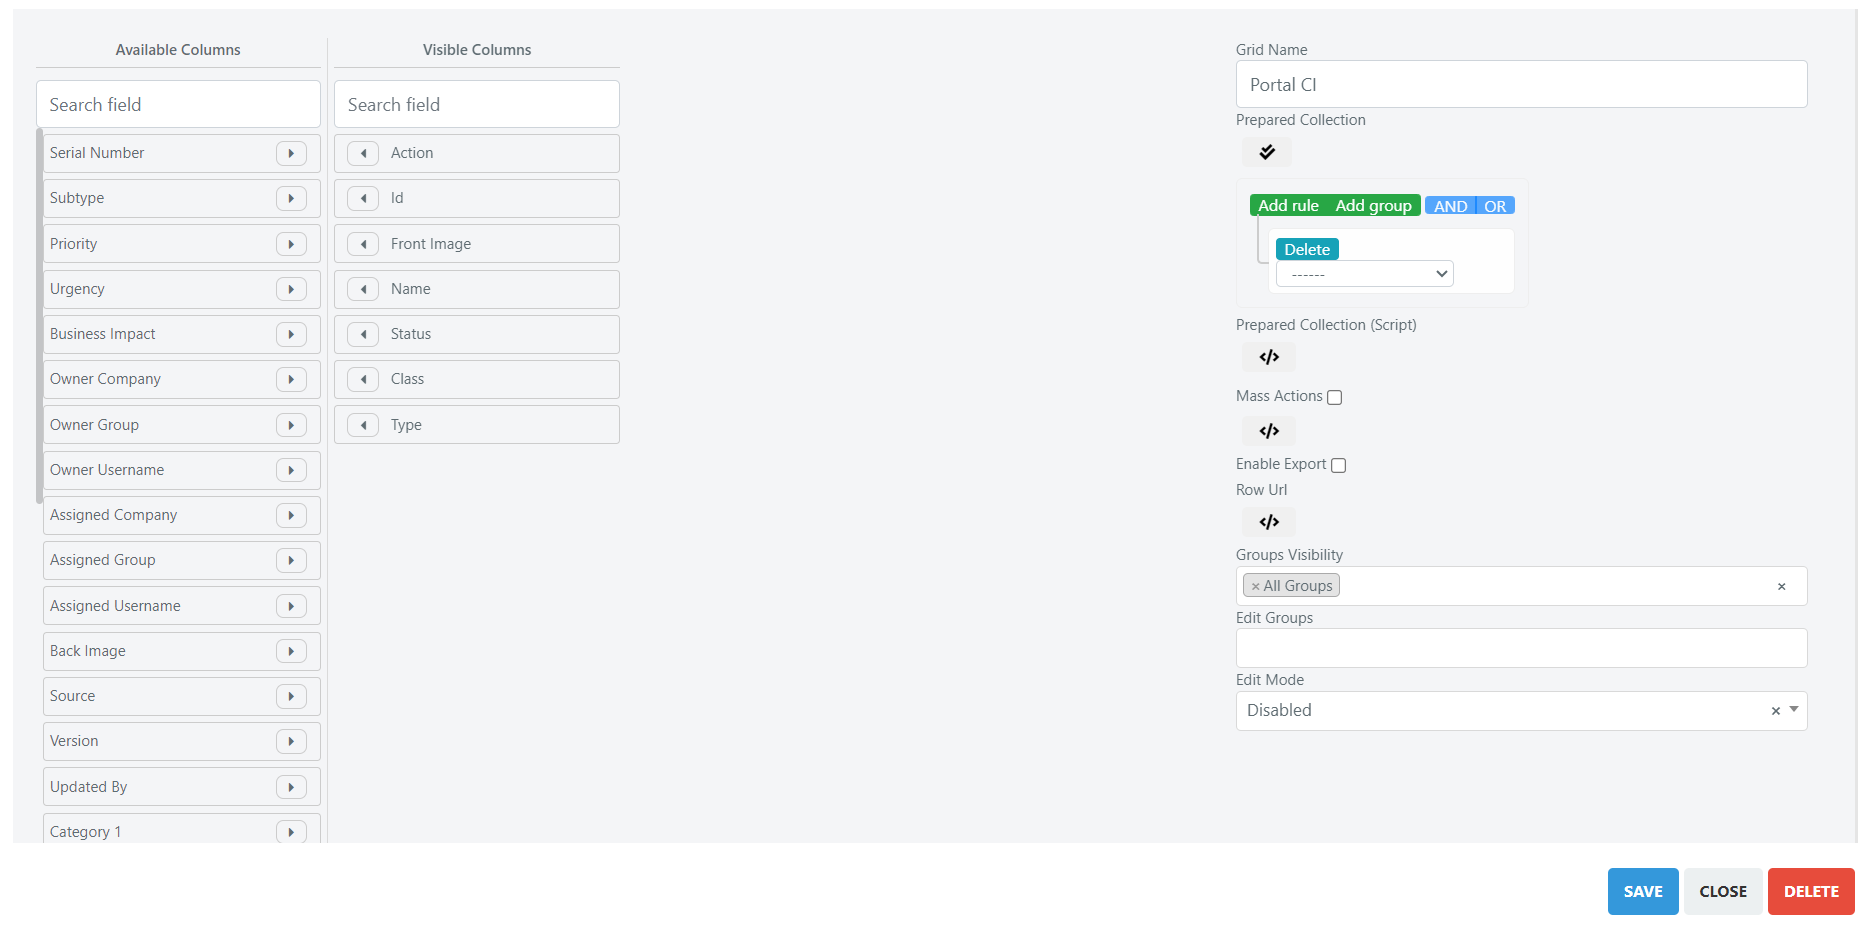
- In the Prepared Collection Script section, insert the following code:
					$userArray = Deep::getResourceModel('deep_admin/user_collection')->addFieldToFilter('cust_is_cmdb_technician',[ ["neq" => 1], ['null' => true]]);

$userlist = [];
foreach($userArray as $user){
  $userlist[$user->getUsername()] = $user->getDisplayUsername();
}
if(( !is_null($userlist) && is_array($userlist)) && (array_key_exists(Deep::helper('deep_admin')->getCurrentUser()->getUsername(),$userlist))){
     $this->getCollection()->addFieldToFilter('class_id',["eq" =>1]);
}
- Click Save to apply the changes.