Configure an Outgoing Mailbox
To send email notifications to your users, you need to define an outgoing mailbox. This guide explains the procedure for setting one up.
Configuration Steps
-
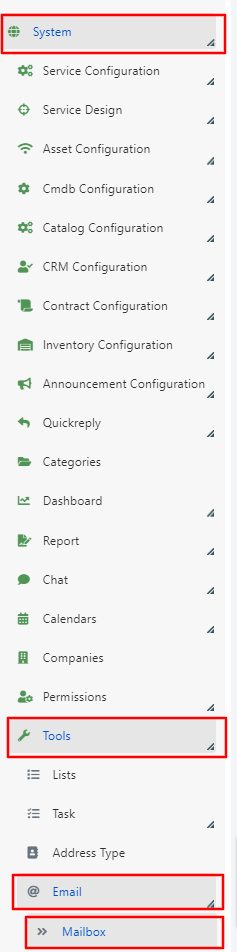
In the Deepser Backend, navigate to System > Tools > Email > Mailbox.
-
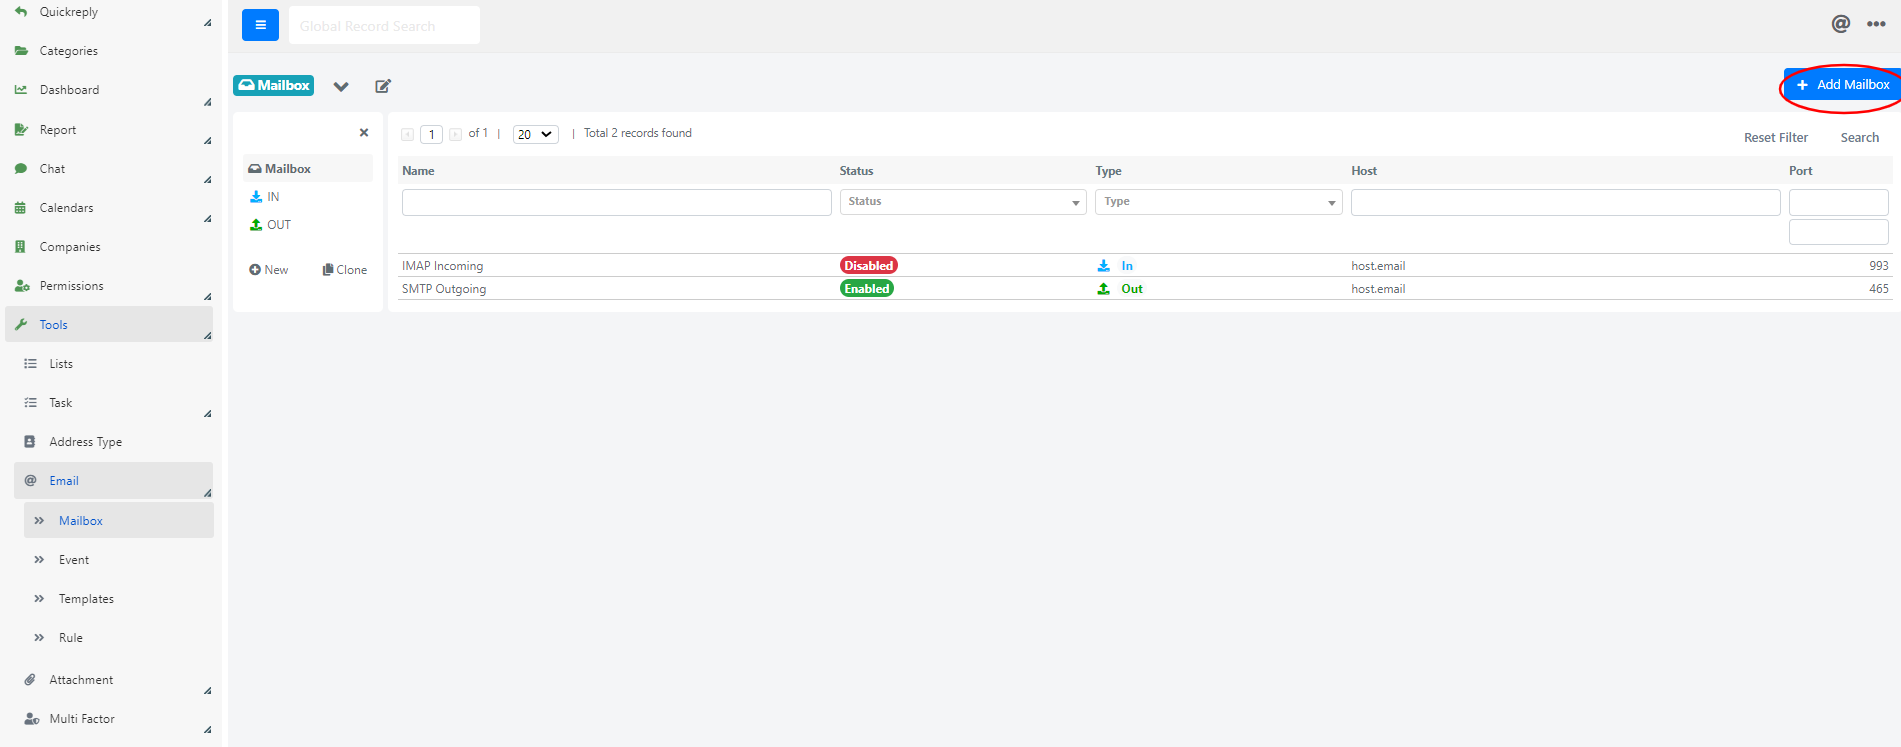
The grid shows already configured mailboxes. Click the + Add Mailbox button in the top right corner.
-
Set the mailbox type to OUT. All relevant fields will load dynamically.

Outgoing Mailbox Fields
| Tab | Field | Description |
|---|---|---|
| General Data | Name | Descriptive name used in the system. |
| Type | IN (to receive) or OUT (to send emails). | |
| Status | If "Disabled", email integrations are not active. | |
| Email Display | The displayed email address. Not the username -- use this if your server allows a different address for outgoing messages. | |
| Display Name | Name shown in the "From" field (e.g., "Your Service Desk"). | |
| Host | Address of the mail server. | |
| Port | Port for the connection. | |
| Encryption | Encryption type for the connection. | |
| User Name | Username (usually the email address) to connect. | |
| Password | Password to connect. | |
| Protocol | Protocol to send emails (SMTP or OWA). | |
| OAuth Client | OAuth2 client used for authentication on services that require it. | |
| System Data | Prefix | Prefix prepended to the record ID in the email subject. Used by the incoming mailbox to match replies to existing records. For example, with prefix "TICKET#", emails are sent with subject "TICKET#70". |
| Allowed Emails | Whether emails can be sent only to registered users or to any address. | |
| Is Default Outgoing | Indicates whether this is the default outgoing mailbox. Every Service Operation has a Mailbox ID field; if not set, the default mailbox is used for notifications. | |
| Exclude Expression | A regular expression to block emails whose recipients match the expression. | |
| Advanced | Custom Code | PHP code executed after an email has been sent, for triggering custom events. |
Test the Configuration
After saving, click the Check button (top right) to test the connection.
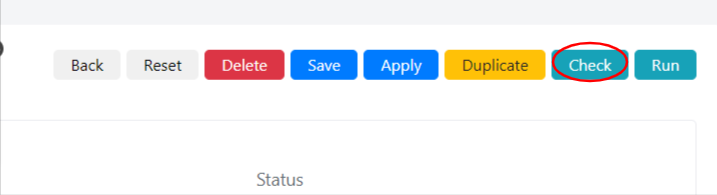
If configured correctly, a success message will appear. Otherwise, an error message will be displayed.