Create, Clone, and Delete Grids
In Deepser, you can create new grids, clone existing ones to reuse their configuration, or delete grids you no longer need. This article walks through each of these operations step by step.
Create a New Grid
To create a new grid from scratch:
-
Navigate to any grid in the module where you want the new grid.
-
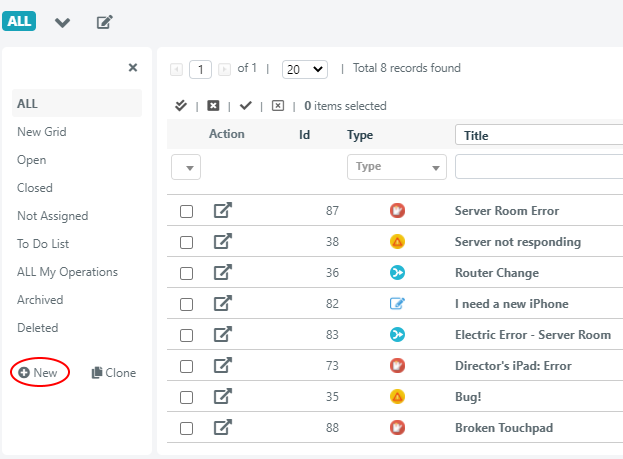
Click the New icon in the lower-left area of the grid menu.
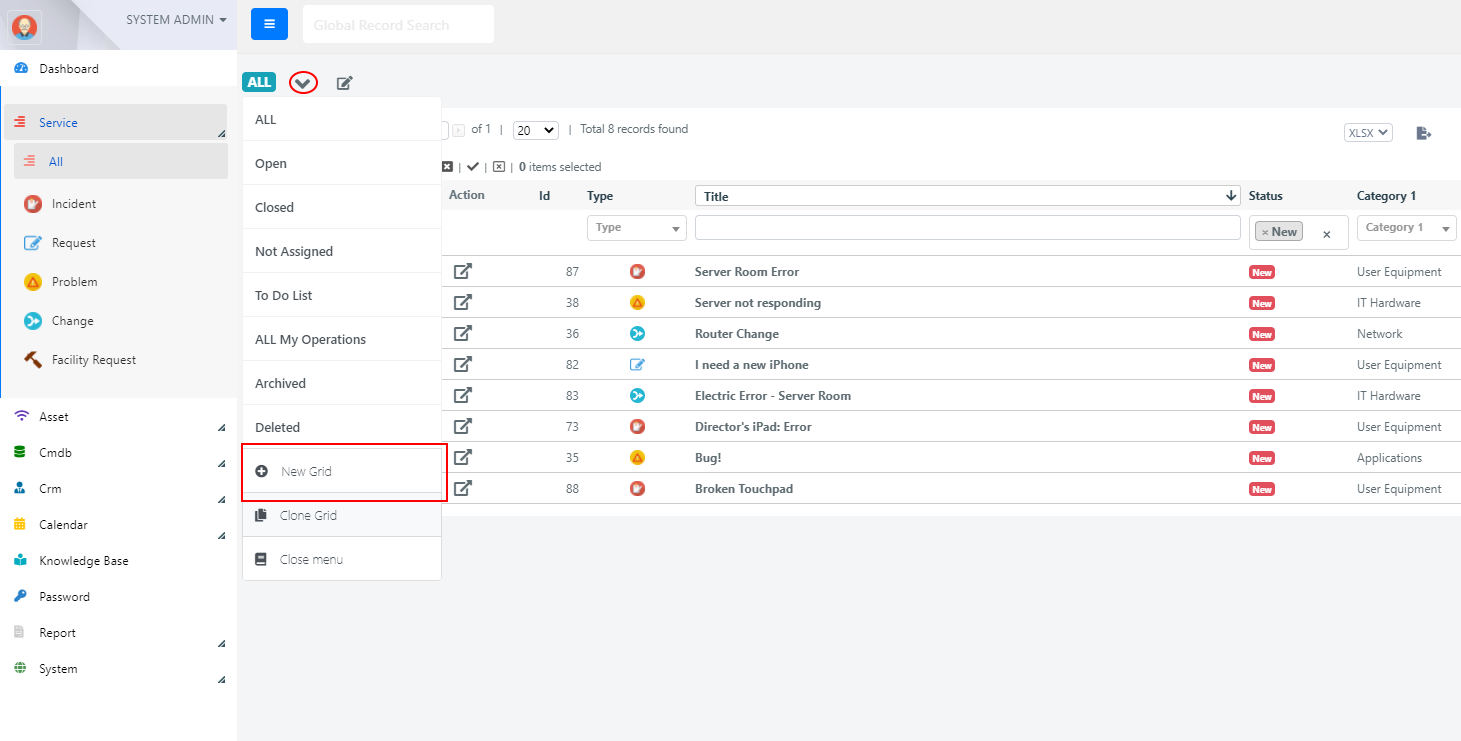
Alternatively, click the icon next to the badge containing the current grid name to open the menu, then select New Grid.
-
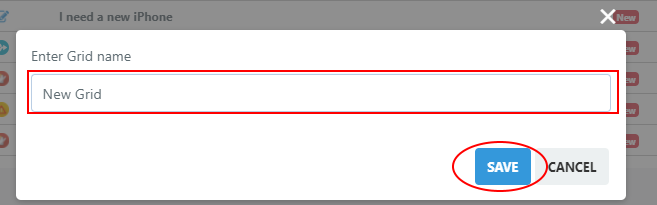
Enter a name for the new grid and click Save.
-
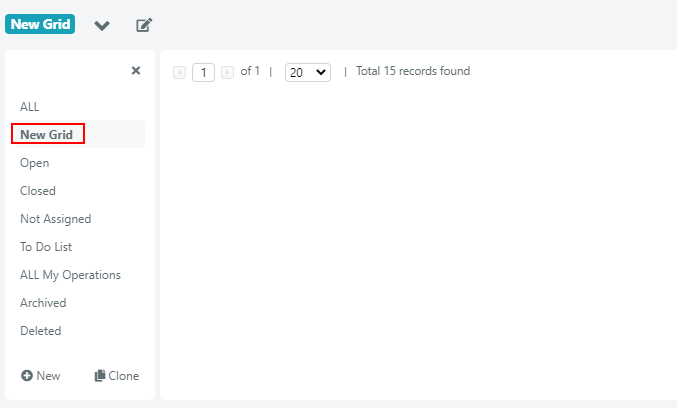
The new grid is now available in the grid menu. It will have no visible columns initially, so you will need to configure them manually.
For details on configuring columns, see Configure Grids.
Clone an Existing Grid
Cloning creates a copy of an existing grid, including all its visible columns and configuration settings. This is useful when you need a similar grid with minor modifications.
-
Navigate to the grid you want to clone.
-
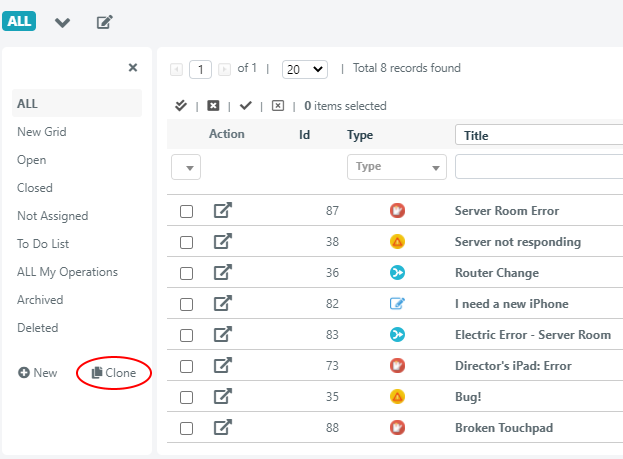
Click the Clone icon in the bottom-right of the grid menu.
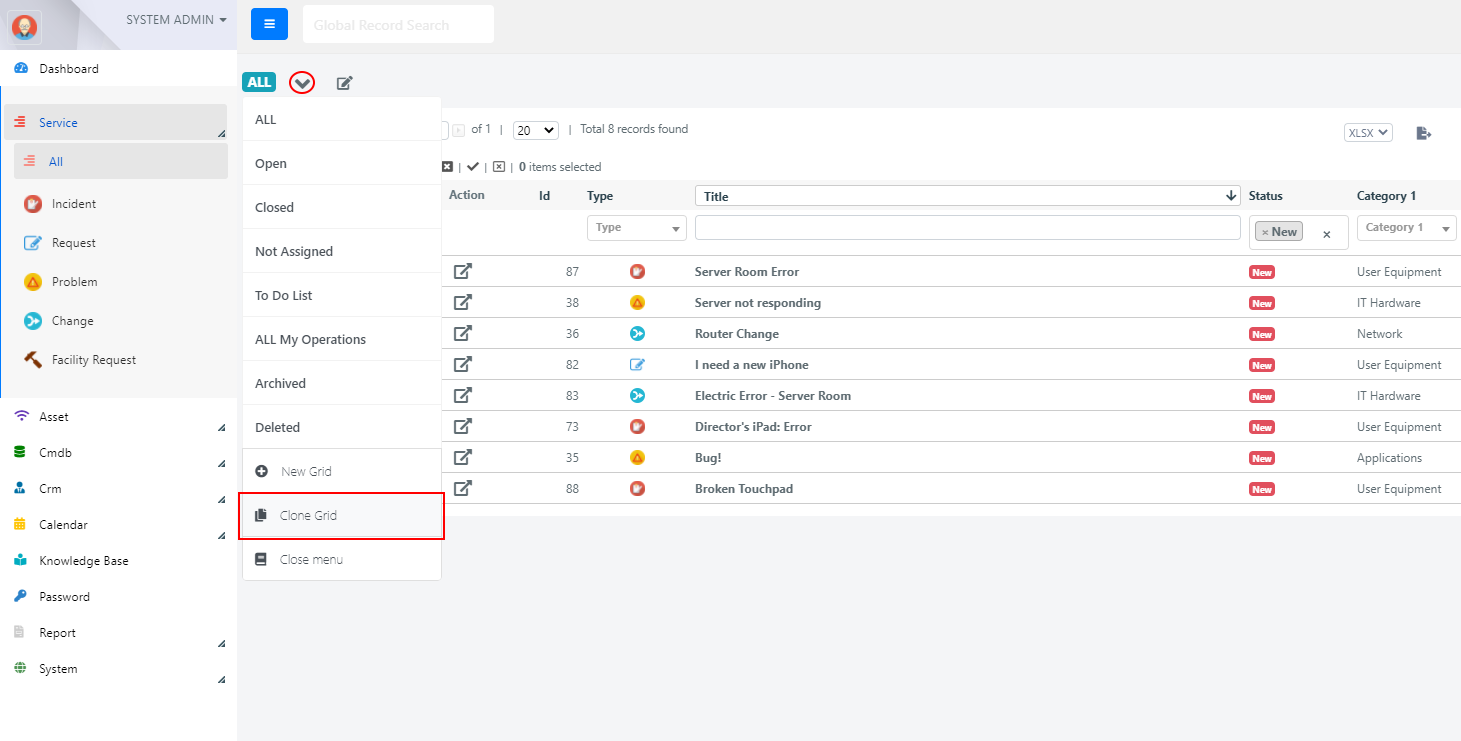
Alternatively, open the grid menu and select Clone Grid.
-
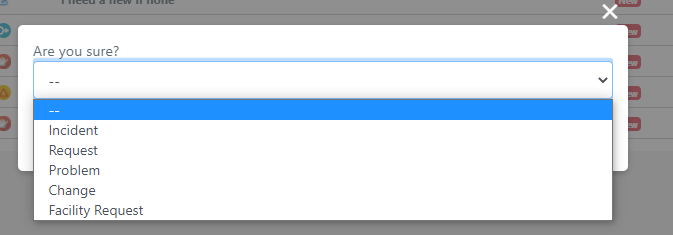
Select the section of the current module where the clone should be saved, then click Save.
!!! note The --- option indicates the All section.

-
The cloned grid appears in the grid menu. Its name is the original grid name prefixed with NEW-. All visible columns and settings are copied from the original.
Delete a Grid
To delete a grid:
-
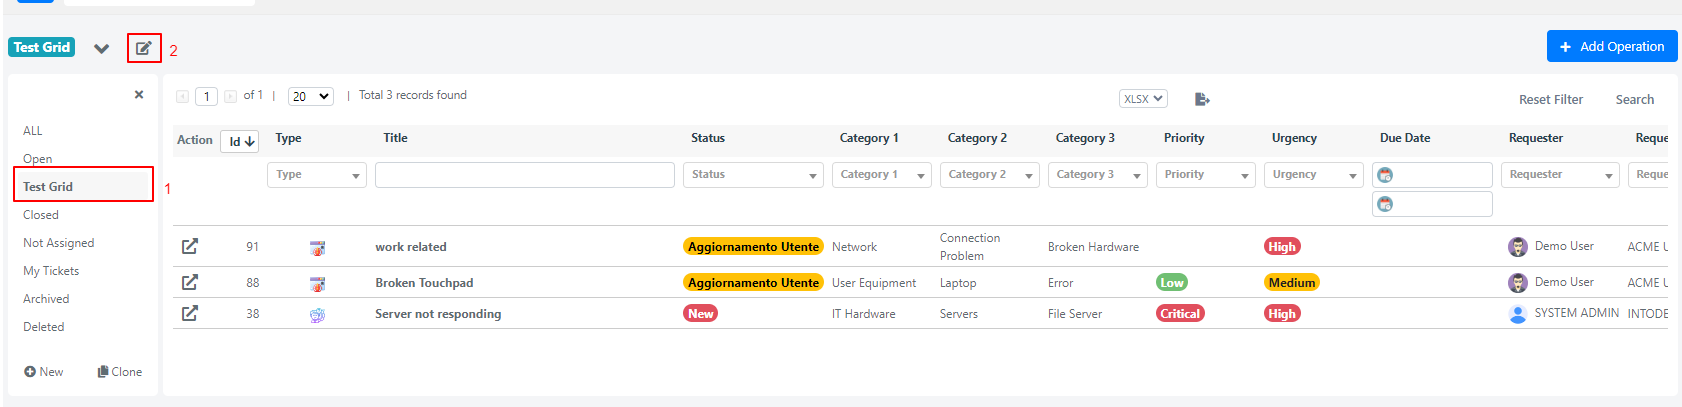
Navigate to the grid you want to delete and click on it.
-
Click the edit icon to open the grid editing menu.
-
Click the Delete button in the bottom-right corner of the editing window.
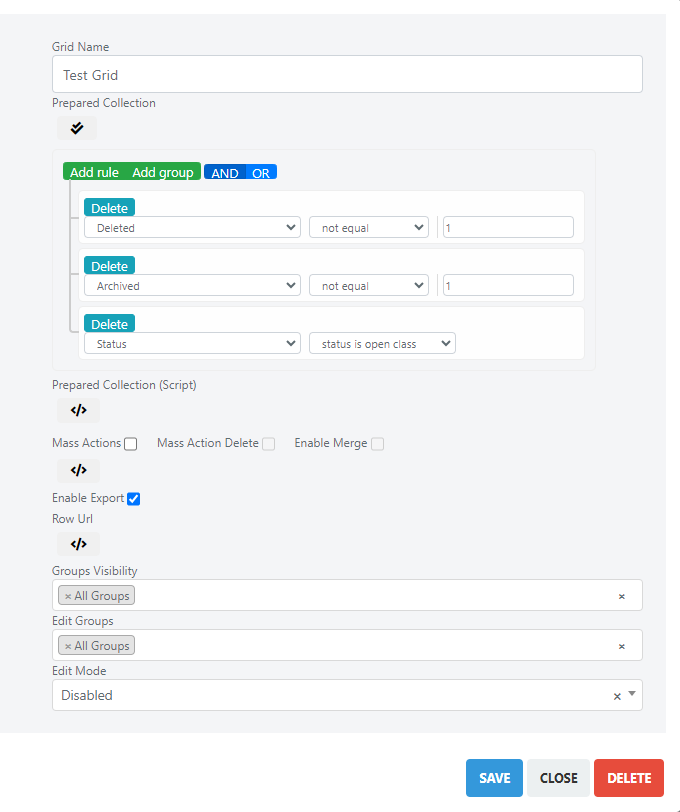
Deleting a grid is permanent and cannot be undone.