Approve or Reject Requests from the User Portal
This page explains the structure of an approval request as it appears in the User Portal. You will also learn how to approve or reject requests from both the portal and email.
After opening your User Portal and navigating to the "My Approvals" section, the following screen will open:

By clicking an approval request, the next screen will open:
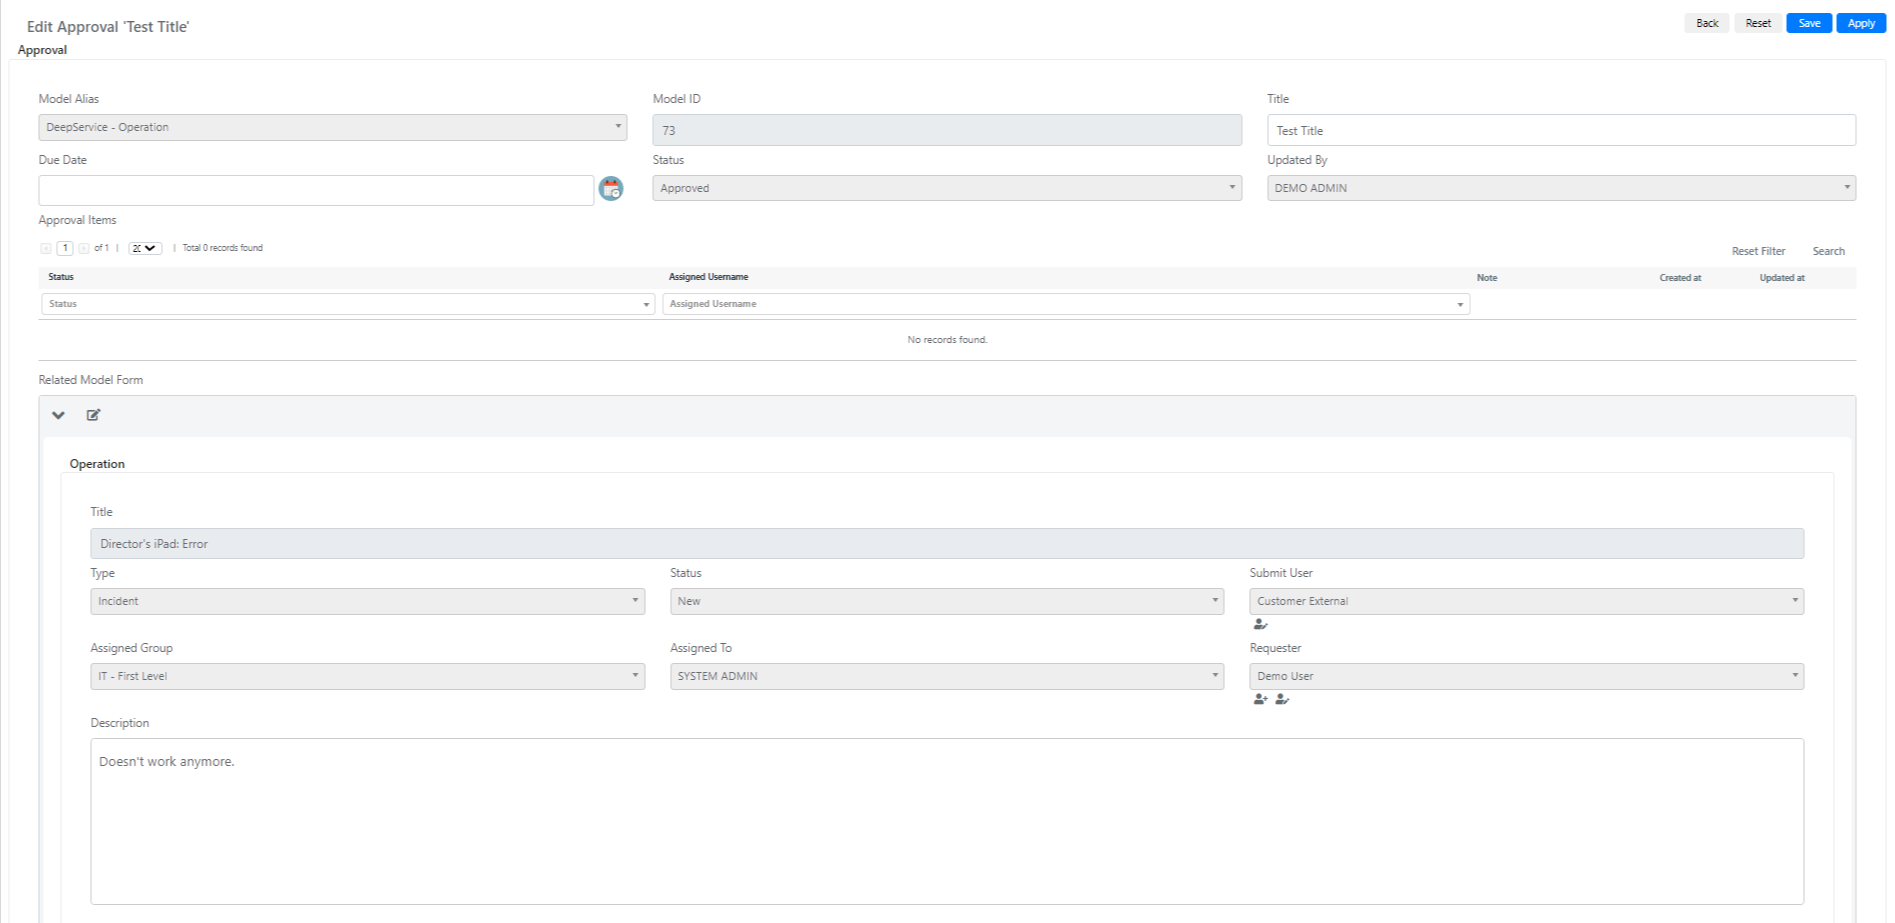
The Approval structure contains the following fields in read-only mode:
| Name | Description | Note |
|---|---|---|
| Model Alias | Represents the model from which the approval process starts. | In our example, your supervisor has created a Service Operation from which an approval process started. |
| Title | Represents the name of the approval process. | |
| Due Date | Represents the expiration date by which the approval process must be approved or refused. | |
| Status | Represents the current condition of the approval process. |
Inside the "Approval Items" section, a grid is shown with the empowered end user or Operator responsible for accepting or refusing the approval workflows.
Inside the "Related Model Form" section, you can see the recap of the Deepser entity linked to the approval process. In our example, this is the Service Operation that triggered the approval process.
The empowered end user or Operator can read the Title, the Category, the Status, the Assigned Group, and the Description of the Service Operation related to the approval process.
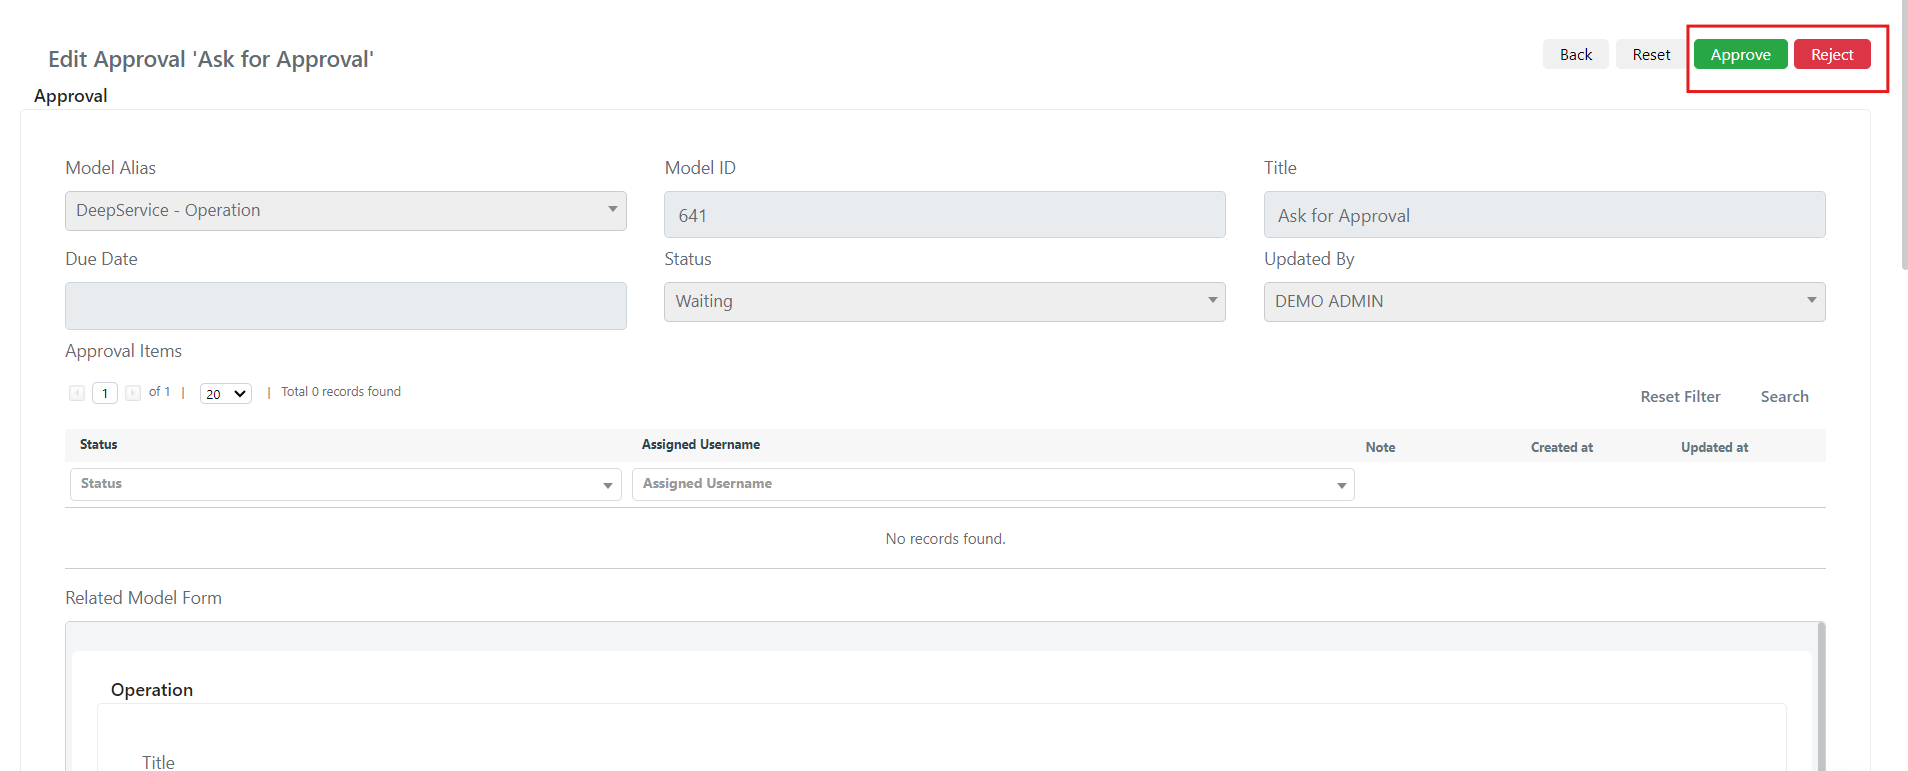
After reviewing the details, the user can simply Approve or Reject the approval process using the Green or Red button located at the top right.
Approval Usage
Approval by Email
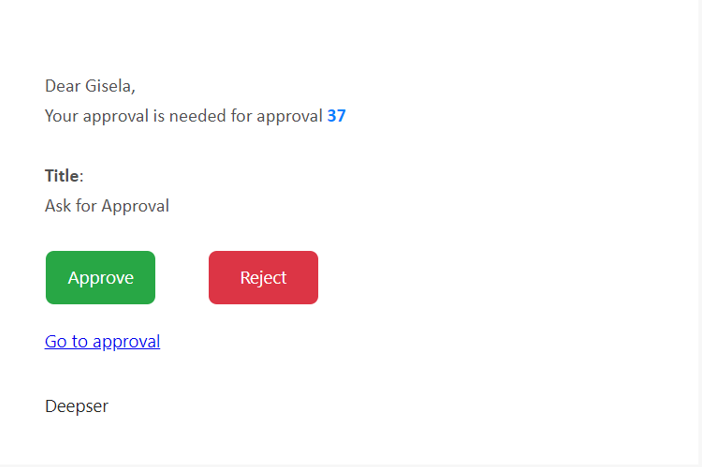
After correctly configuring the flow and email event (click here for more details), you can approve a request by email by directly clicking the "Approve" button. You can also go to the approval and view more information by clicking the "Go to Approval" link.
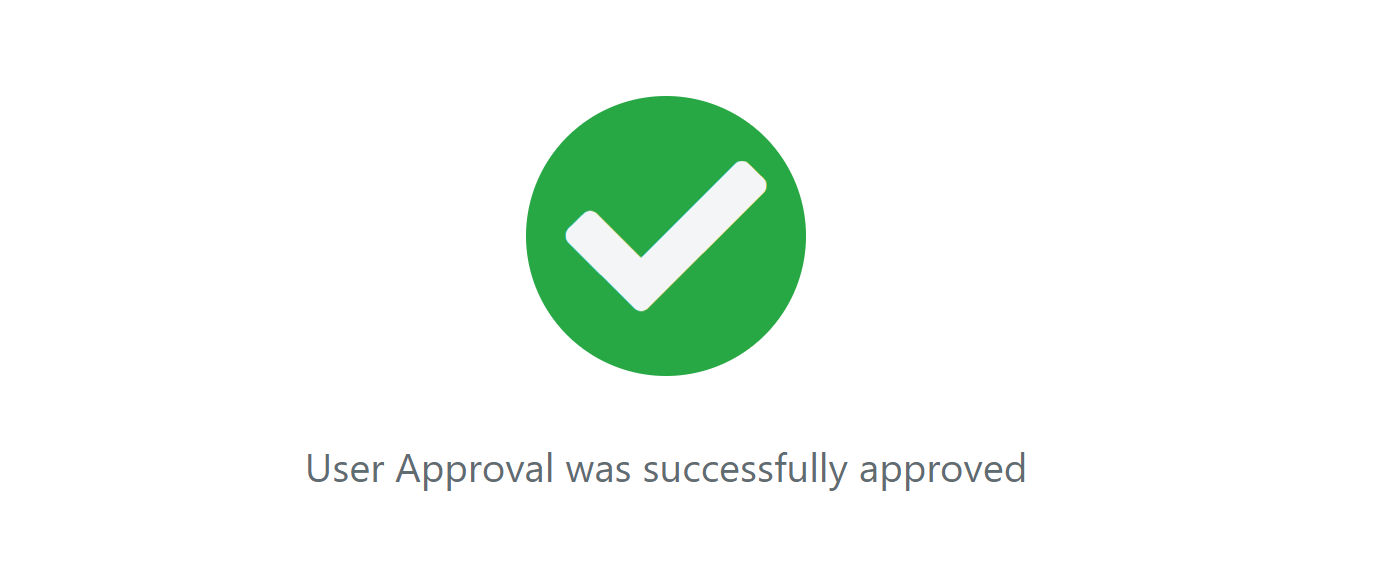
After clicking the "Approve" button, you will be redirected to a success page.
Approval from User Portal
To approve an approval request from the User Portal, go to the user menu and click on "My Approvals."

You will then have access to the approvals grid showing all approvals assigned to you. You can approve or reject any approval that has a "Waiting" status.

After clicking on an approval row in the grid, you will be redirected to the approval form template. You can approve or reject the request by clicking the buttons at the top right.
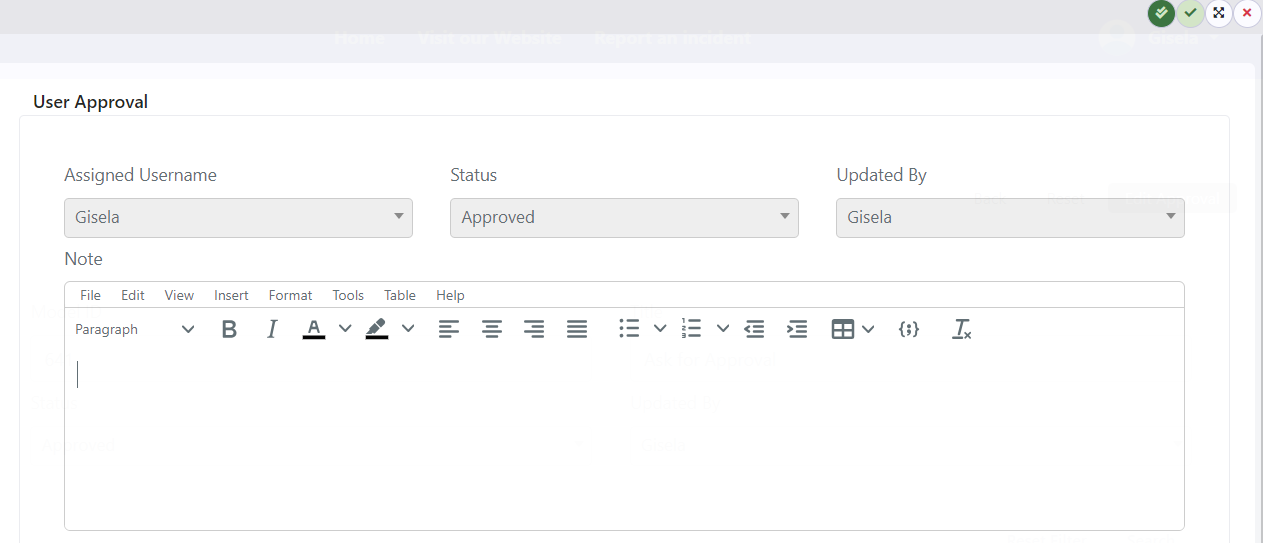
After the approval process is complete, you will only be allowed to add notes to the approval and not change its status.
Approvals are only available to empowered users. For more information, refer to the dedicated article here.
Related Articles
- Backend Approval Structure -- Approval structure in the Deepser Backend
- Workflow Actions -- Configure the "Ask for Approval" action
- Configure a Multi-Stage Approval Flow -- Multi-stage approval workflows