Create and Use SubFlows
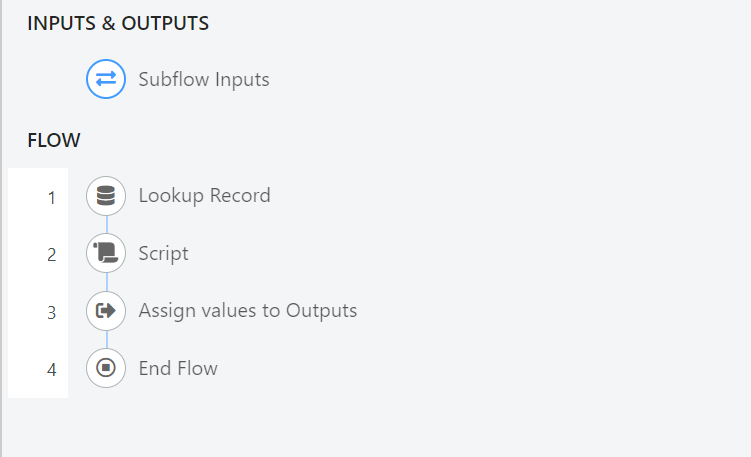
SubFlows are flows designed to perform common operations shared across multiple workflows. You can think of them as reusable functions that can be called from any flow. This page walks you through creating and using a SubFlow.
Configuring a SubFlow
SubFlows in Deepser function as reusable building blocks that you can call from various flows to perform common operations.
In this example, we will configure a SubFlow that changes the status of the Service Operation associated with an activity.
To begin, go to the Flow > Designer menu.
Click the NEW button in the upper left corner of the page:

And then click the word "Sub Flow" that will appear below the button.
The following page will open:
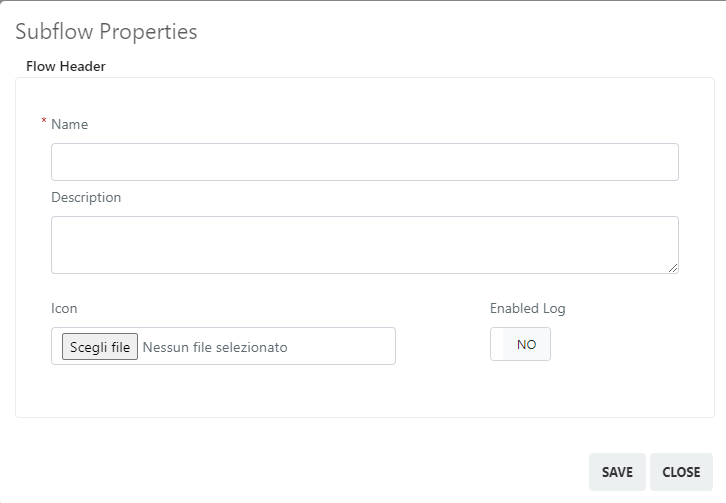
Below are the fields with their meaning:
- Name -- Define the name that this flow will have.
- Description -- Define the description for the flow.
- Icon -- Define the icon for the flow.
- Enable Log -- This toggle, when set, enables logging in the flow.
Once you have configured the fields mentioned above, click the "Save" button.
The following screen will appear:
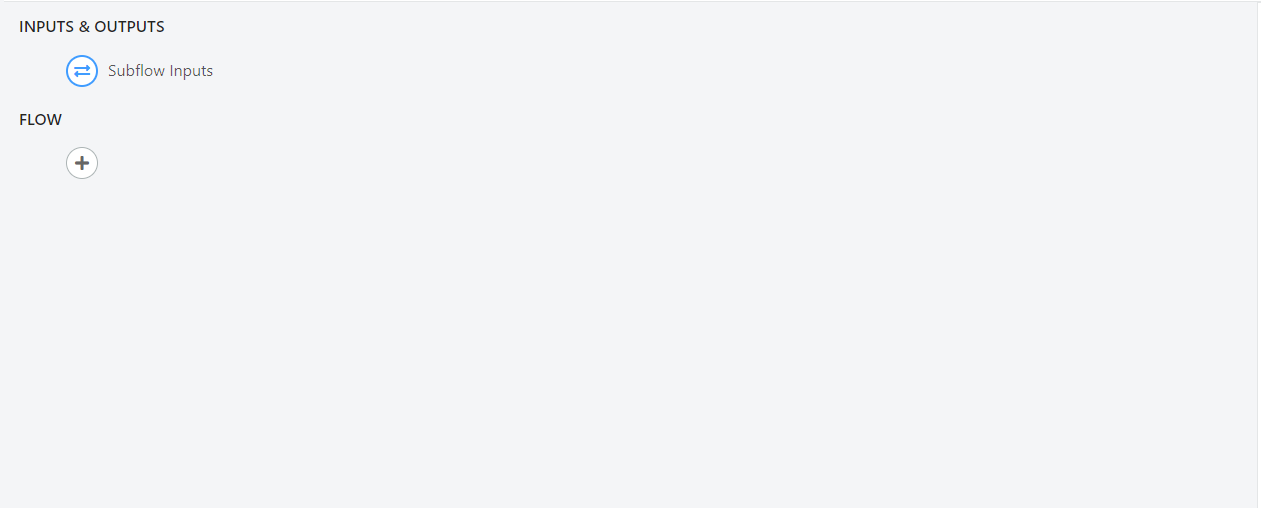
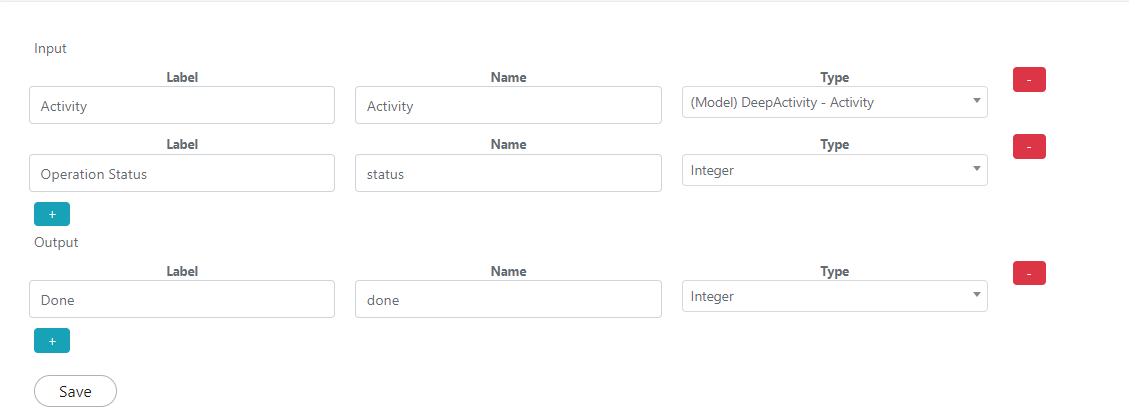
In the "INPUTS & OUTPUTS" block, configure the inputs and outputs of the function.
In our case, the "INPUTS & OUTPUTS" block will be configured as follows:
Next, configure a "Lookup Record" block as follows:
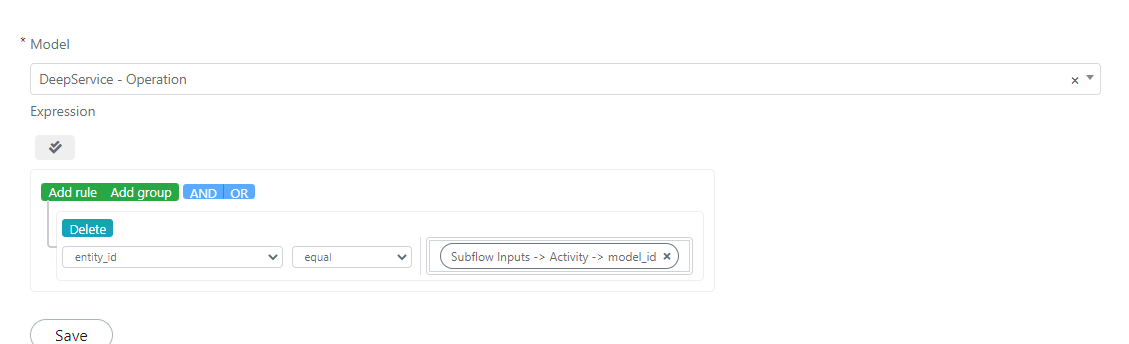
Below the previous block, insert a "Script" block with the following configuration:
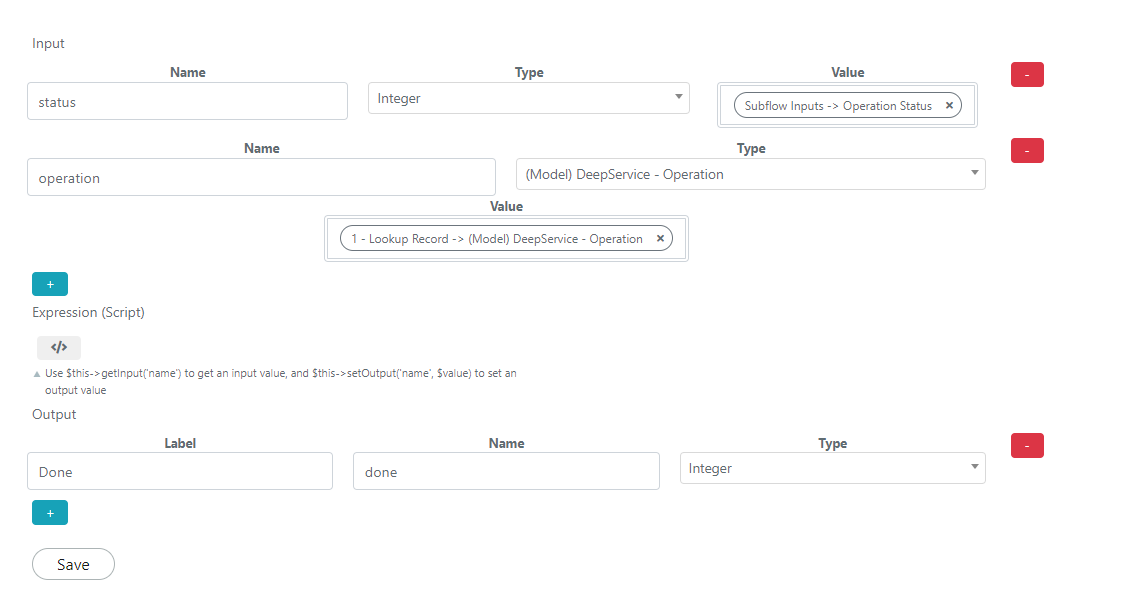
The script takes as input the Service Operation retrieved from the Lookup Records block and the new state provided when invoking the SubFlow. It outputs an integer that will be zero if the update was not successful and 1 if the status was changed.
In the Expression (Script) field, enter the following code:
$operation = $this->getInput('operation');
$status = $this->getInput('status');
if($status && $operation && $operation->getId()){
    $operation->setStatus($status);
    $operation->save();
    $this->setOutput('done', 1);
}else{
    $this->setOutput('done', 0);
}
Finally, add an "Assign Values To Output" block present in the "Logic" section, configured as follows:

To finish the SubFlow, insert an "EndFlow" block.
Before you can use the newly created SubFlow, you must enable it by setting the "Status" toggle as follows:

The SubFlow will now be up and running.
Using a SubFlow
In this example, we will create a new flow that executes when a new activity is created and calls the newly created SubFlow.
To do this, go to the Flow > Designer menu.
Click the NEW button in the upper left corner of the page:
And then click the word "Flow" that will appear below the button.
The following page will open:
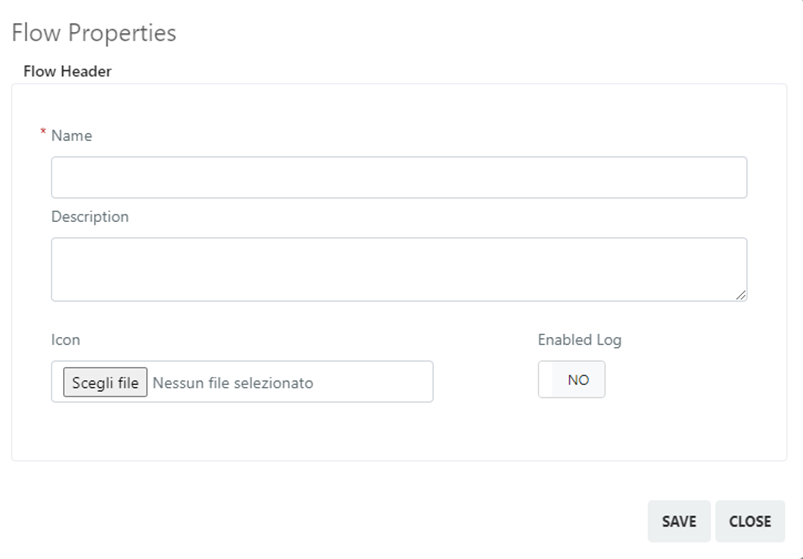
Below are the fields with their meaning:
- Name -- Define the name that this flow will have.
- Description -- Define the description for the flow.
- Icon -- Define the icon for the flow.
- Enable Log -- This toggle, when set, enables logging in the flow.
Once you have configured the fields mentioned above, click the "Save" button.
The following screen will appear:
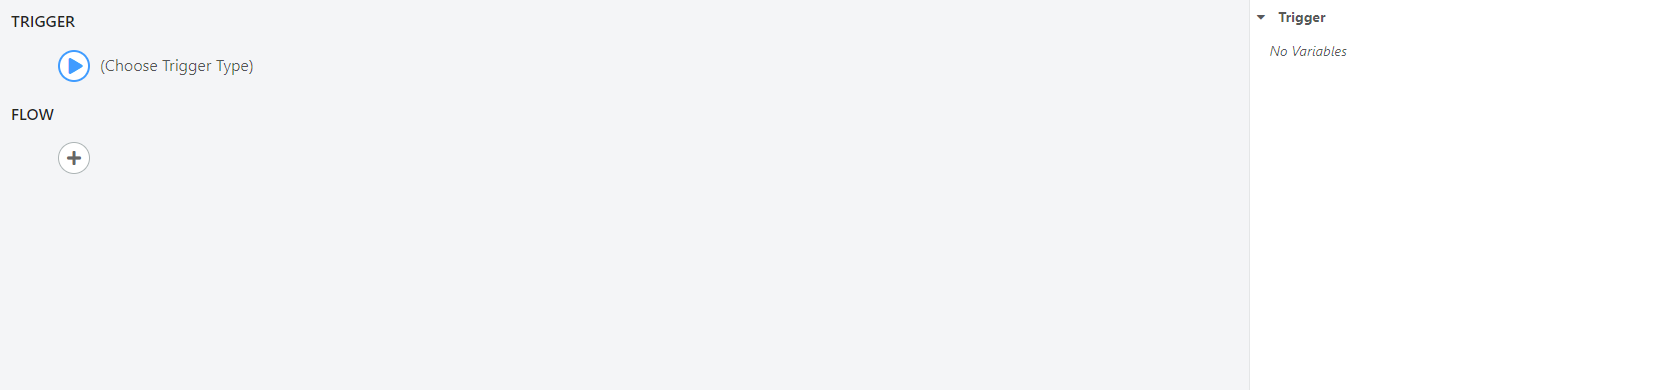
Configure the "Trigger" field as follows:
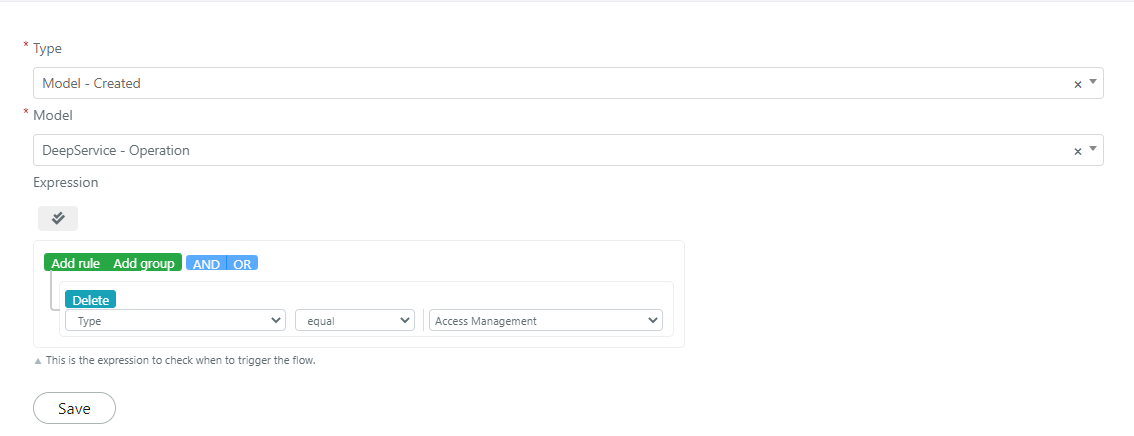
Click "Save" to save the block.
Now click on the button:

Click on the "Sub Flow" section and select the SubFlow you created:
Configure it in the following way:
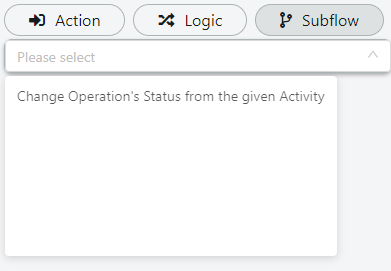
Under this block, add an IF block that will check if the status of the work has been changed by verifying the return flag.
If the status has not been changed, it will print a message in the flow log to provide visibility into the changes.
Before you can see the effects of the flow, enable the flow by setting the "Status" toggle:

The flow will now be up and running.
Related Articles
- Use the Flow Designer -- Build and manage workflows
- Workflow Actions -- Available action blocks
- Workflow Logic Blocks -- Use the Assign Value to Outputs block in SubFlows