Advanced Sync
In Deepser it is possible to configure an advanced Synchronization procedure that allows you to set in the created company the fields that the Standard synchronization process would not import (e.g. custom fields).
In this guide we will see how to implement this procedure through custom events, we will see the creation of a unilateral synchronization procedure that is, the updates will be implemented by taking the changes from the CRM accounts and transporting them to the companies.
Note that advanced synchronization is an extension of the synchronization process and onventional, not a substitute for it, so before the changes implemented in this guide take effect you will need to carry out the conventional synchronization process.
Creating a custom field
Before proceeding with the actual creation of the form, we must create a custom field that allows us to receive user input.
For custom fields will be addressed in a special lesson, to go to the lesson related to custom fields click here.
To create a custom field we must go to: System -> Custom Fields.
Here we will have to click on the desired model, in our example “DeepCrm – Account”.
On the next screen we will have to click on the “Add Field” button
On the next screen you will need to fill in the fields as follows:
Important to set the “Column Type” to text and the “Element Type” to text.
At this point you will need to click on the “Save” button
Once this is done we can proceed to implement the real registration form.
ADVANCED ACCOUNT TO COMPANY SYNC EXAMPLE
In the following example we assume that there is both on the model “DeepCrm – Account” and on the model “DeepCompany – Company” a custom field of type text containing the VAT number.
The field on the model “DeepCompany – Company” named ” cust_vat_number “.
The field on the model “DeepCrm – Account” named “cust_vat_number”.
Logically it is possible to define any field following this example as a starting point.
To implement create a custom event for advanced synchronization you will need to go to the menu: System- > Custom Fields.
Here you will need to go click on the “DeepCrm Account” template.
At this point it will be necessary to click on the “Events” item.
In the screen that will open you will need to click on the “Add Event”button.
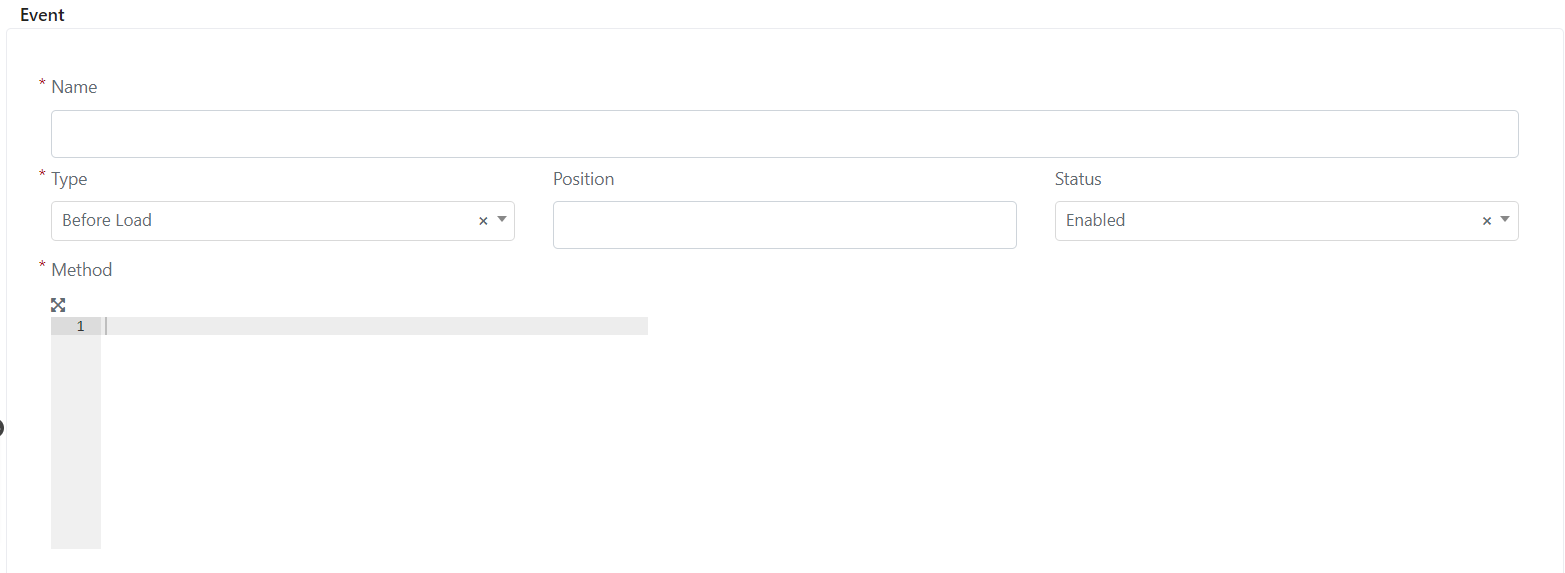
Now the following screen will open:
Here we are going to fill in the “Name” field with the name we want to assign to the event.
We set the Type field to “After Save”.
Now fill in the “Method” field with the following code:
					/** Verify if the account is synched**/
if($this->getSynced() && $this->getCompanyId()){
    /**Load the company from given the company id**/
    $linkedCompany = Deep::getModel('deep_company/company')->load($this->getCompanyId());
    /**If the company exist and the company have an id set, set the sync data, otherwise, do nothing**/
    if($linkedCompany && $linkedCompany->getId()){
        /**Load the custom field from the Account and insert it in to the company**/
        $linkedCompany->setData("cust_vat_number",$this->getData('cust_vat_number'));
        /**After the valorization of all the fields call the method Save on the company object to update the ditas on the Database**/
        $linkedCompany->save();
    }
}
Finally, must click on the “Save Event” button or the “Save And Continue Edit” button.
Now when we are going to sync a company he custom fields that we have indicated will be synchronized.


