

AZURE OAUTH CLIENT
This guide explains step-by-step how to set up a new OAuth client to integrate Office365 with Deepser. To do this you will need to create a new APP Registration in Azure.
OAUTH CLIENT CREATION IN DEEPSER
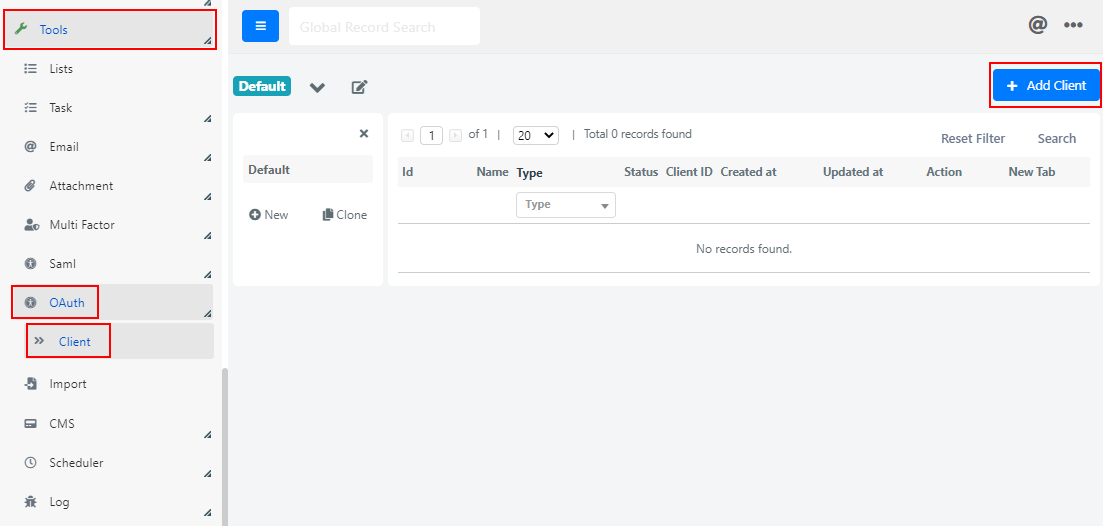
In Deepser, go to the menu item System -> Tools -> Oauth -> Client.
Then click the blue Add Client button.
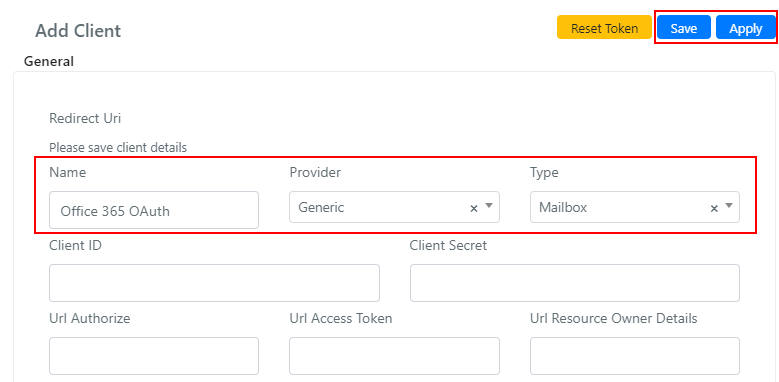
Then set:
- Name
- Provider: Generic
- Type: Mailbox
Then click Apply or Save.
CREATING YOUR APP ON AZURE
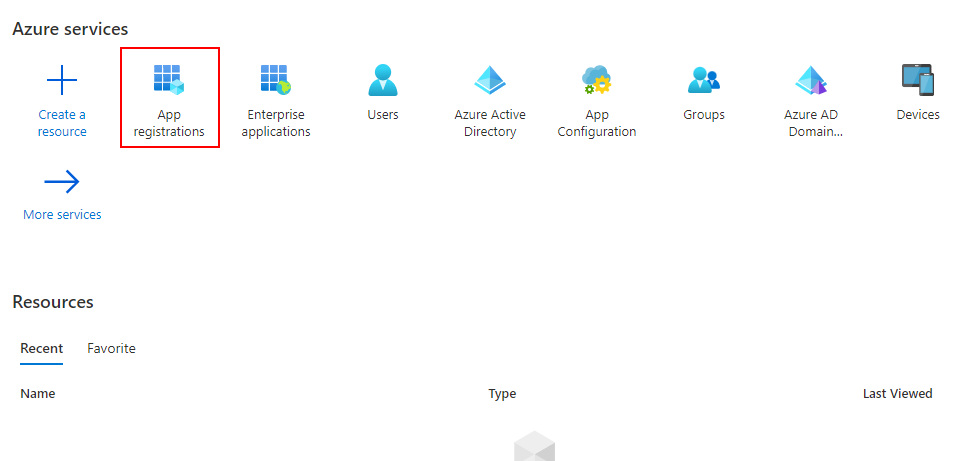
Go to the Azure portal and sign in with your Office 365 account.
Once logged in, click on App Registrations.
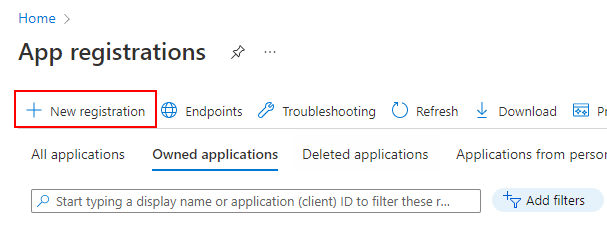
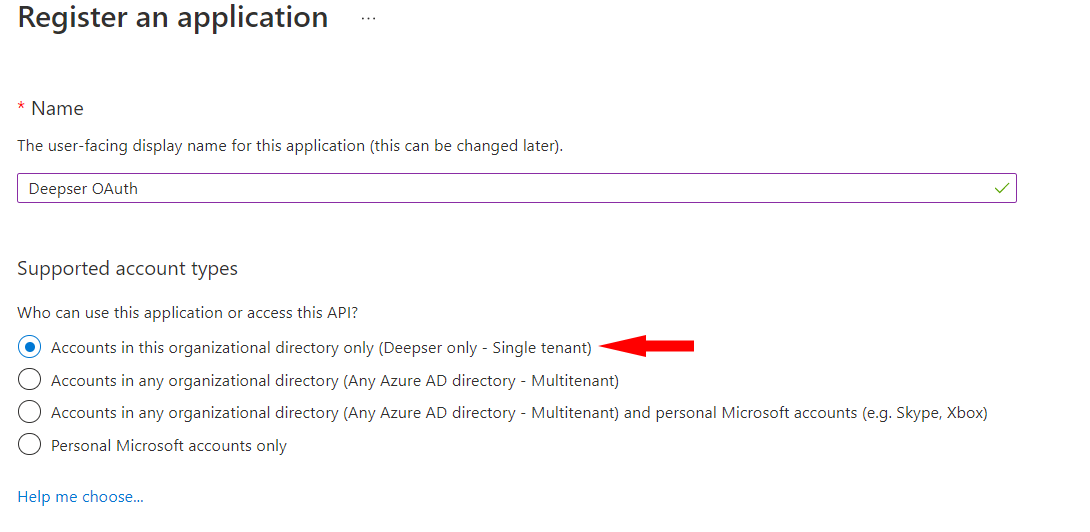
Then click New Registration.
Give a name to the application and in Supported Account Types, set the Single Tenant (first item).
Scrolling, set the Redirect URI: set Web in the first drop-down menu.
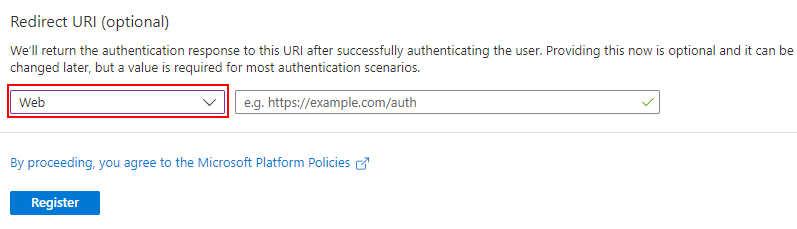
In the second field you need to paste the URI provided by the OAuth client provided in Deepser.
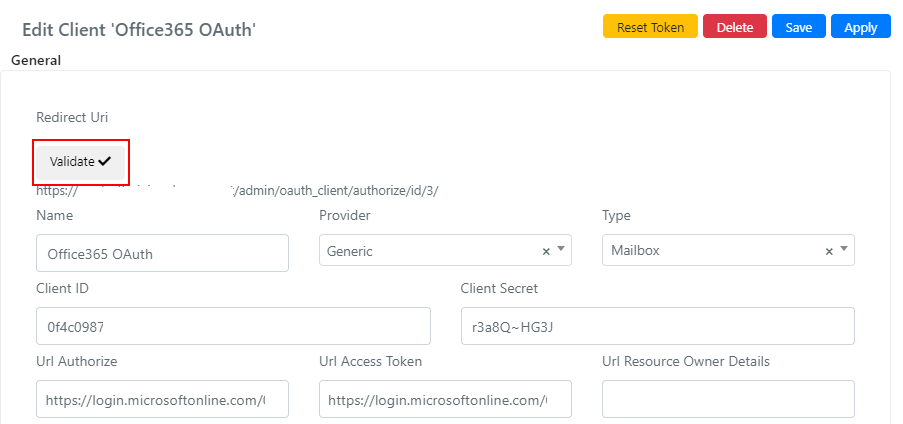
Then return to the configuration of the OAuth client in Deepser and copy the URI that we find under the Validate button (the URI will be generated in Deepser after the first save of the client).
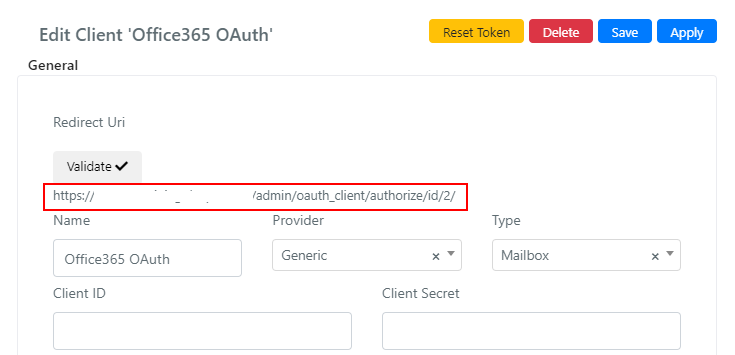
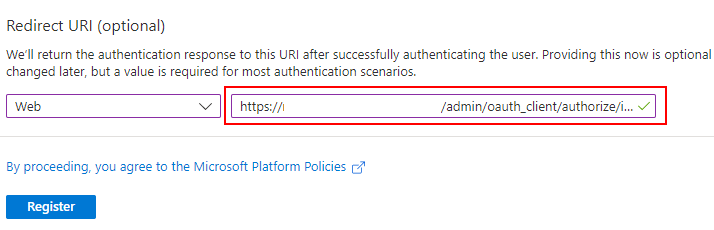
Then return to the application registration in Azure and paste the URI.
Finally, click on Register.
AZURE APP CONFIGURATION
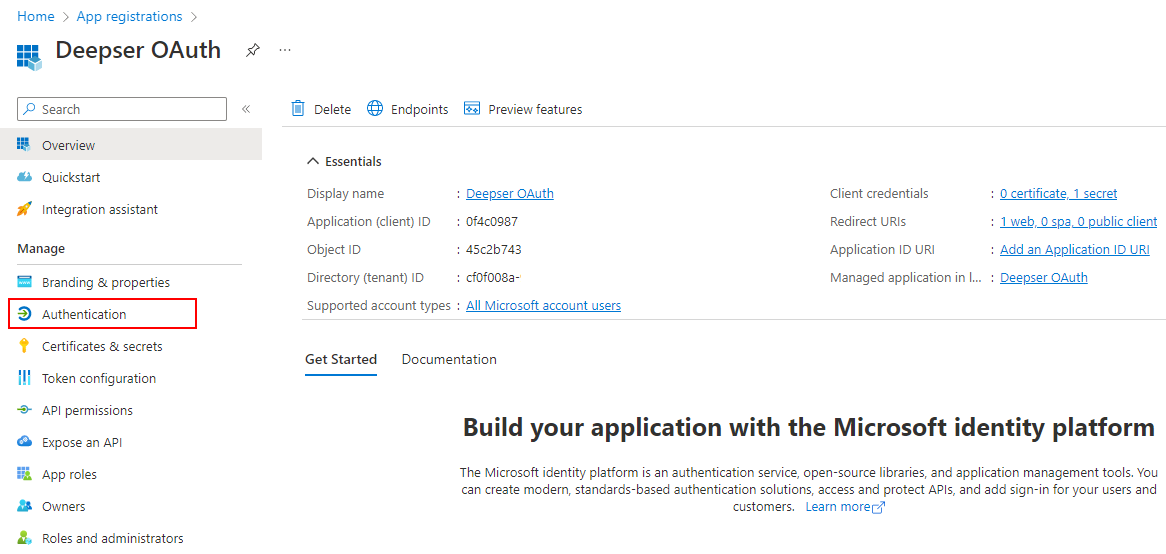
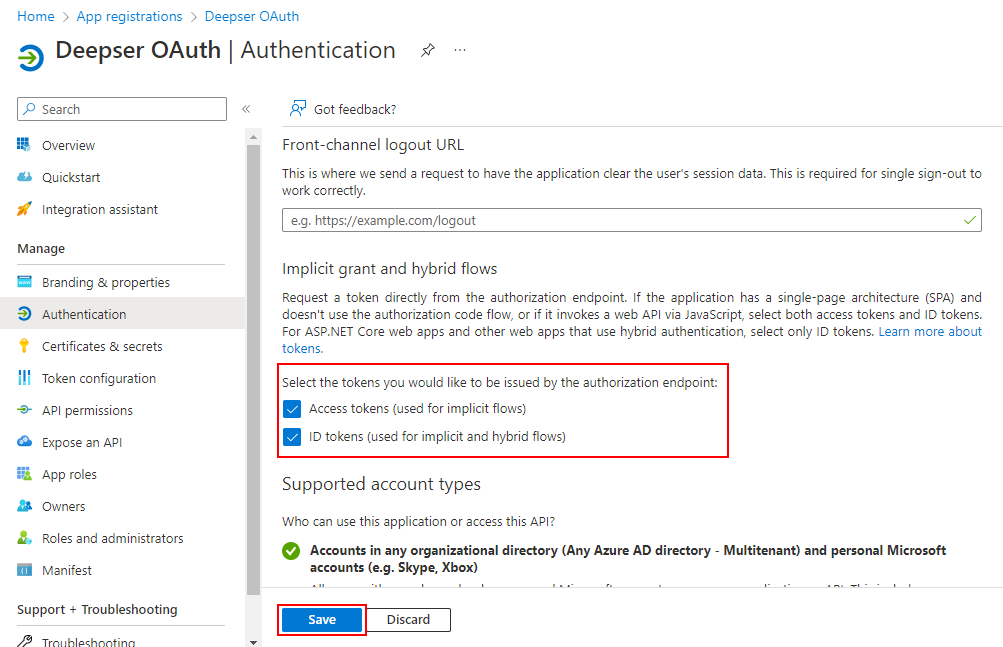
Once the app is created, click on Authentication, item in the left menu.
Scroll down the page and tick the access tokens and ID tokens.
Then click Save.
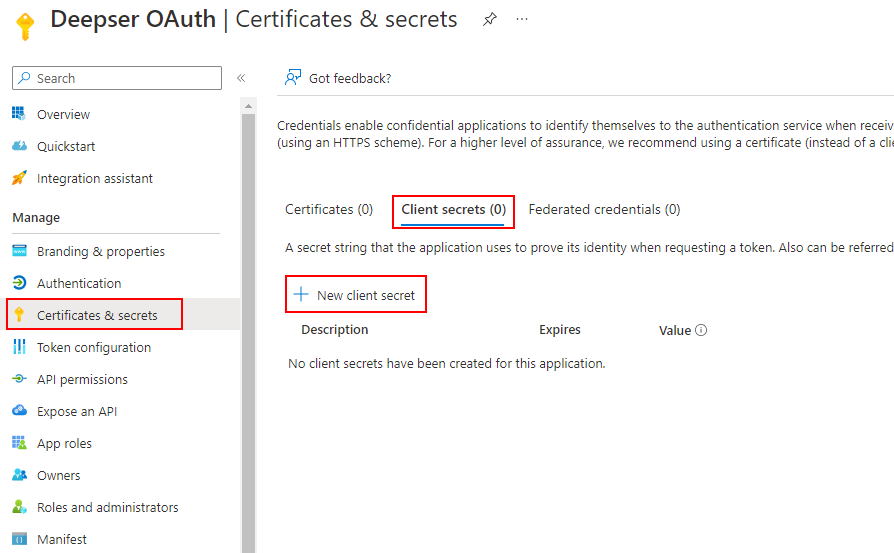
Go now to the Certificates and Secrets
item on the side menu. Click on the Client Secrets tab and generate a new Client Secret through the New Secret Client button.
Then enter a Description, a Deadline and click Add.
Once the Client Secret is generated you need to copy its Value and paste it on the Client Secret of the OAuth Client into Deepser.
Attention: the value of the Client Secret will be viewable only at the first generation. After that it will be censored and it will no longer be possible to view or copy it.
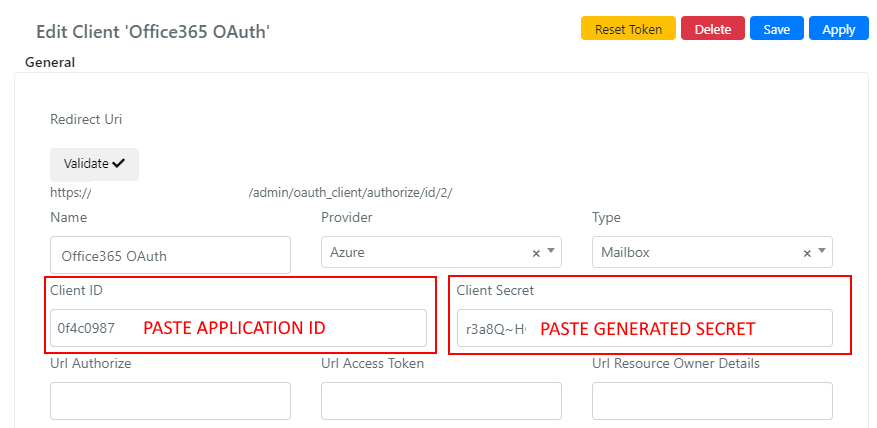
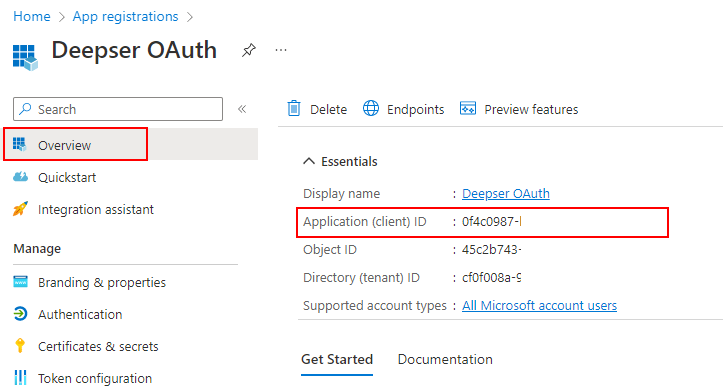
In the Client ID in Deepser you need to paste the Application ID.
The ID of the application can be retrieved in the Menu item Overview.
Then save the changes to Deepser.
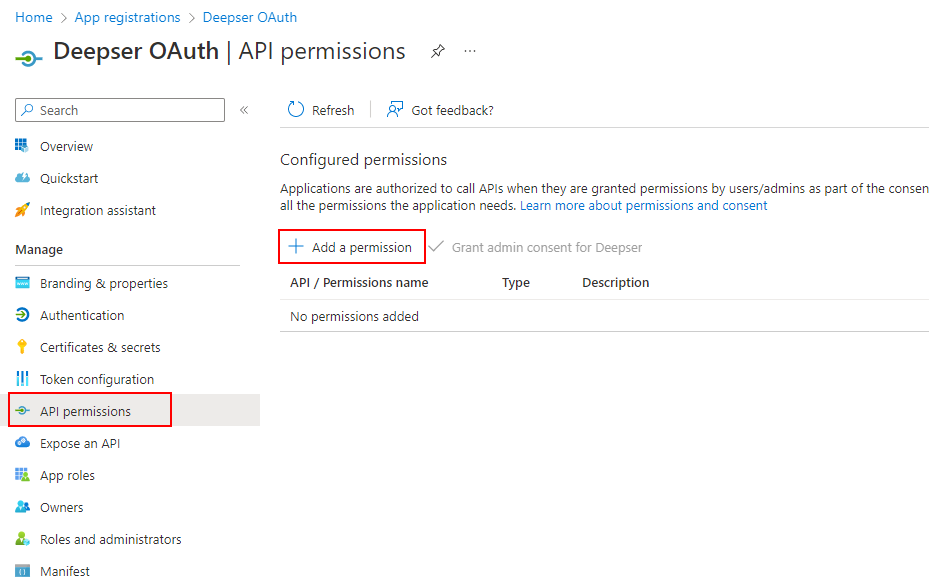
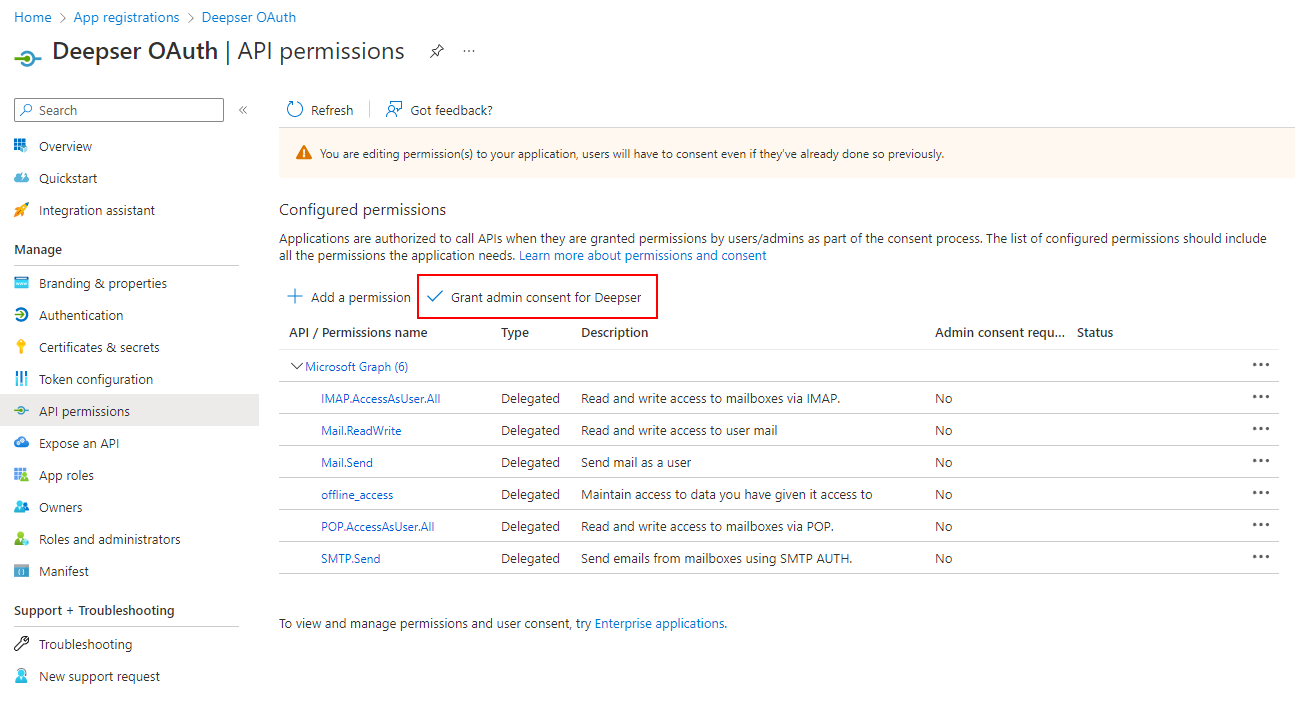
Go now to the API permissions through the API Permissions in Azure menu item and click Add a permission.
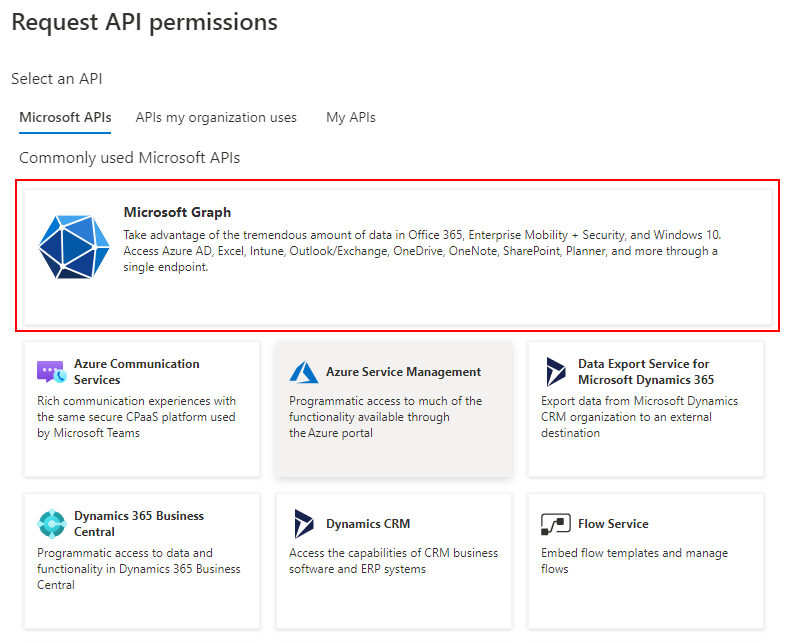
In the Microsoft API tab, select the Microsoft Graph APIs.
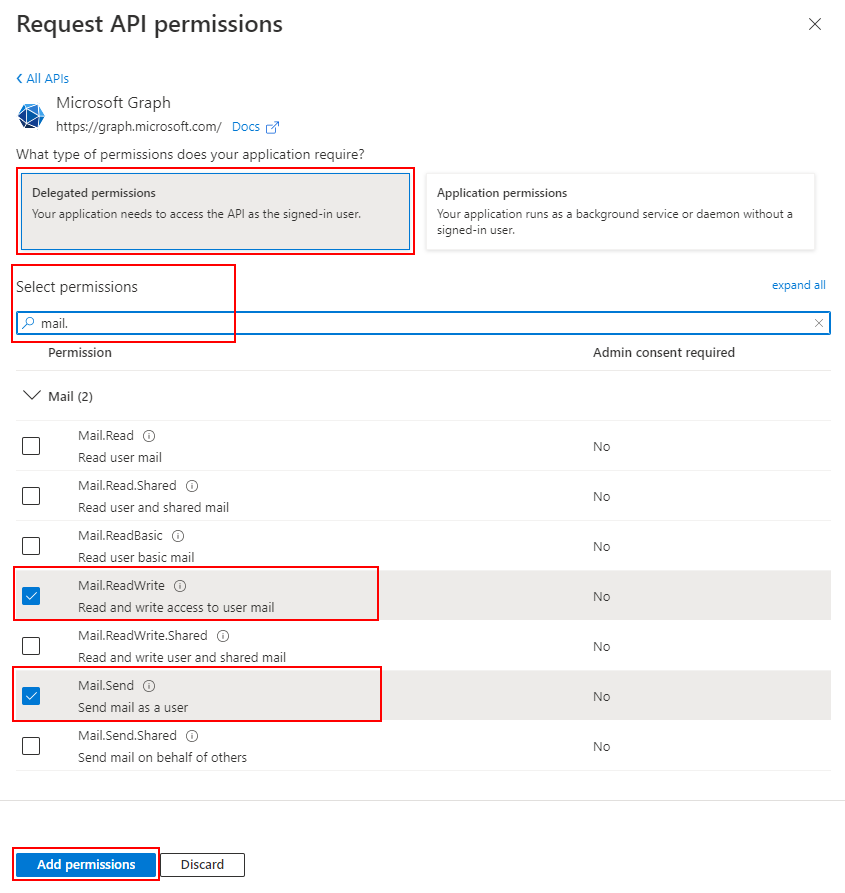
Then select Delegated Permissions.
Then tick the entries of the following permissions:
- Offline_access
- Mail.ReadWrite
- Mail.Send
- IMAP.AccessAsUser.All (optional if using POP)
- Pop.AccessAsUser.All (optional if using IMAP)
- SMTP.Send
You can search for these permissions by searching for these permissions.
Once selected, click Add Permissions.
Once you have added permissions, you must grant administrator consent via the Grant Admin Consent for Deepser button. Confirm by clicking Yes in the popup.
CONFIGURING THE OAUTH CLIENT IN DEEPSER
At this point, the application is ready.
Then go back to the OAuth Client configuration in Deepser and configure it as follows:
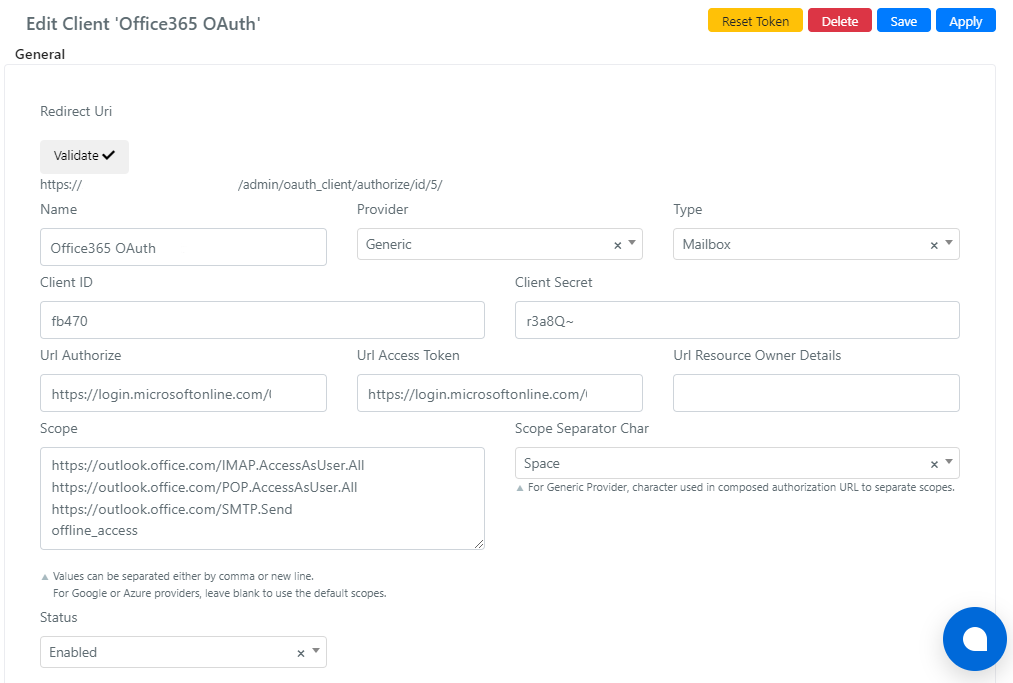
- Provider: Generic
- Tipo: Mailbox
- Client ID: The ID of your application
- Client Secret: The Value of the Secret generated
- Url Authorize:
https://login.microsoftonline.com/aaaaa-bbbbb-ccccc-ddddd-123/oauth2/v2.0/authorize- Url Access Token:
https://login.microsoftonline.com/aaaaa-bbbbb-ccccc-ddddd-123/oauth2/v2.0/token- Scope:
https://outlook.office.com/IMAP.AccessAsUser.Allhttps://outlook.office.com/POP.AccessAsUser.Allhttps://outlook.office.com/SMTP.Sendoffline_access- Scope Separator Char: Space
In the Url Authorize and Url Access Token, the value aaaaa-bbbbb-ccccc-ddddd-123 will vary depending on your Tenant ID.
To retrieve your Tenant ID, you can consult the following guide: https://learn.microsoft.com/en-us/onedrive/find-your-office-365-tenant-id
OAUTH CLIENT VALIDATION
Once the Client has been configured, it must be validated through the appropriate Validate button.
NOTE: The user who validates the Client must have an active Office 365 license and must be able to access the mailboxes on which you want to use the OAuth client.
Also make sure that the user with whom you are validating the Client has enabled the following protocols in the user settings with which you will validate the client within the admin area in Office 365:
- IMAP
- Pop
- Authenticated SMTP.
If you use shared mailboxes, make sure that IMAP and POP services are enabled in them.
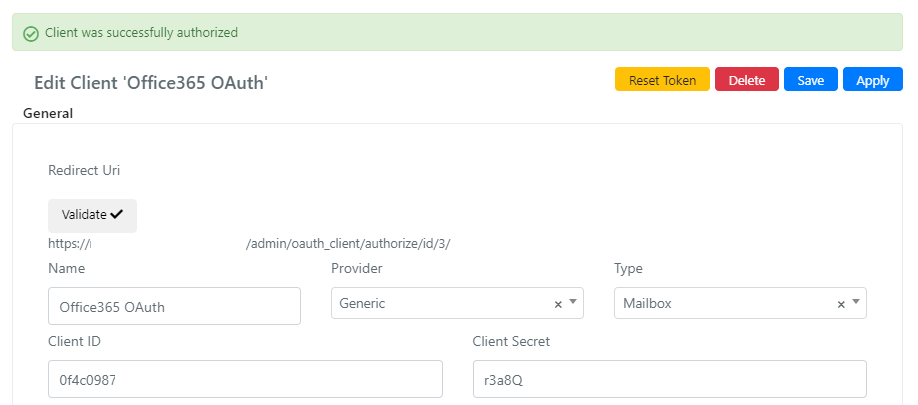
If the validation is successful, we will be returned to the Client configuration with a green message at the top that tells us the successful completion of the validation.
Now go to the configuration of the incoming box in Deepser via the menu item System -> Tools -> Email -> Mailbox and select the incoming box.
In the OAuth Client field, select the OAuth Client that you just configured and validated.
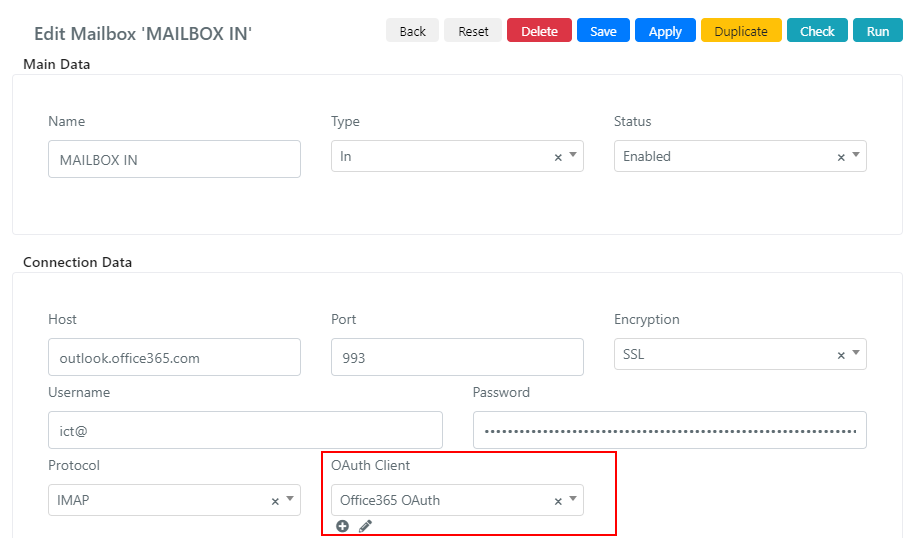
Then save your changes.
To verify that the box is working correctly, you can use the Check button.
If everything works, the Check will return a message in green with the message “Connection Successful”.

