

Configuring a Password
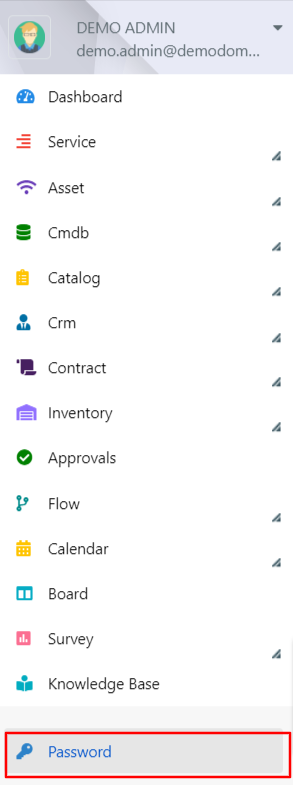
1a – Access the Password module from the main Deepser menu.
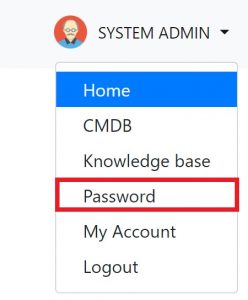
1b – Else access it through the drop-down menu of the user portal.
2 – Click on the Add Password button

3 – You will see the form for the password creation.

The fields have the following meaning:
| Field | Meaning |
| Name | Brief description of the password. |
| Username | Username. |
| Address | Address of the device /URL of the site |
| Company | Field used to connect the password to an existing Deepser company. |
| Password | The Password to store. |
| Generate | Button to generate a random password. |
| Key File content | Cryptographic key to be stored, inserted as text content. (e.g. to store an API key). |
| View Groups/View Users | Allows to select multiple groups or individual users who will be able to view the password. |
| View and Edit Groups/View and Edit Users | Allows to select multiple groups or individual users who will be able to view and edit/delete the password. |
| Use Groups/Use Users | It allows to select multiple groups or individual users who will be able to display the password in the forms that will use it, implemented by means of a custom Deeppassword field. |
| Use Password | Enable the display of the password within the modules that implement it. |
| Hidden | It makes the password not recoverable by passphrase from users, but still usable internally by the software, for example for scanning. |
| Status | Indicates the status of the password (Enabled/Disabled). |
| Expiration Date | Defines an expiration date for the password, can be implemented as a reminder for escalation rules. When the expiration date is reached, the Expired field is automatically set to ‘Yes’. |
| Expired | Indicates if the password has expired. |
| Updated by | Indicates which user is responsible for the latest password update. |
| Is private | Indicates if the password is private. |
| Description | Description and/or additional notes on the password. |
| Category | The category field can be valorized only if there are categories visible to the DeepPassword model. |
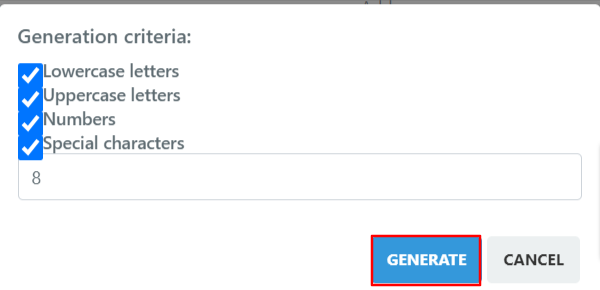
3a – To generate a random password, click the Generate button.

3b – Select the relevant parameters, enter a length, and then click on Generate.
3c – Fill in the relevant fields (in the example a password is configured for a cloud service, then the fields Name, Username, Password will be highlighted, this will be visible to all groups, but only Second Level IT administrators can change it).

Note: To the left of the Generate button there is a security indicator for the password entered.
4 – Now the password is correctly saved and viewable by selected users and groups
