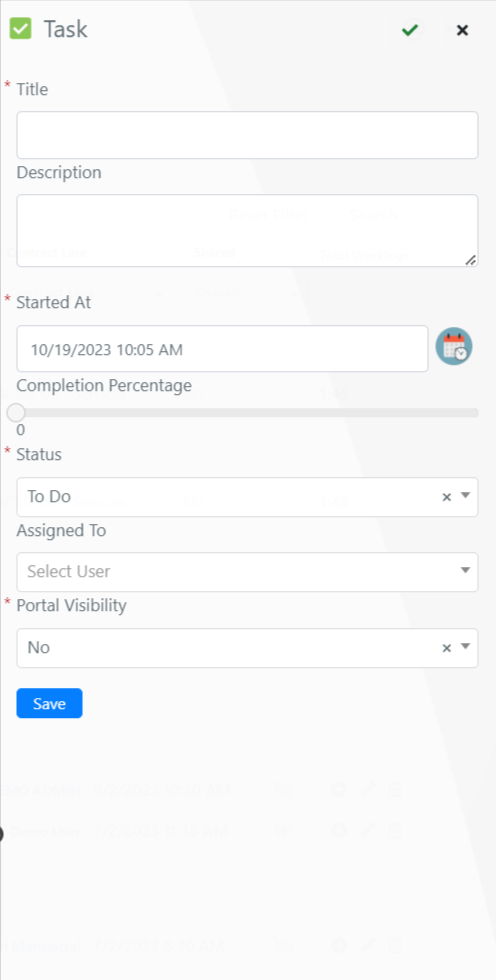
Form configuration of task types
Estimated reading: 2 minutes
In this guide, we will see how to configure the form of the task type created in the previous lesson.
To start the form configuration, we must go to the menu System->tools->Task->Task Type.
Here we must select the typology created in the previous lesson.
At this point, we are going to enter in the “Form Expression” field the following code:
					$this->addField(
    'title',                                                //unique identification name of the field.
    'text',                                                 //type of the field
     array(
        'label' => Deep::helper('deep_task')->__('Title'),  //label of the field
        'name'  => 'title',                                 //name of the label
        'required'  => true,                                // if the filed is required
        'class' => 'required-entry',                        // css class for the field.
     )
);
$this->addField(
    'description',                                          //unique identification name of the field.
    'textarea',                                             //type of the field
     array(
        'label' => Deep::helper('deep_task')->__('Description'), //label of the field
        'name'  => 'description',                                //name of the label
        'required'  => false,                                    // if the filed is required
        'autogrow' => true
     )
);
Now in the field “Form Portal Expression” we are going to enter the following code:
					$this->addField(
    'title',                                                //unique identification name of the field.
    'text',                                                 //type of the field
     array(
        'label' => Deep::helper('deep_task')->__('Title'),  //label of the field
        'name'  => 'title',                                 //name of the label
        'required'  => true,                                // if the filed is required
        'class' => 'required-entry',                        // css class for the field.
     )
);
$this->addField(
    'description',                                          //unique identification name of the field.
    'textarea',                                             //type of the field
     array(
        'label' => Deep::helper('deep_task')->__('Description'), //label of the field
        'name'  => 'description',                                //name of the label
        'required'  => false,                                    // if the filed is required
        'autogrow' => true
     )
);


