Creating a new list
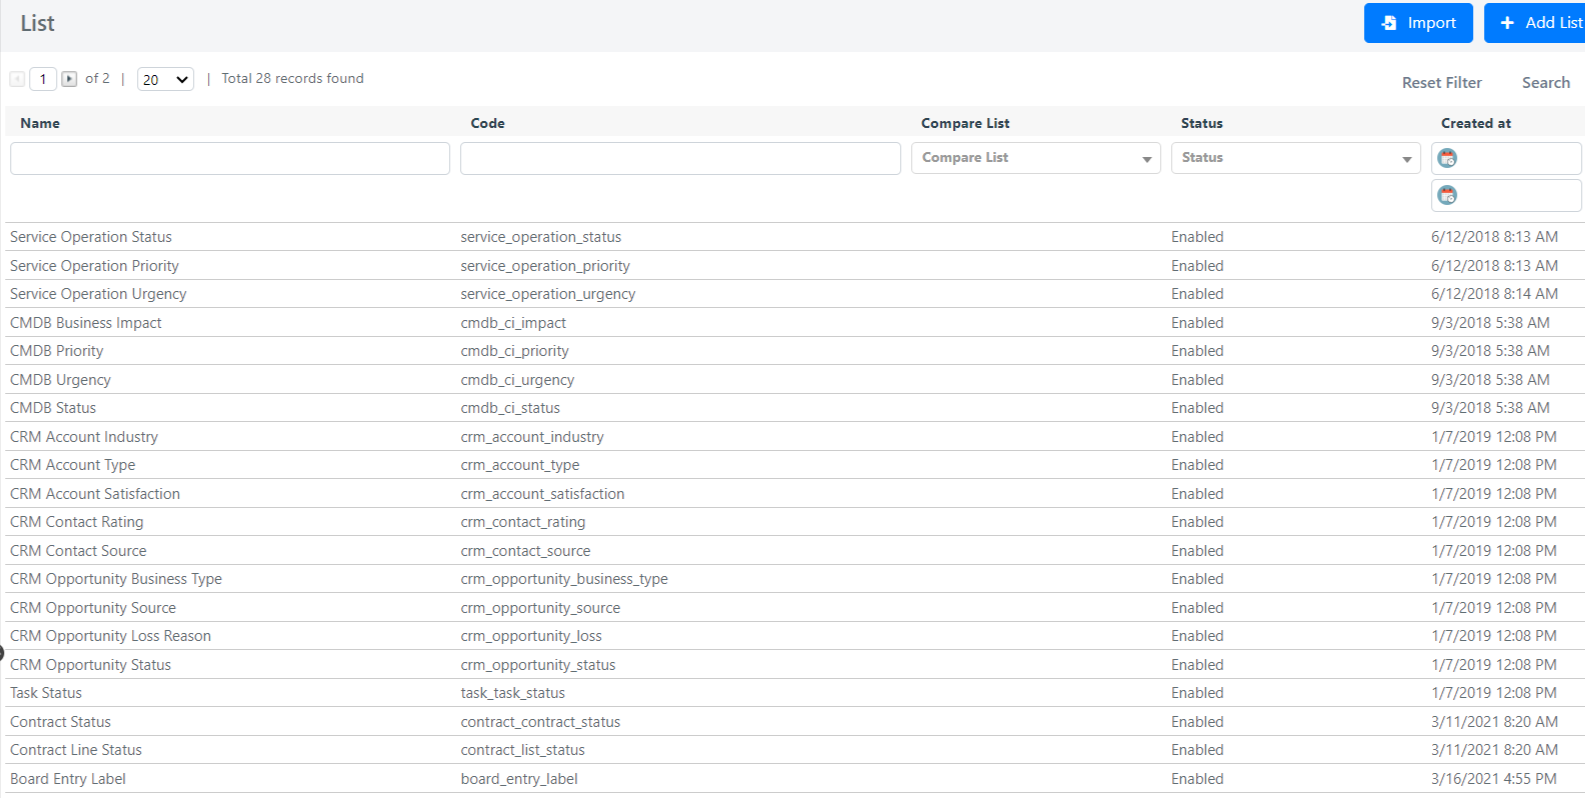
To create a new list, you will need to go to the menu: System-> Tools ->Lists.

At this point, you will need to click on the “Add List” button at the top right.
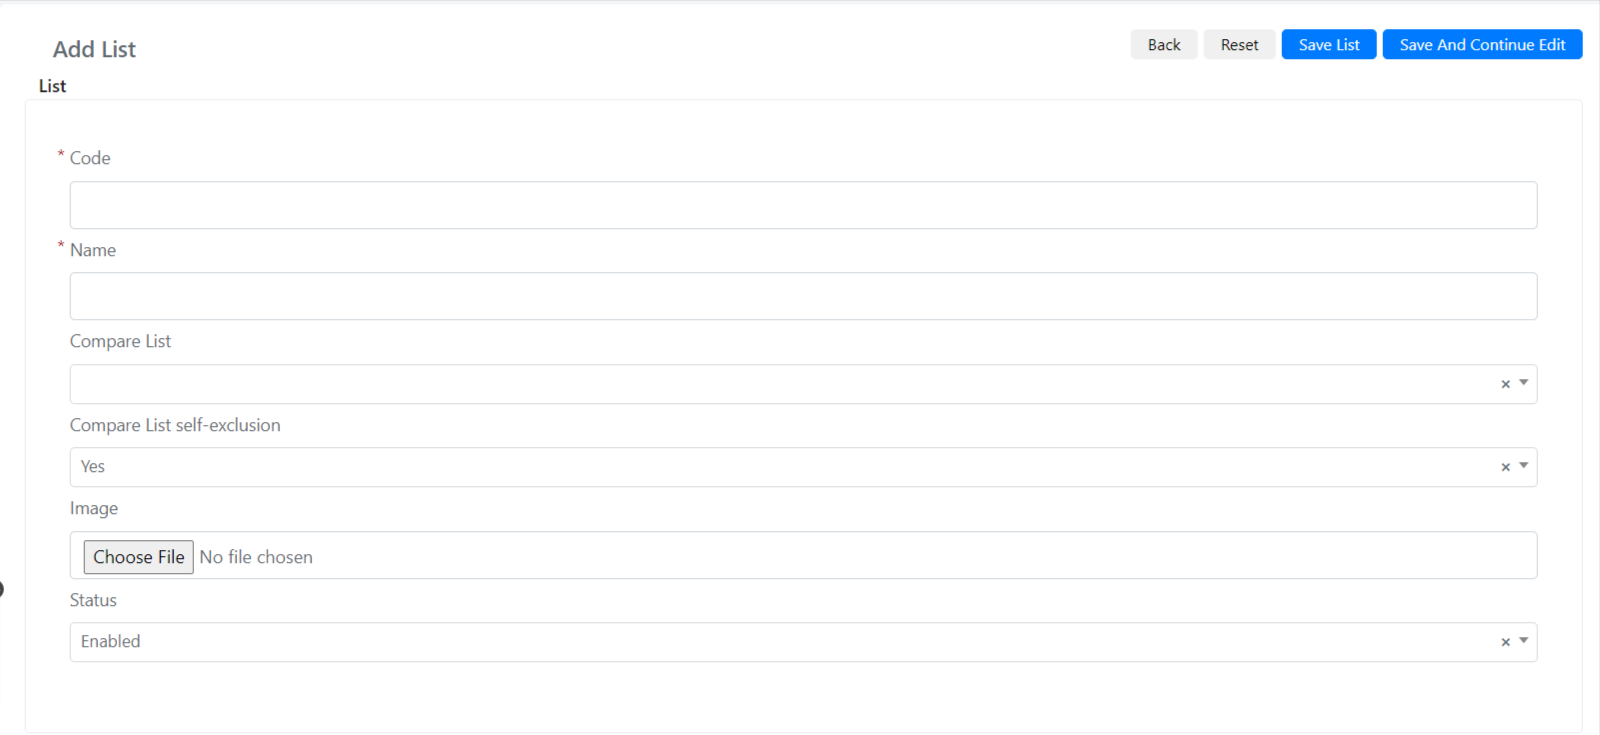
The following screen will then open:

Below are the fields with their associated description:
| Field | Description |
| Code | Unique code name of the list. |
| Name | Name of the list you are creating. |
| Compare List | This field is a system field, it can be ignored in the normal Deepser usage. |
| Compare List self-exclusion | This field is a system field, it can be ignored in the normal Deepser usage. |
| Image | Image associated with the list you are creating |
| Status | Status Of The List You Are Creating |
Once you have filled in the fields, you will need to click on “Save List” or on “Save And Continue Edit List”.
At this point, the list will have been created.
Example Creating a List
Suppose you want to create a list with name “Demo List” which will contain as different values possible versions of demos to be submitted to the customer. In particular, we will create an In Presence demo and a remote demo.
To do this, you will need to go to the menu: System -> Tools ->Lists.
At this point, we click on the “Add List” button.
Here we are going to fill in the “Code” field with the code of the list, this field by convention must be all lowercase and instead of spaces underscores must be used.
In our example, We will enter in the “Code”field” : “demo_types”.
Now we give a name to the list by filling in the “Name” field, in our example we will enter: “Demo Types
Now we leave all the other Default fields and click on the “Save List” or Save And Continue Edit List” button.
Creating list items
To create the actual elements that will become the options in a list-based select, we must go to the list in which we want to go to create the elements.
At this point, we go to the “Values ” tab and click on the “Add Value” button.
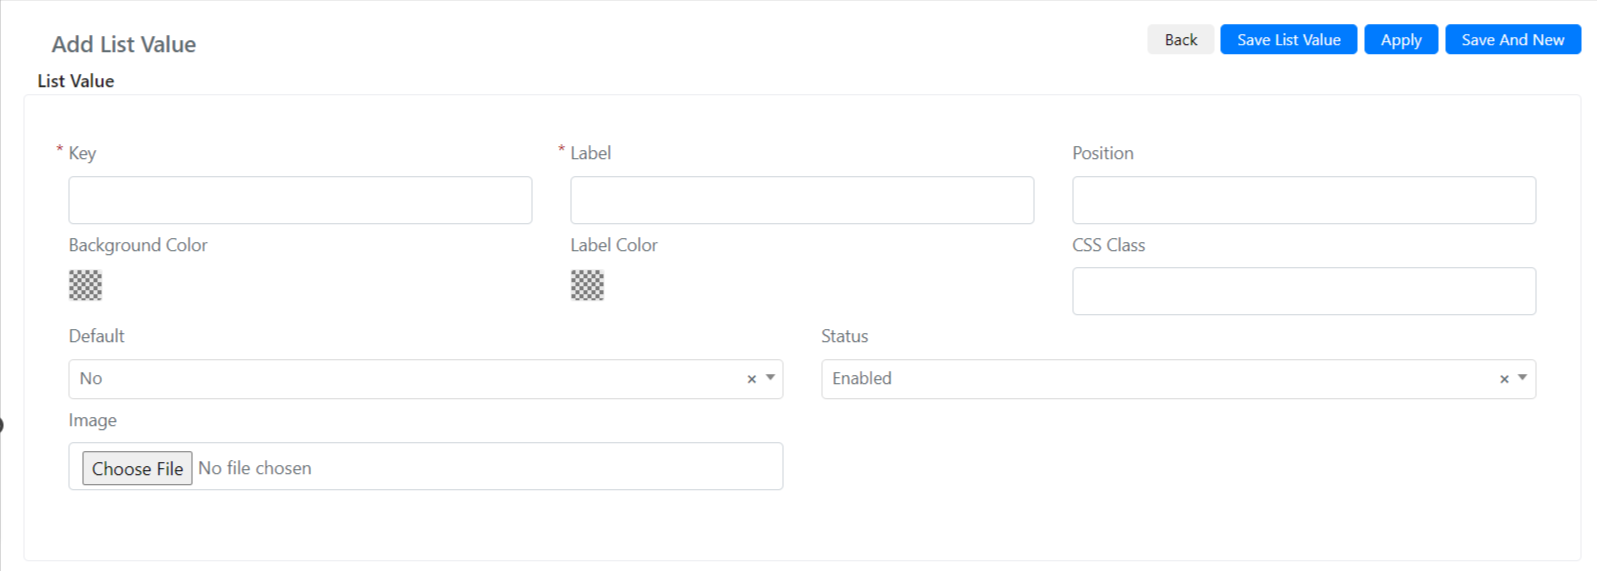
The following screen will then open:

In the Key field that indicates the unique key of the value, we are going to enter a number that must be different from those already present in the list. In our case, we enter 0.
Now, In the label field, we enter “Live Demo”.
After that we have to click the “Save List Value” button if we do not have to add other values or the “Save And New” button if we have to create others or the “Apply” button.
At this point you create in the same way a new entry called “Online Demo” with key set to 1.
Finally, on the main screen of the list, click on the “Save List” button to save the list.
At this point, the list will have been saved with the created items.


