

Portal Approval Structure
In the previous article we have seen how to view an approval request inside the User Portal.
In this article we are going to explain the structure of the approval request.
After opening your Deepser user portal at “My Approvals” section, the following screen will open:

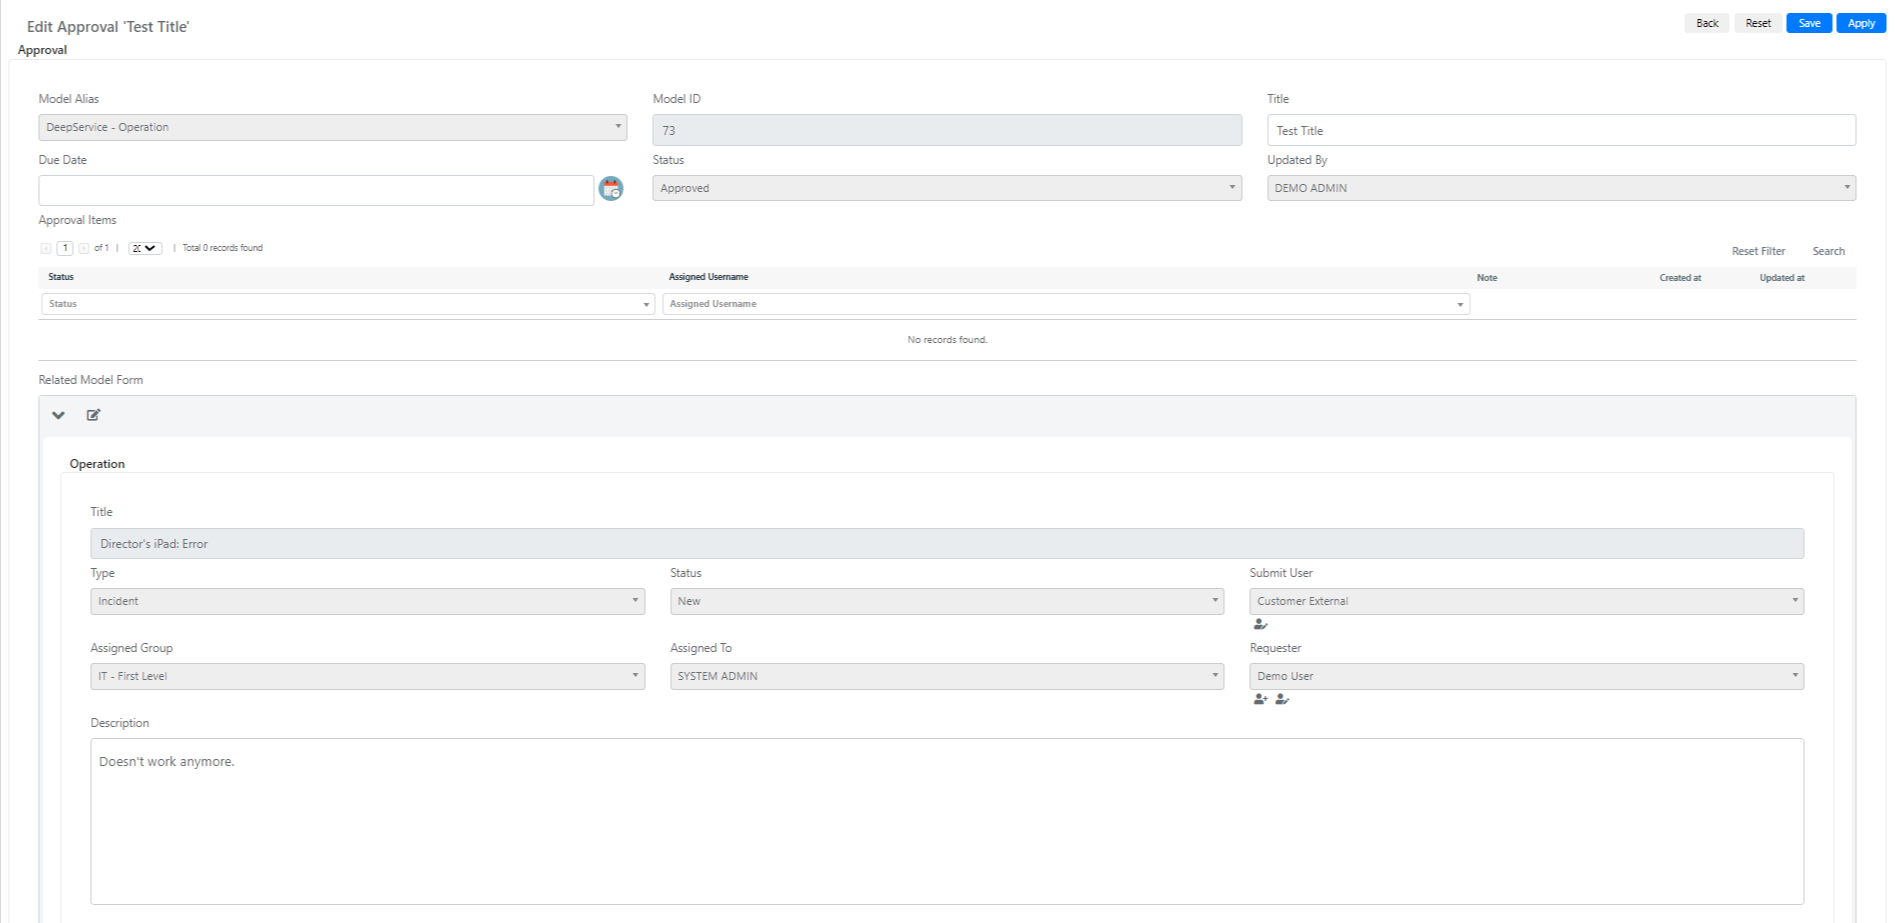
The Approval structure contains fields in read only mode that express:
| Name | Description | Note |
| Model Alias | represent the model from which the approval process stars | In our example, your supervisor has created a ticket (or Operation) from which an approval process started. |
| Title | represents the name of our approval process | |
| Due Date | represent the expiration date during which the approval process must be approved or refused | |
| Status | represents the condition of the approval process |
Inside the “Approval items” section is shown a grid with the Empowered end user or Backend user responsible for accept or refuse the approval workflows.
Inside the “Related Model Form” section is shown the recap of the Deepser entity linked to the approval process. In our example is shown the Operation or “ticket” that has triggered the approval process.
Therefore, the Empowered End User or Backend user can read the Title, the Category, the Status, the Assigned Group and the Description of the ticket related to the approval process.
After doing that, the EEU or Backend user can simply Approve or Reject the approval process, respectively with the Green or Red Button located at the top right.
In the next article we are going to explain what is an EEU or Empowered End User.
