

Grid Creation and Cloning
In Deepser you can create new grids, and configure them appropriately, in order to respond immediately to the needs of the agents who will work on it.
CREATING A GRID
To create a new grid, starting from zero, we have to follow only two simple steps:
Step 1
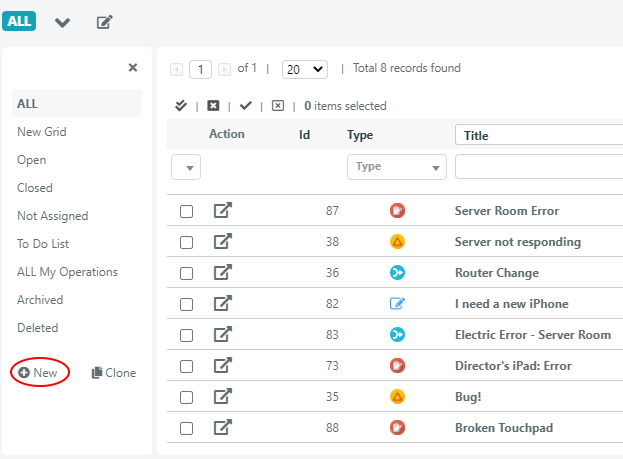
Click the New icon, circled in the figure, in the lower left area of the grid menu.
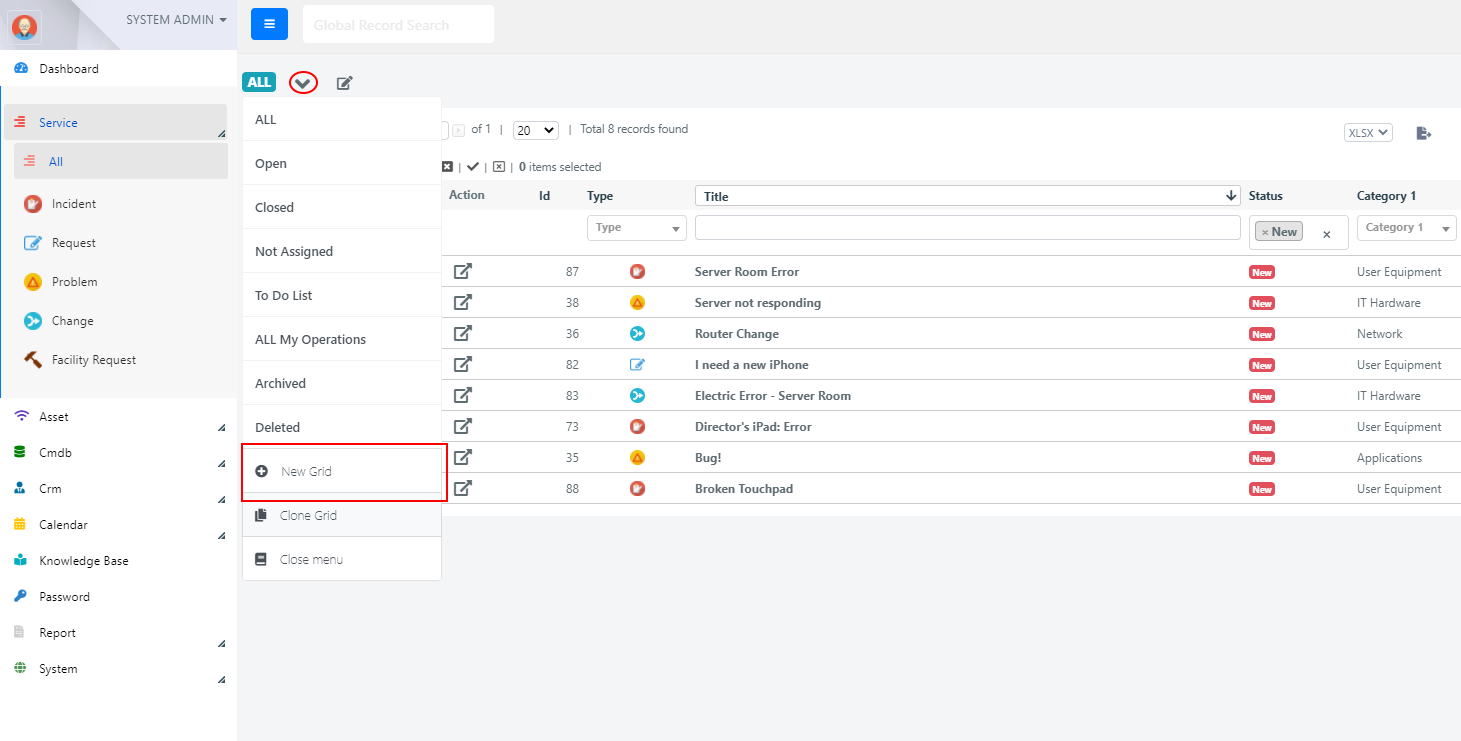
Otherwise you can also create a new grid by clicking on the icon circled in the following screeshot, next to the badge containing the name of the current grid, to display the menu.
Then click on New Grid
Step 2
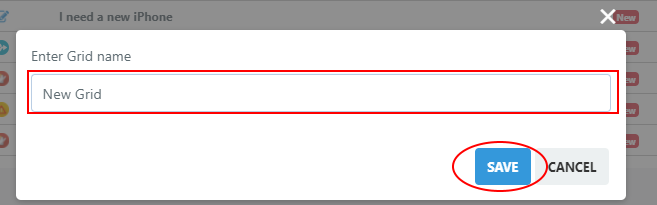
The system will now ask you to enter a name for the new grid.
Once you have entered the name, click the Save button.
At this point the new grid will be created and can be selected from the grid menu.
As we can see from the following screenshot a new grid has no exposed columns (visible columns) and therefore appears “empty”. In this case it will be necessary to configure them manually.
![]()
CLONING A GRID
The grid cloning function allows you to create new grids by cloning the configuration of an existing grid.
Step1
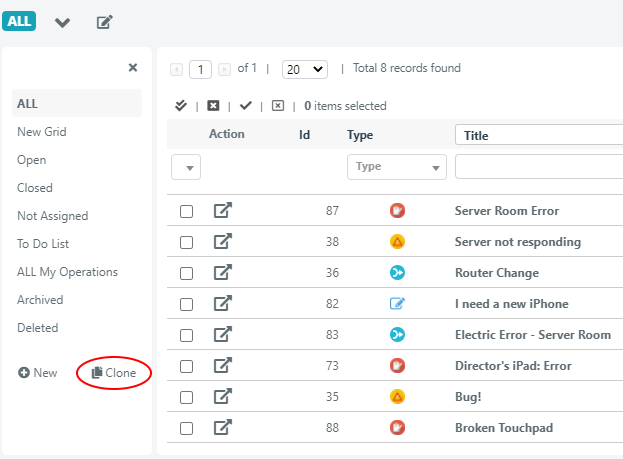
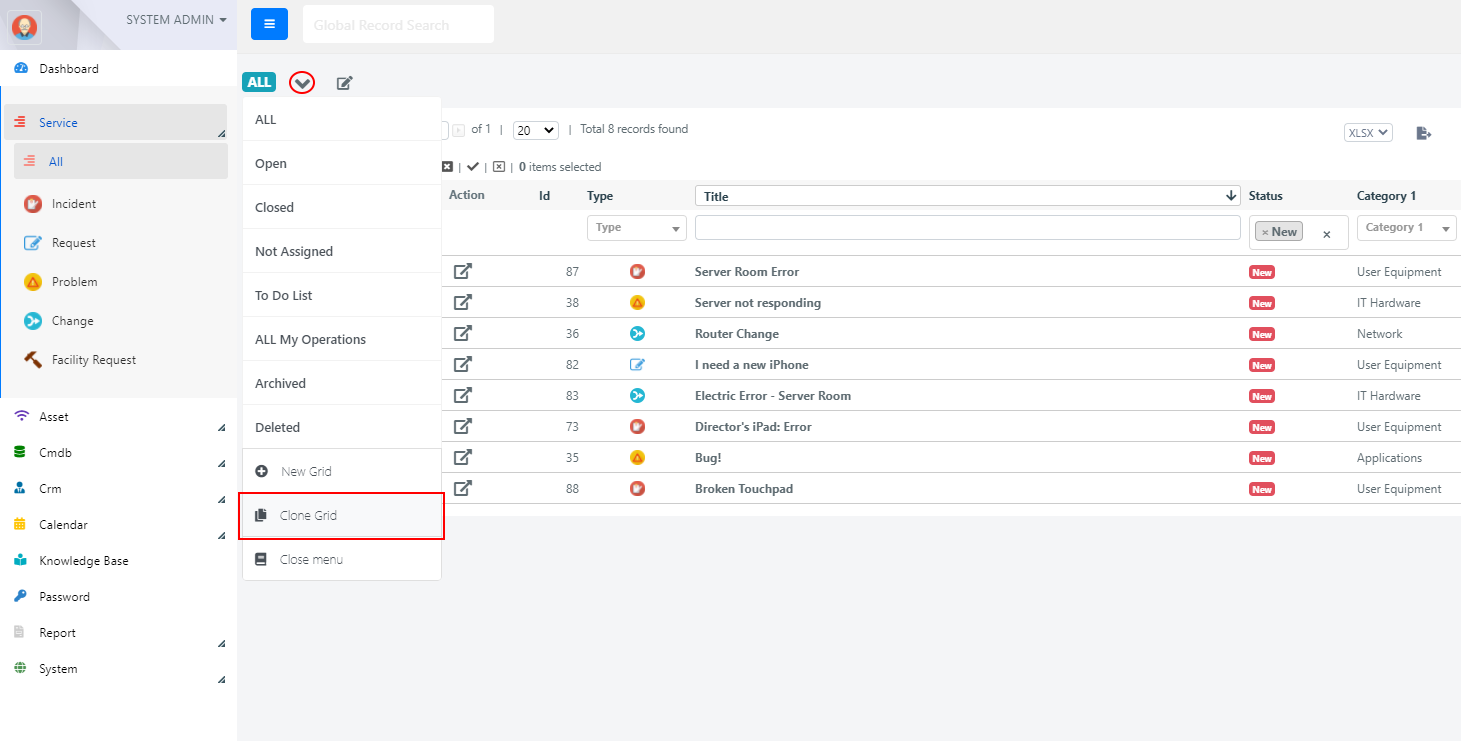
Once positioned on the grid you want to clone, click the Clone icon, circled in the figure, at the bottom right of the grid menu.
Otherwise you can also clone a grid by clicking on the circled icon in the screenshot below to display the menu.
Then click on Clone Grid
Step 2
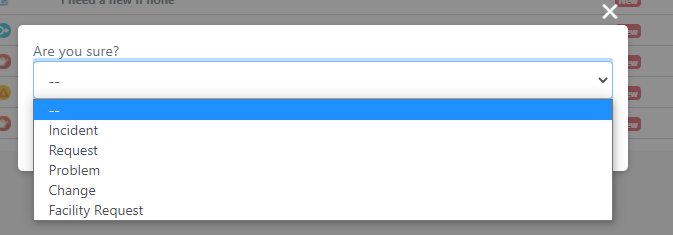
The system will now ask in which section of the current module should be saved.
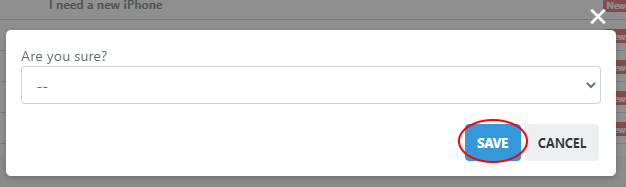
Once selected from the select section, click the Save button.
Note: — is the option that indicates the All section.
At this point the new grid will be created and can be selected from the grid menu.
As we can see from the following screenshot the clone grid is composed by the name of the “original” grid with the addition of the prefix NEW- .
The new grid will have the same exposed columns (visible columns) as the original one, all other possible configurations will be copied as well.
